Bodies of
Evidence
In late July, 1361 Valdemar IV, King of Denmark attacked the city of Visby on the western coast of Gotland, a Swedish territorial island about partway between Sweden and modern-day Latvia.
The reason, of course, was control of a major trade route. Visby had recently joined the Hanseatic League along with nearby Lübeck, Riga and Talinn.
The city's defenders were mostly rural farmers with whatever weapons they could find.
It isn't known who lead them, most likely it was a local member of the nobility, but it's important to know that the rural farmers had recently mounted an uprising and were brutally put down by the city dwellers, and now they were being called on to defend the city.
Valdemar had brought a large professional army made up mostly of Danish and German mercenaries, many well seasoned by the constant skirmishes and battles with Sweden along the borders.
After landing, they first hit Mästerby where they had tried disabling a bridge to prevent the advance of the army, but the army found a way around. About 1,500 Gotlandic farmers died.
Two days later they arrived outside Visby. The yeomen and peasants who defended the city took whatever arms and armor they could find and were massacred.
Valdemar's forces lost about 300 men.
The defenders of Visby lost over 1,800.
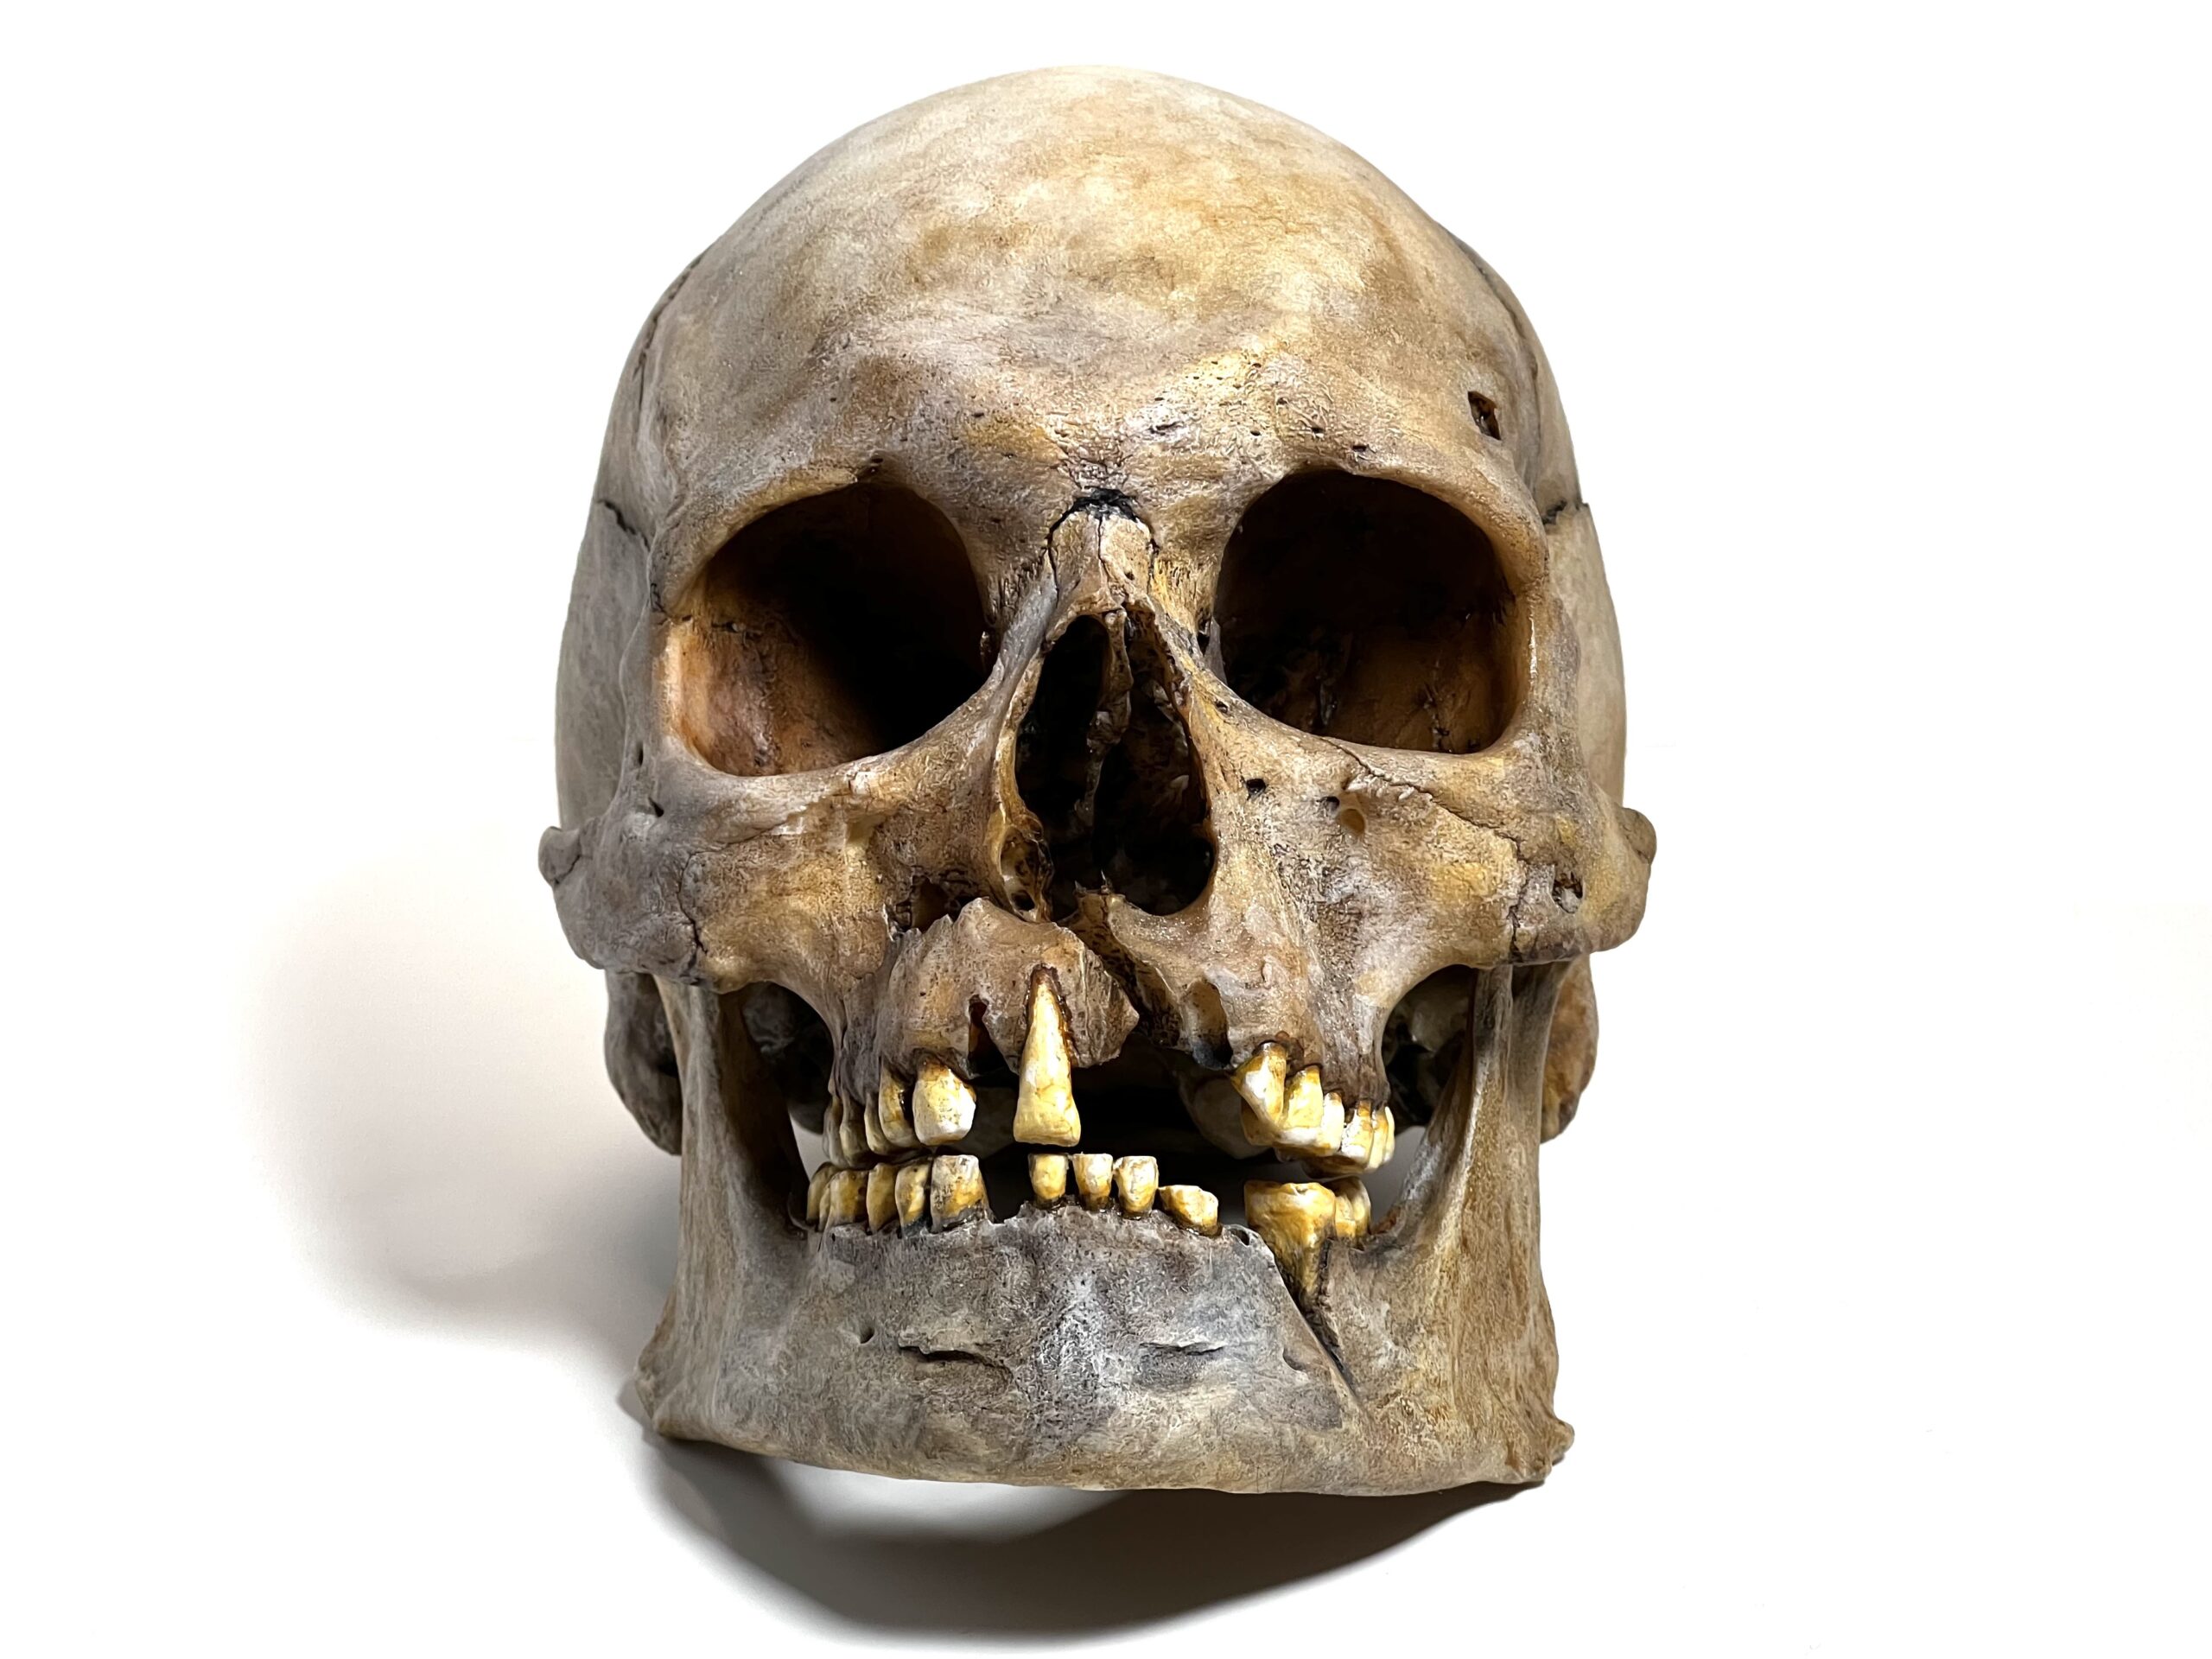
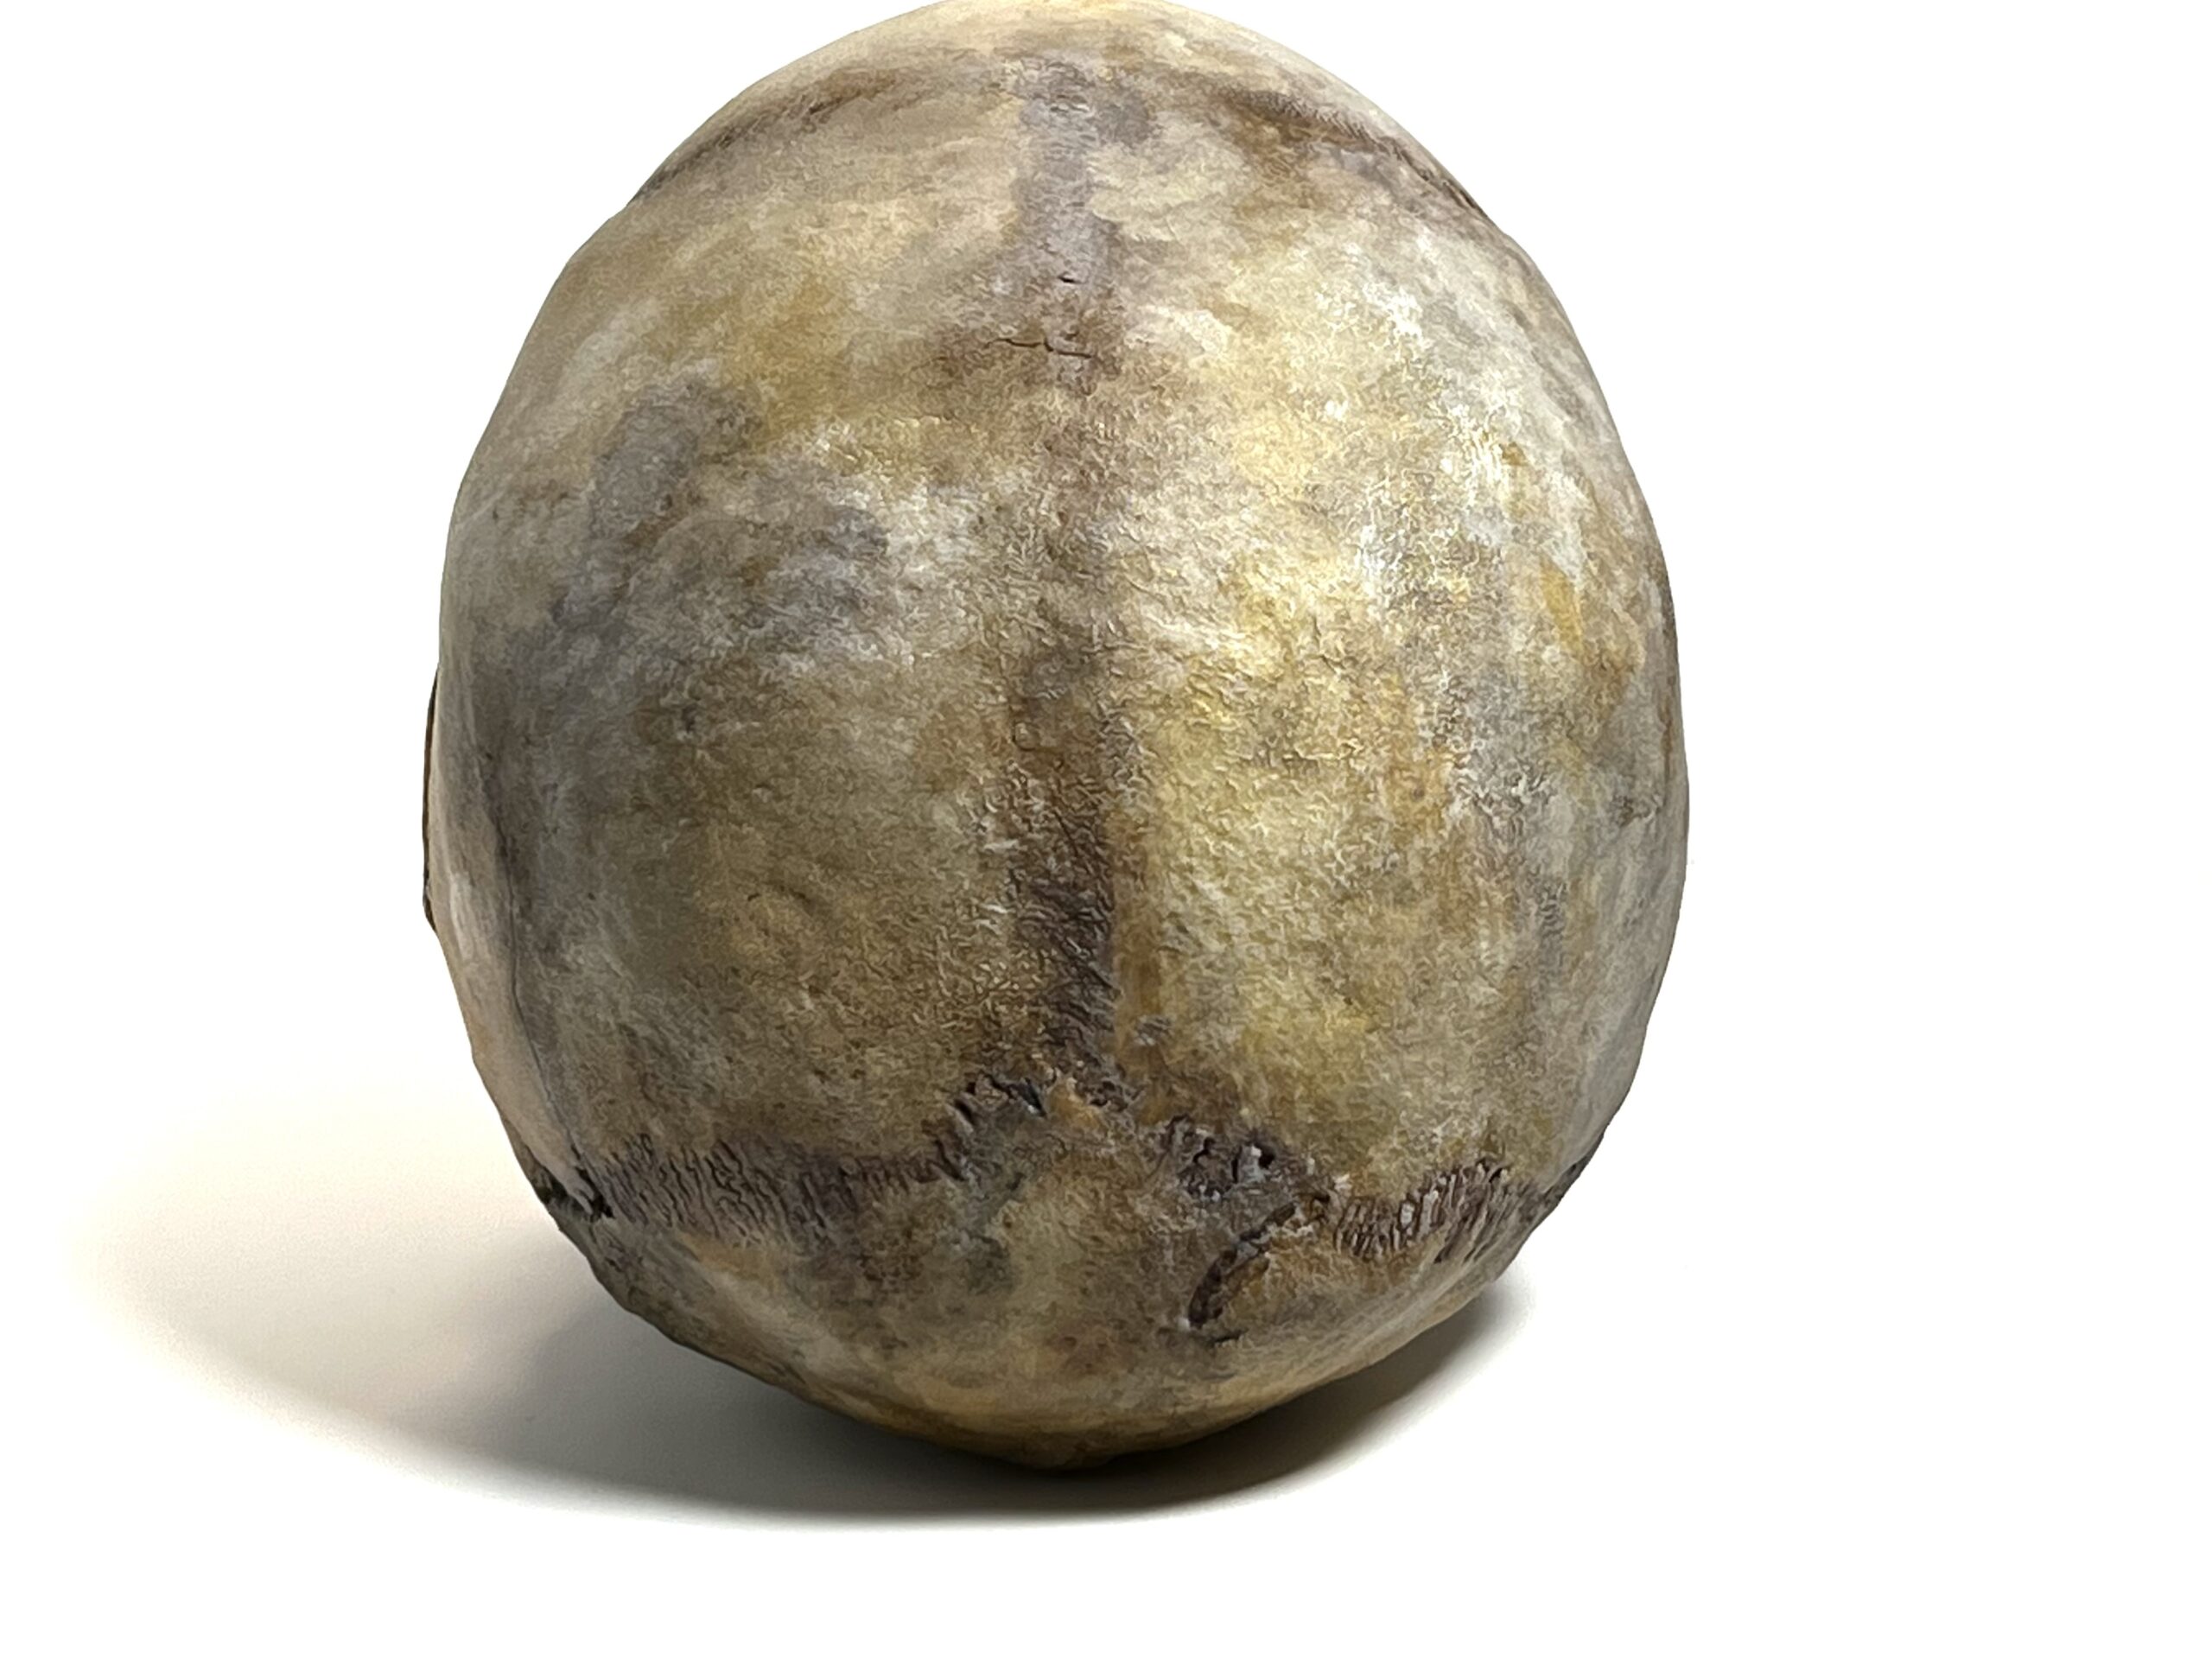
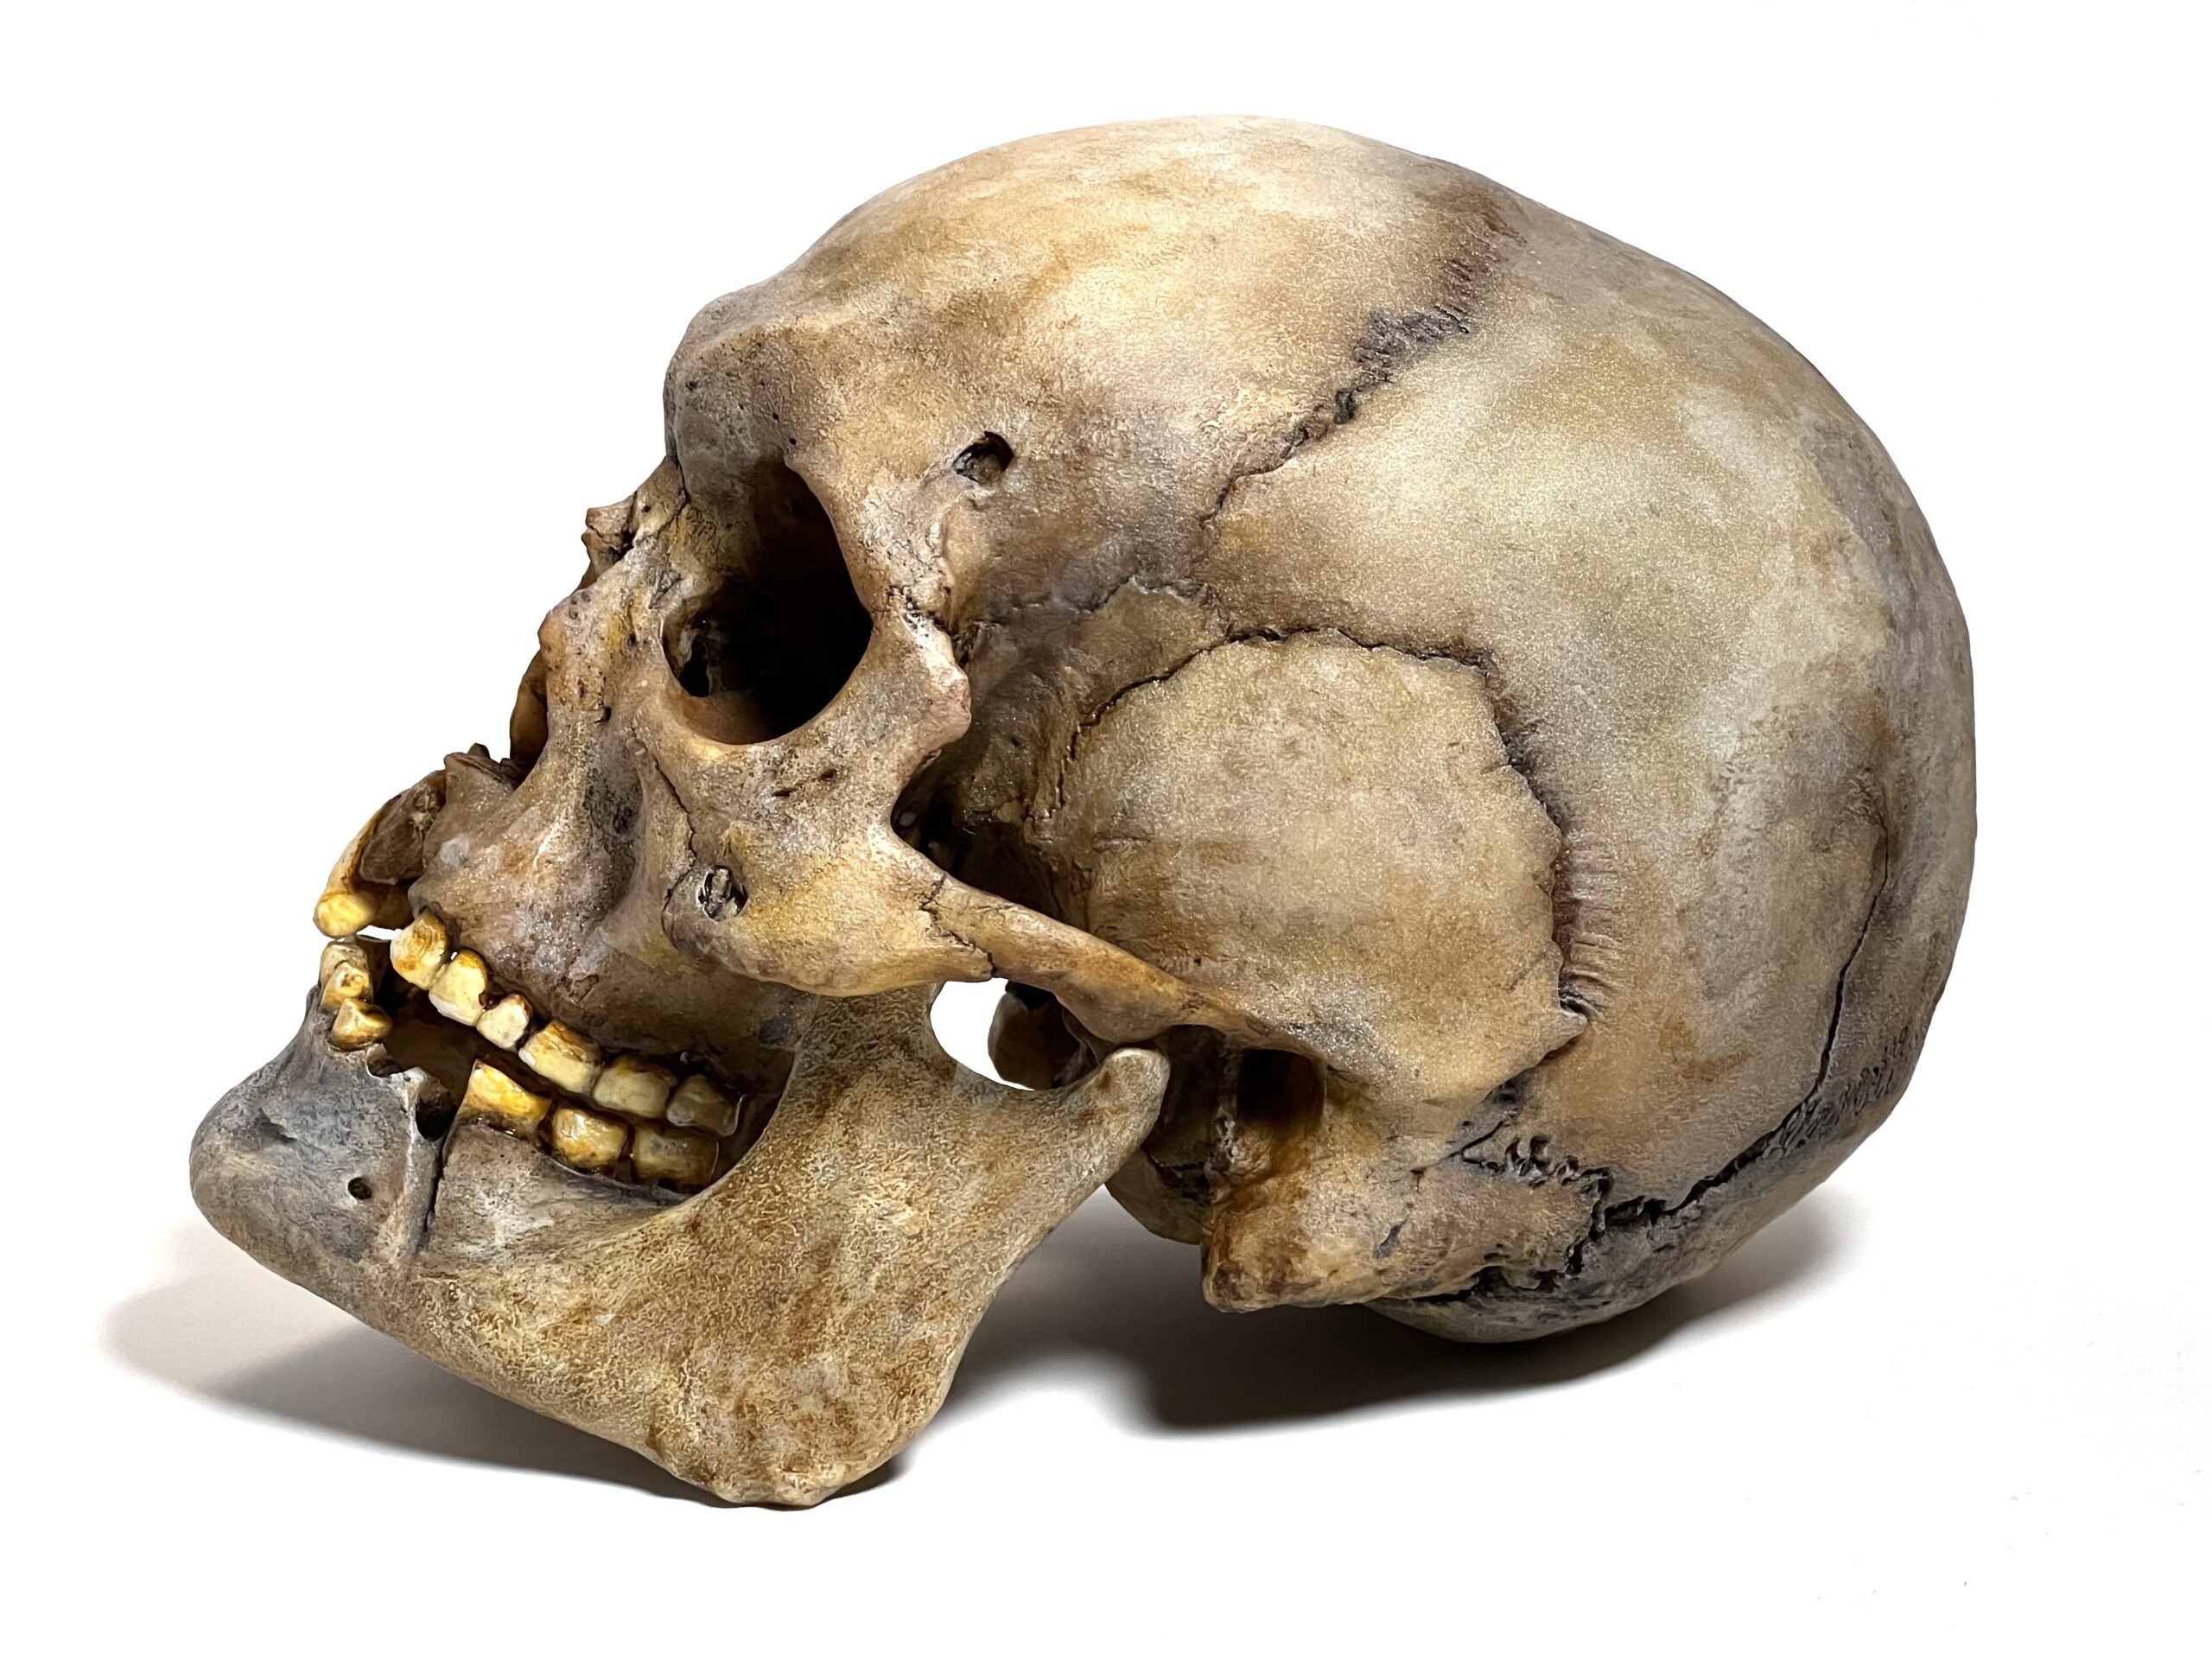
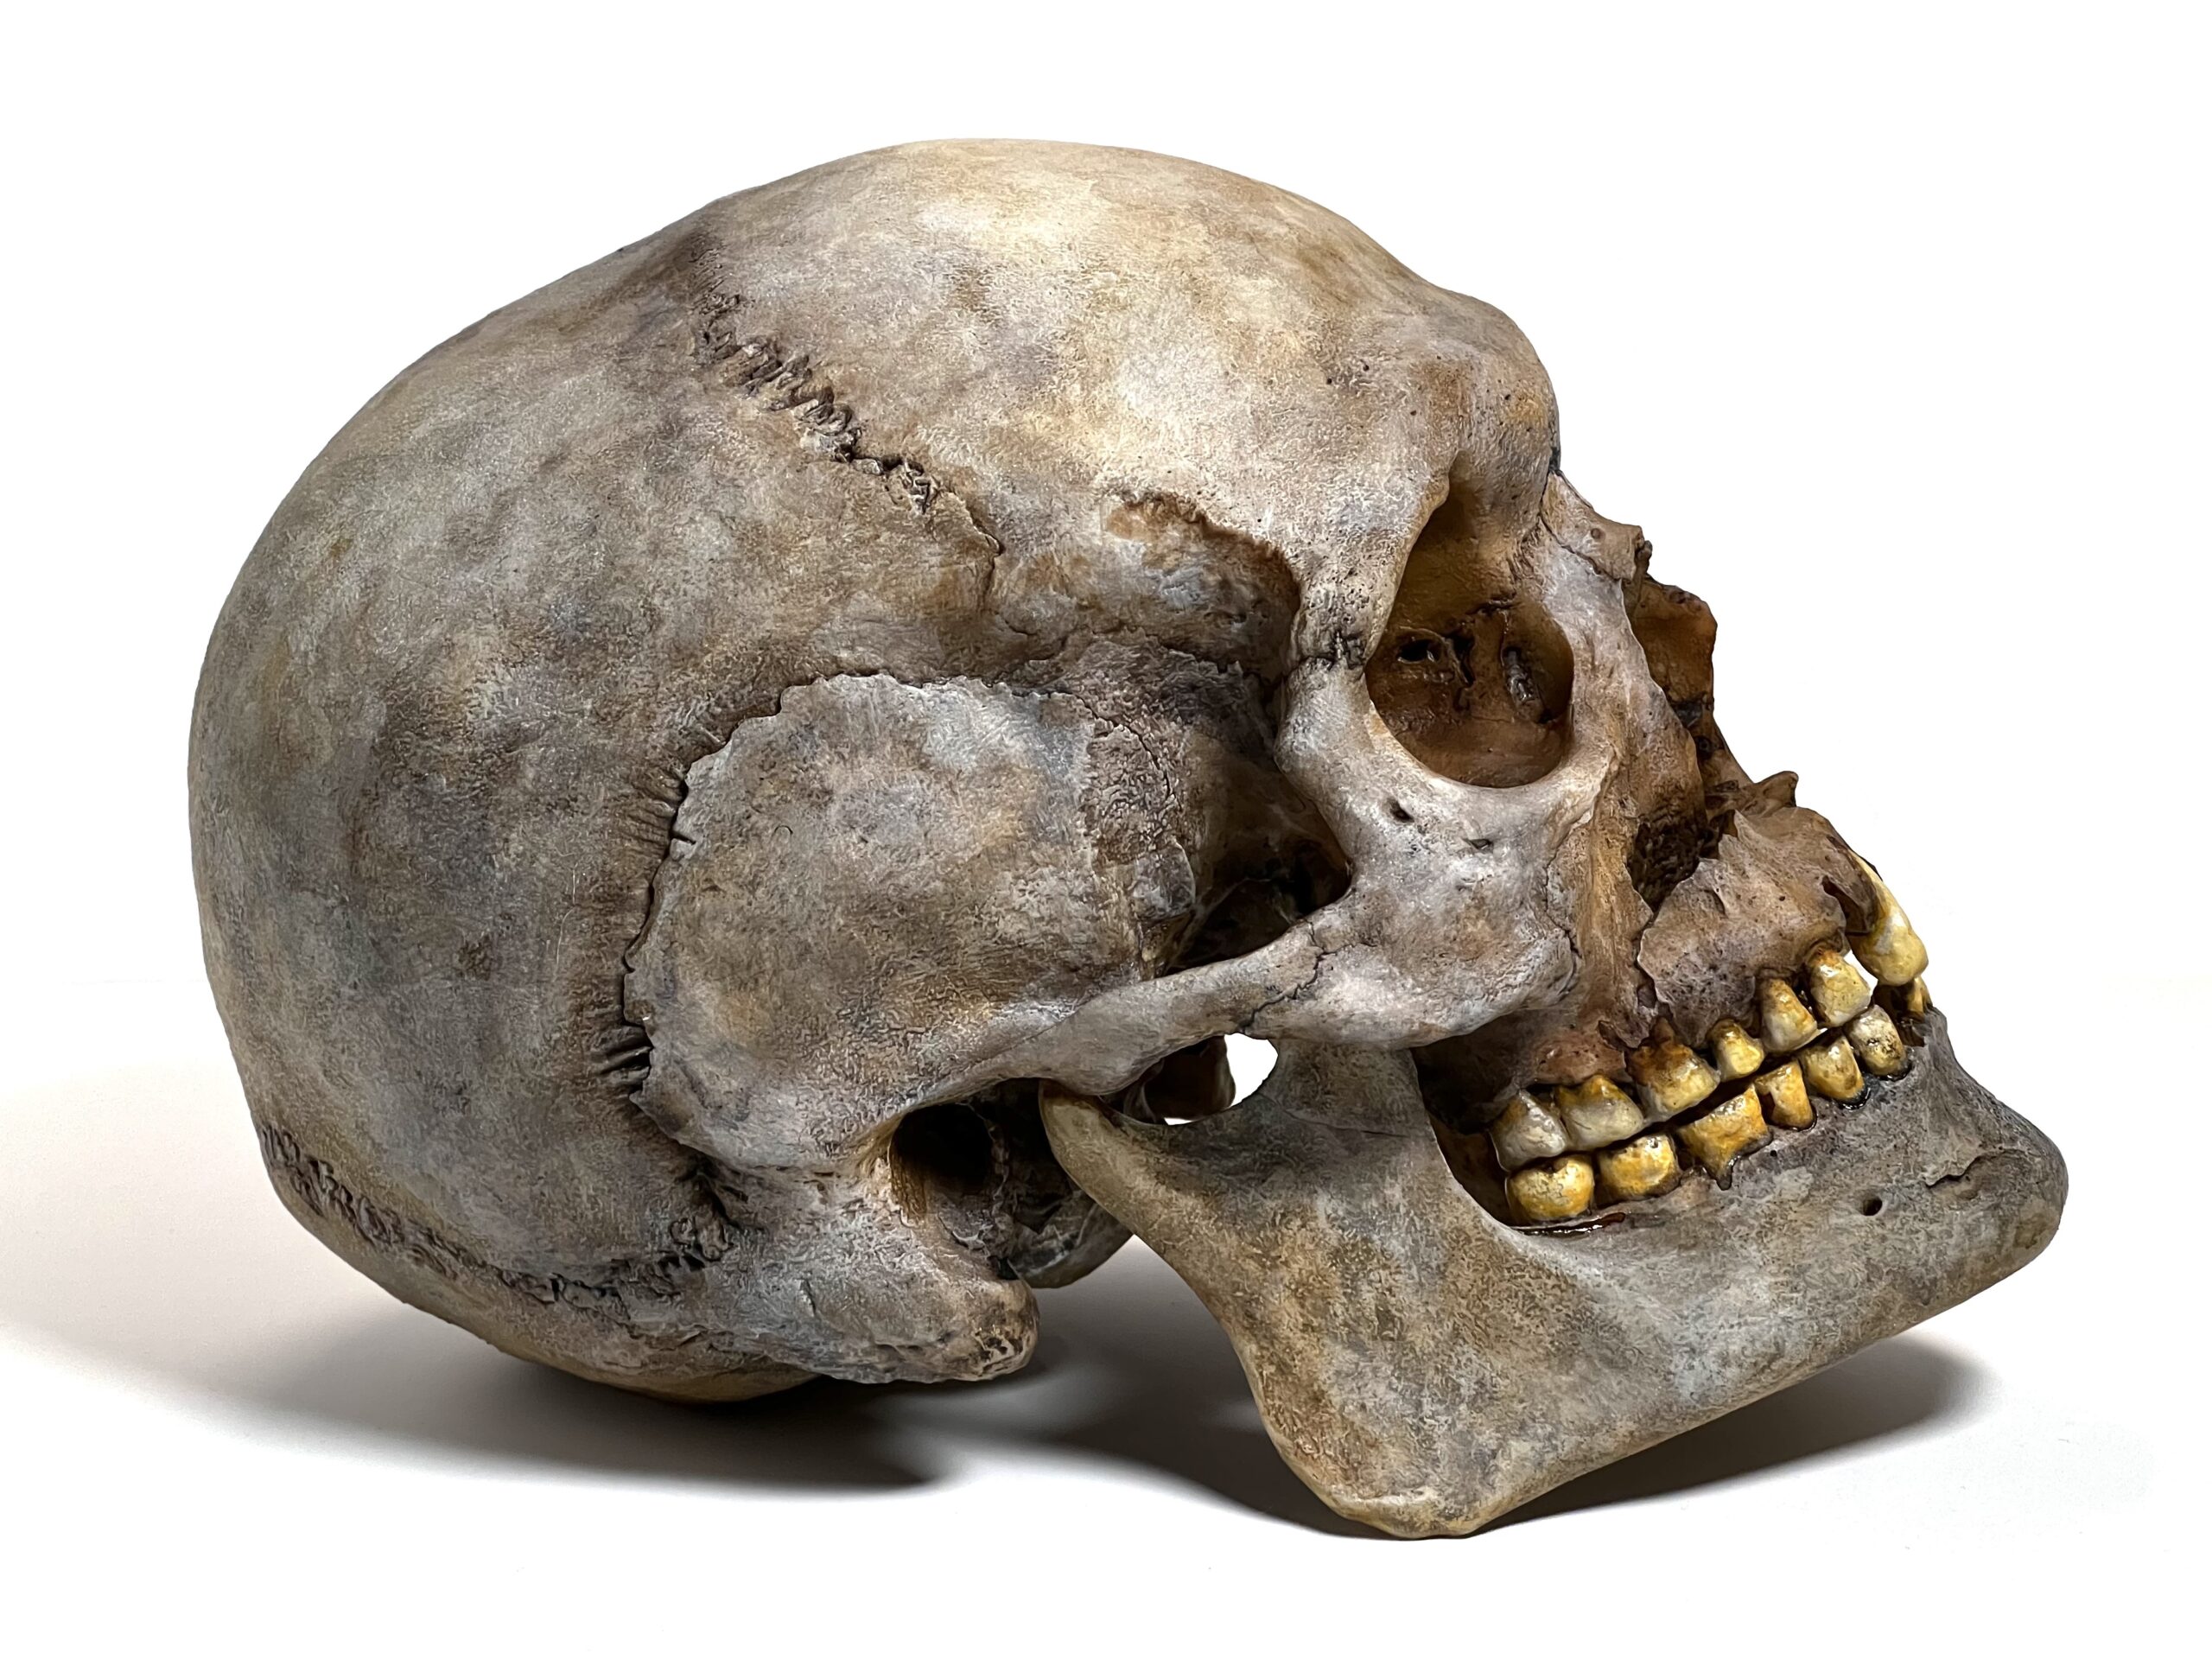
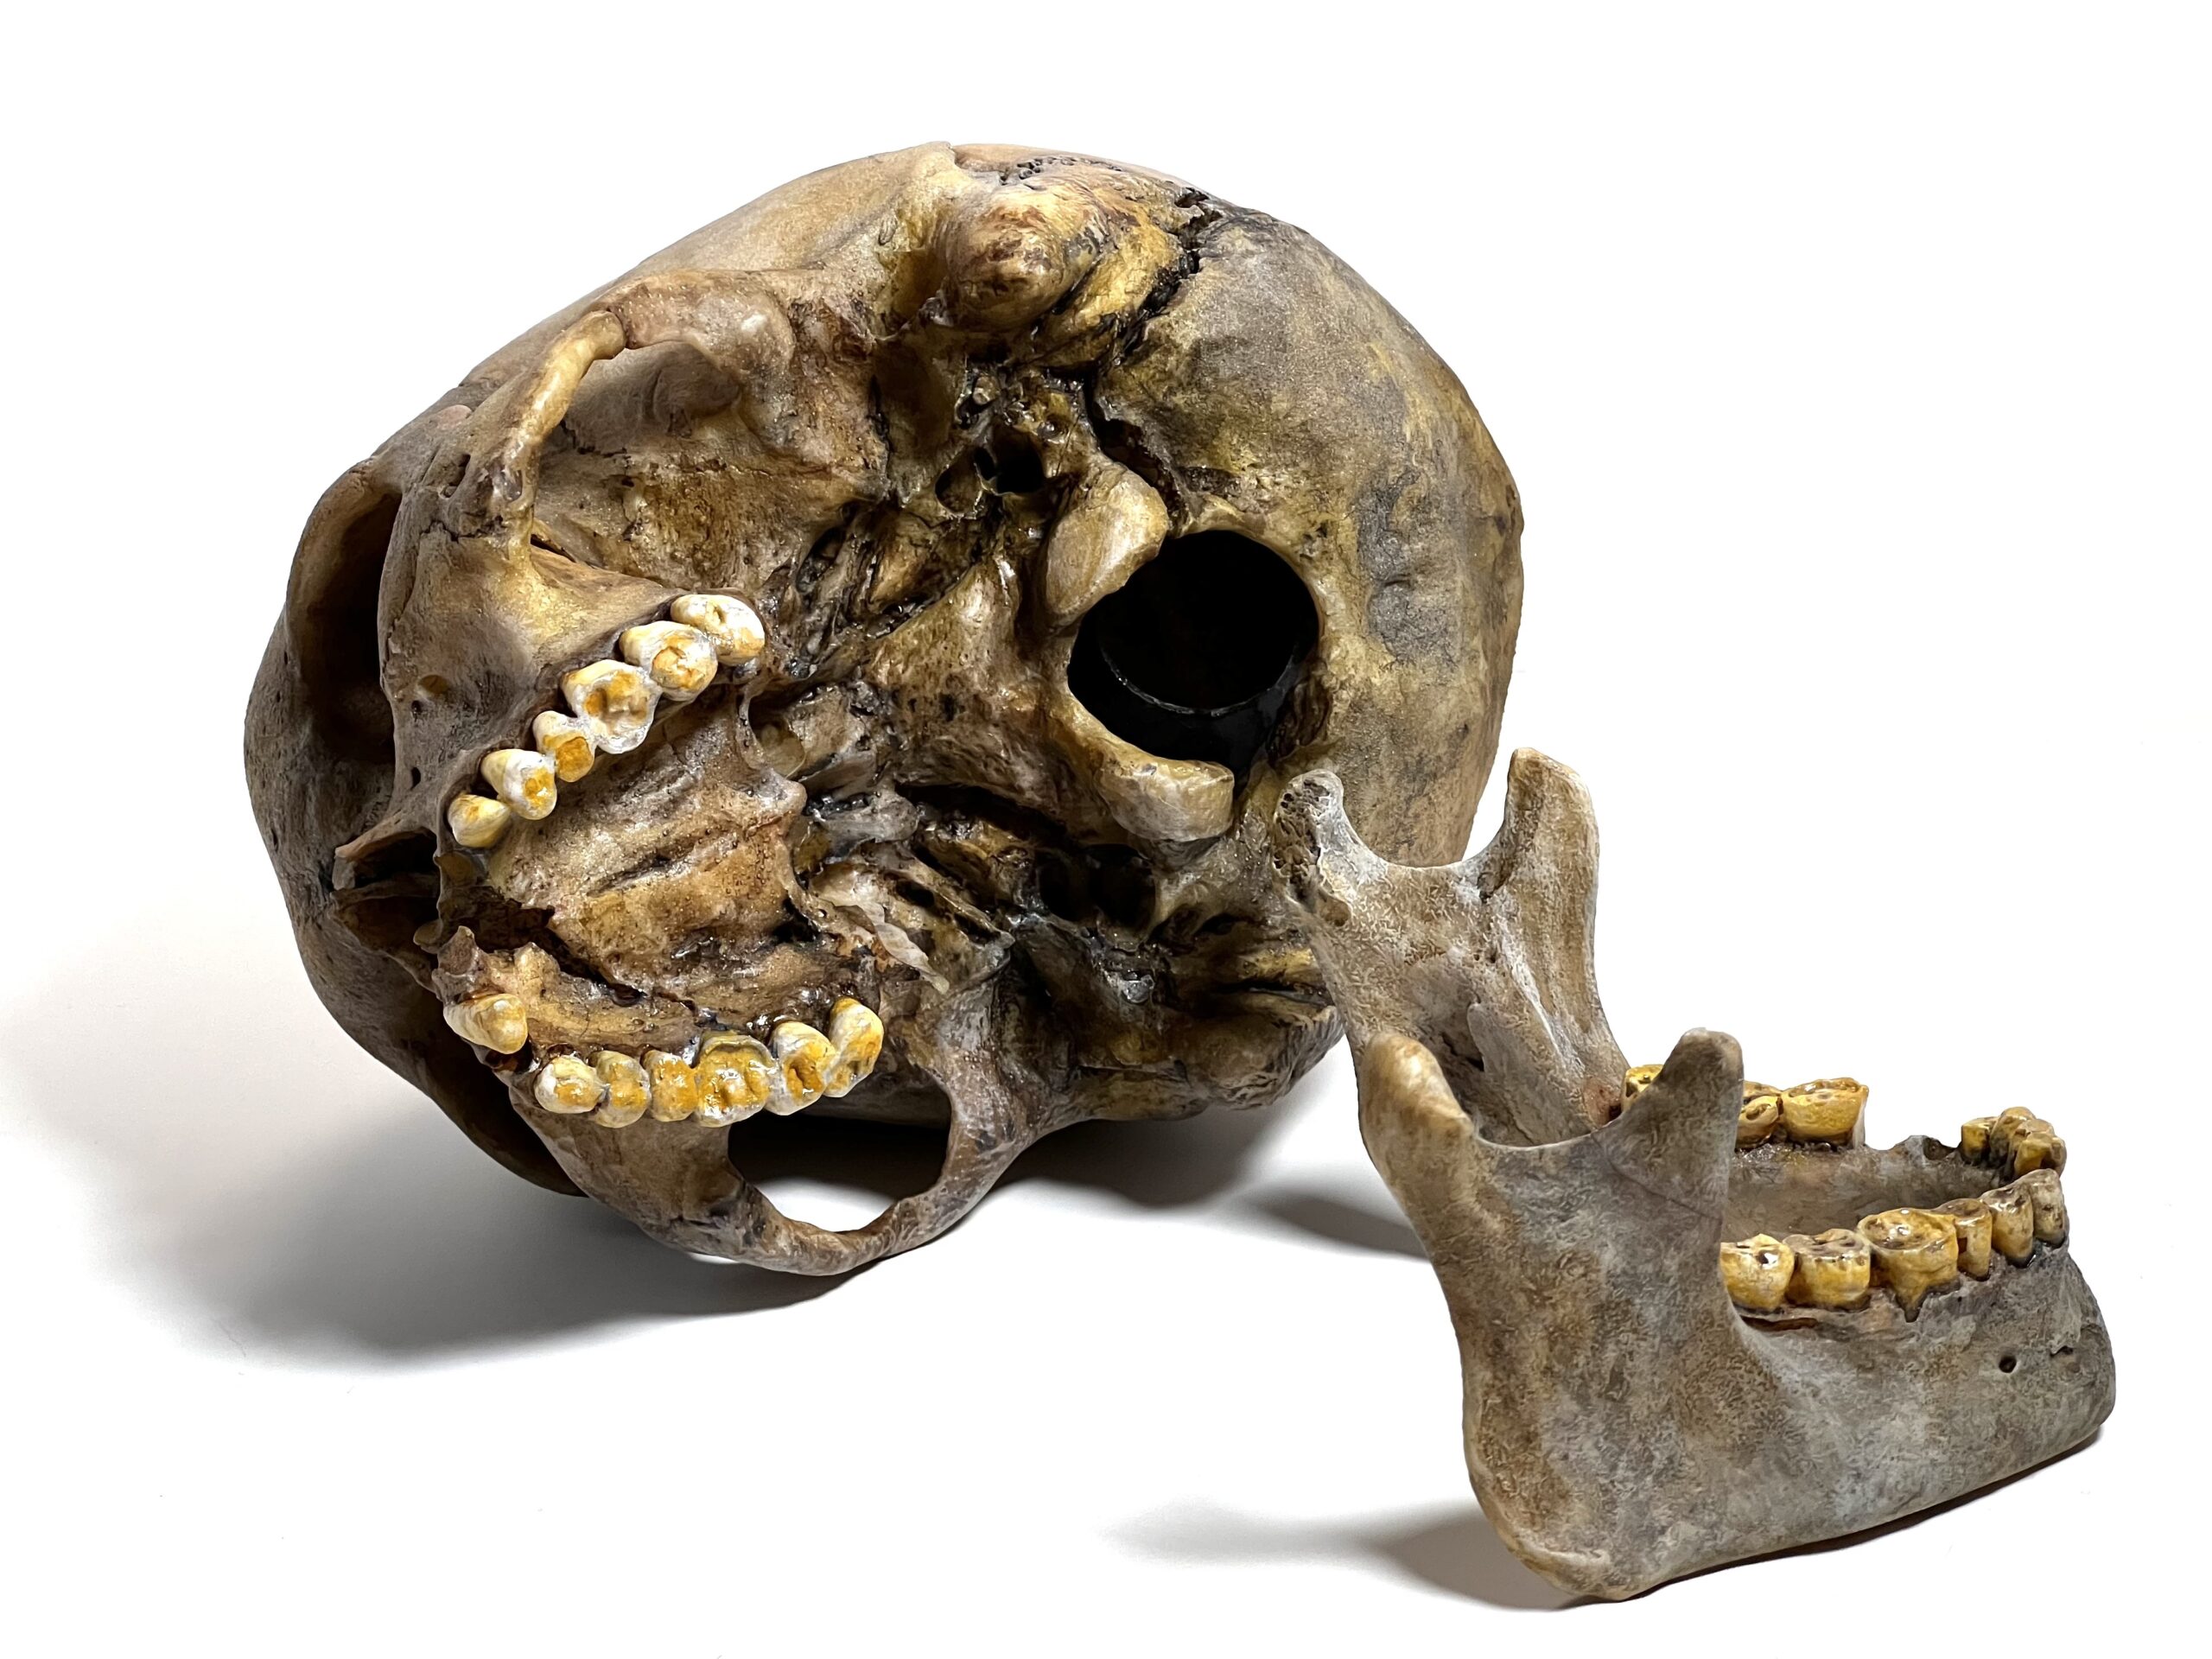
If you'd like to see one moving around, check out Dr. Lindsey Fitzharris' video below. Also, if you've read this far, you should just subscribe to her channel and check out her books. I've been a fan of her work since long before she bought one of these. Deep and rich medical history, what's not to love?
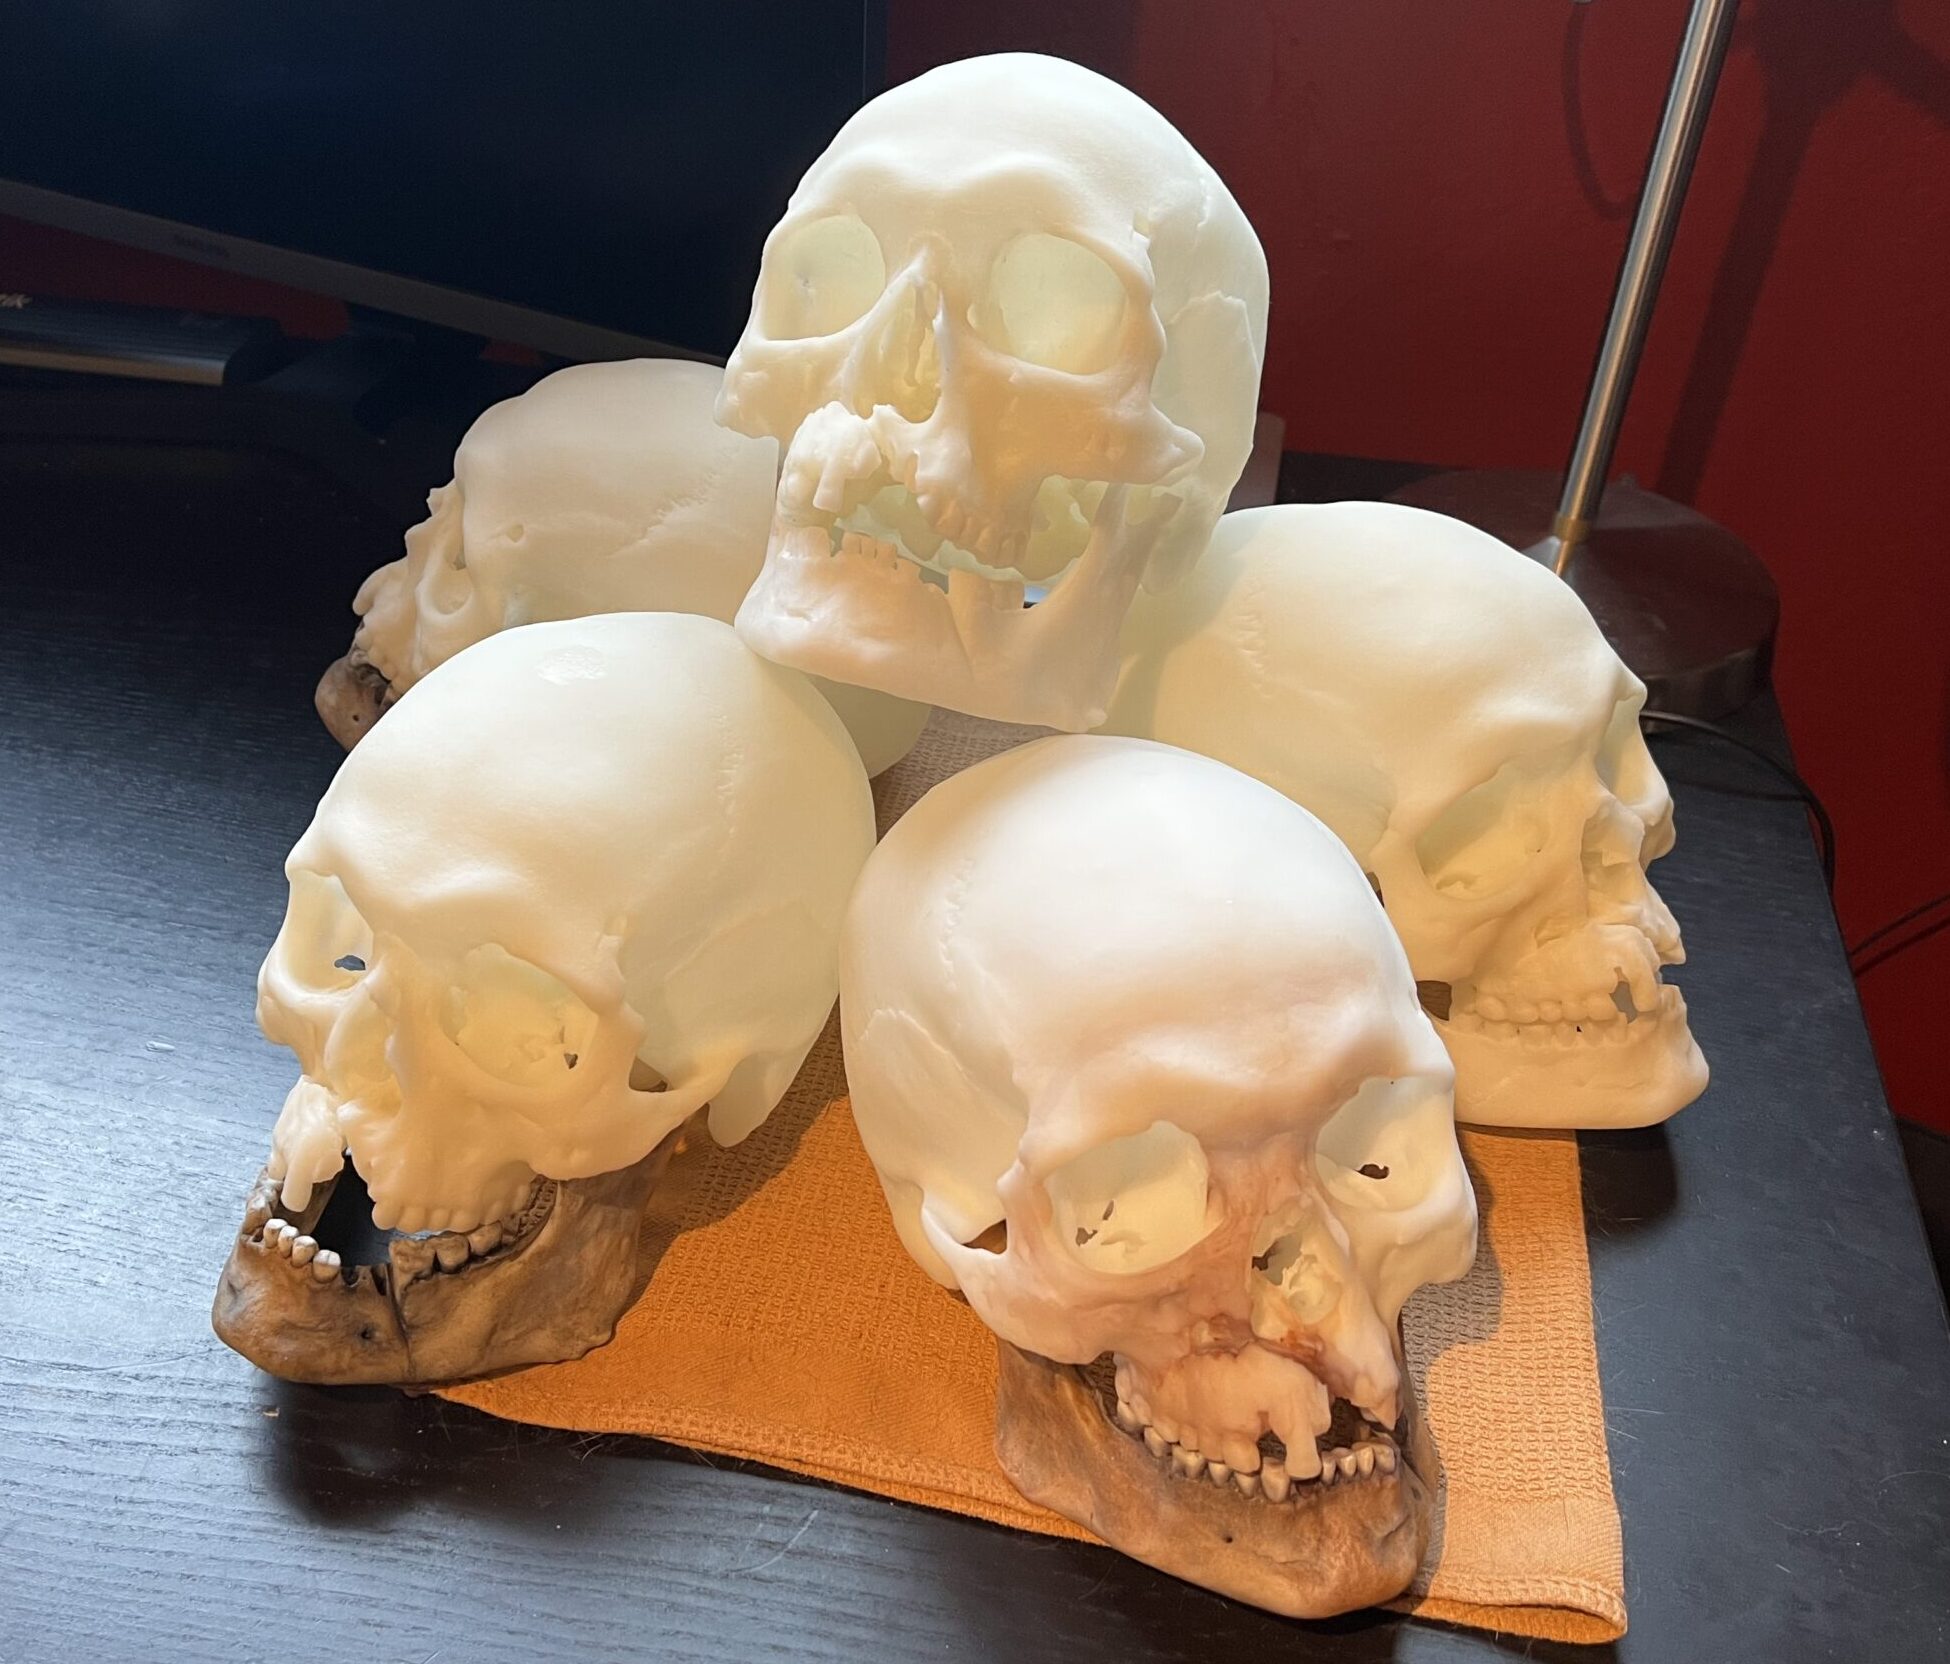
I'm not going to do a typical Purchase Page for these items because they're made to order and I have limited stock of the prints to paint more. At the moment I have one that is ready to sell and two more that are partially painted. If that changes, I will update the page to reflect it.
I'm asking $275 USD shipping inclusive for any address within Continental USA.
I can accept Paypal and Vemo payments.
If you'd like one, you can reach me via this contact form.
Read on to learn how I make them.
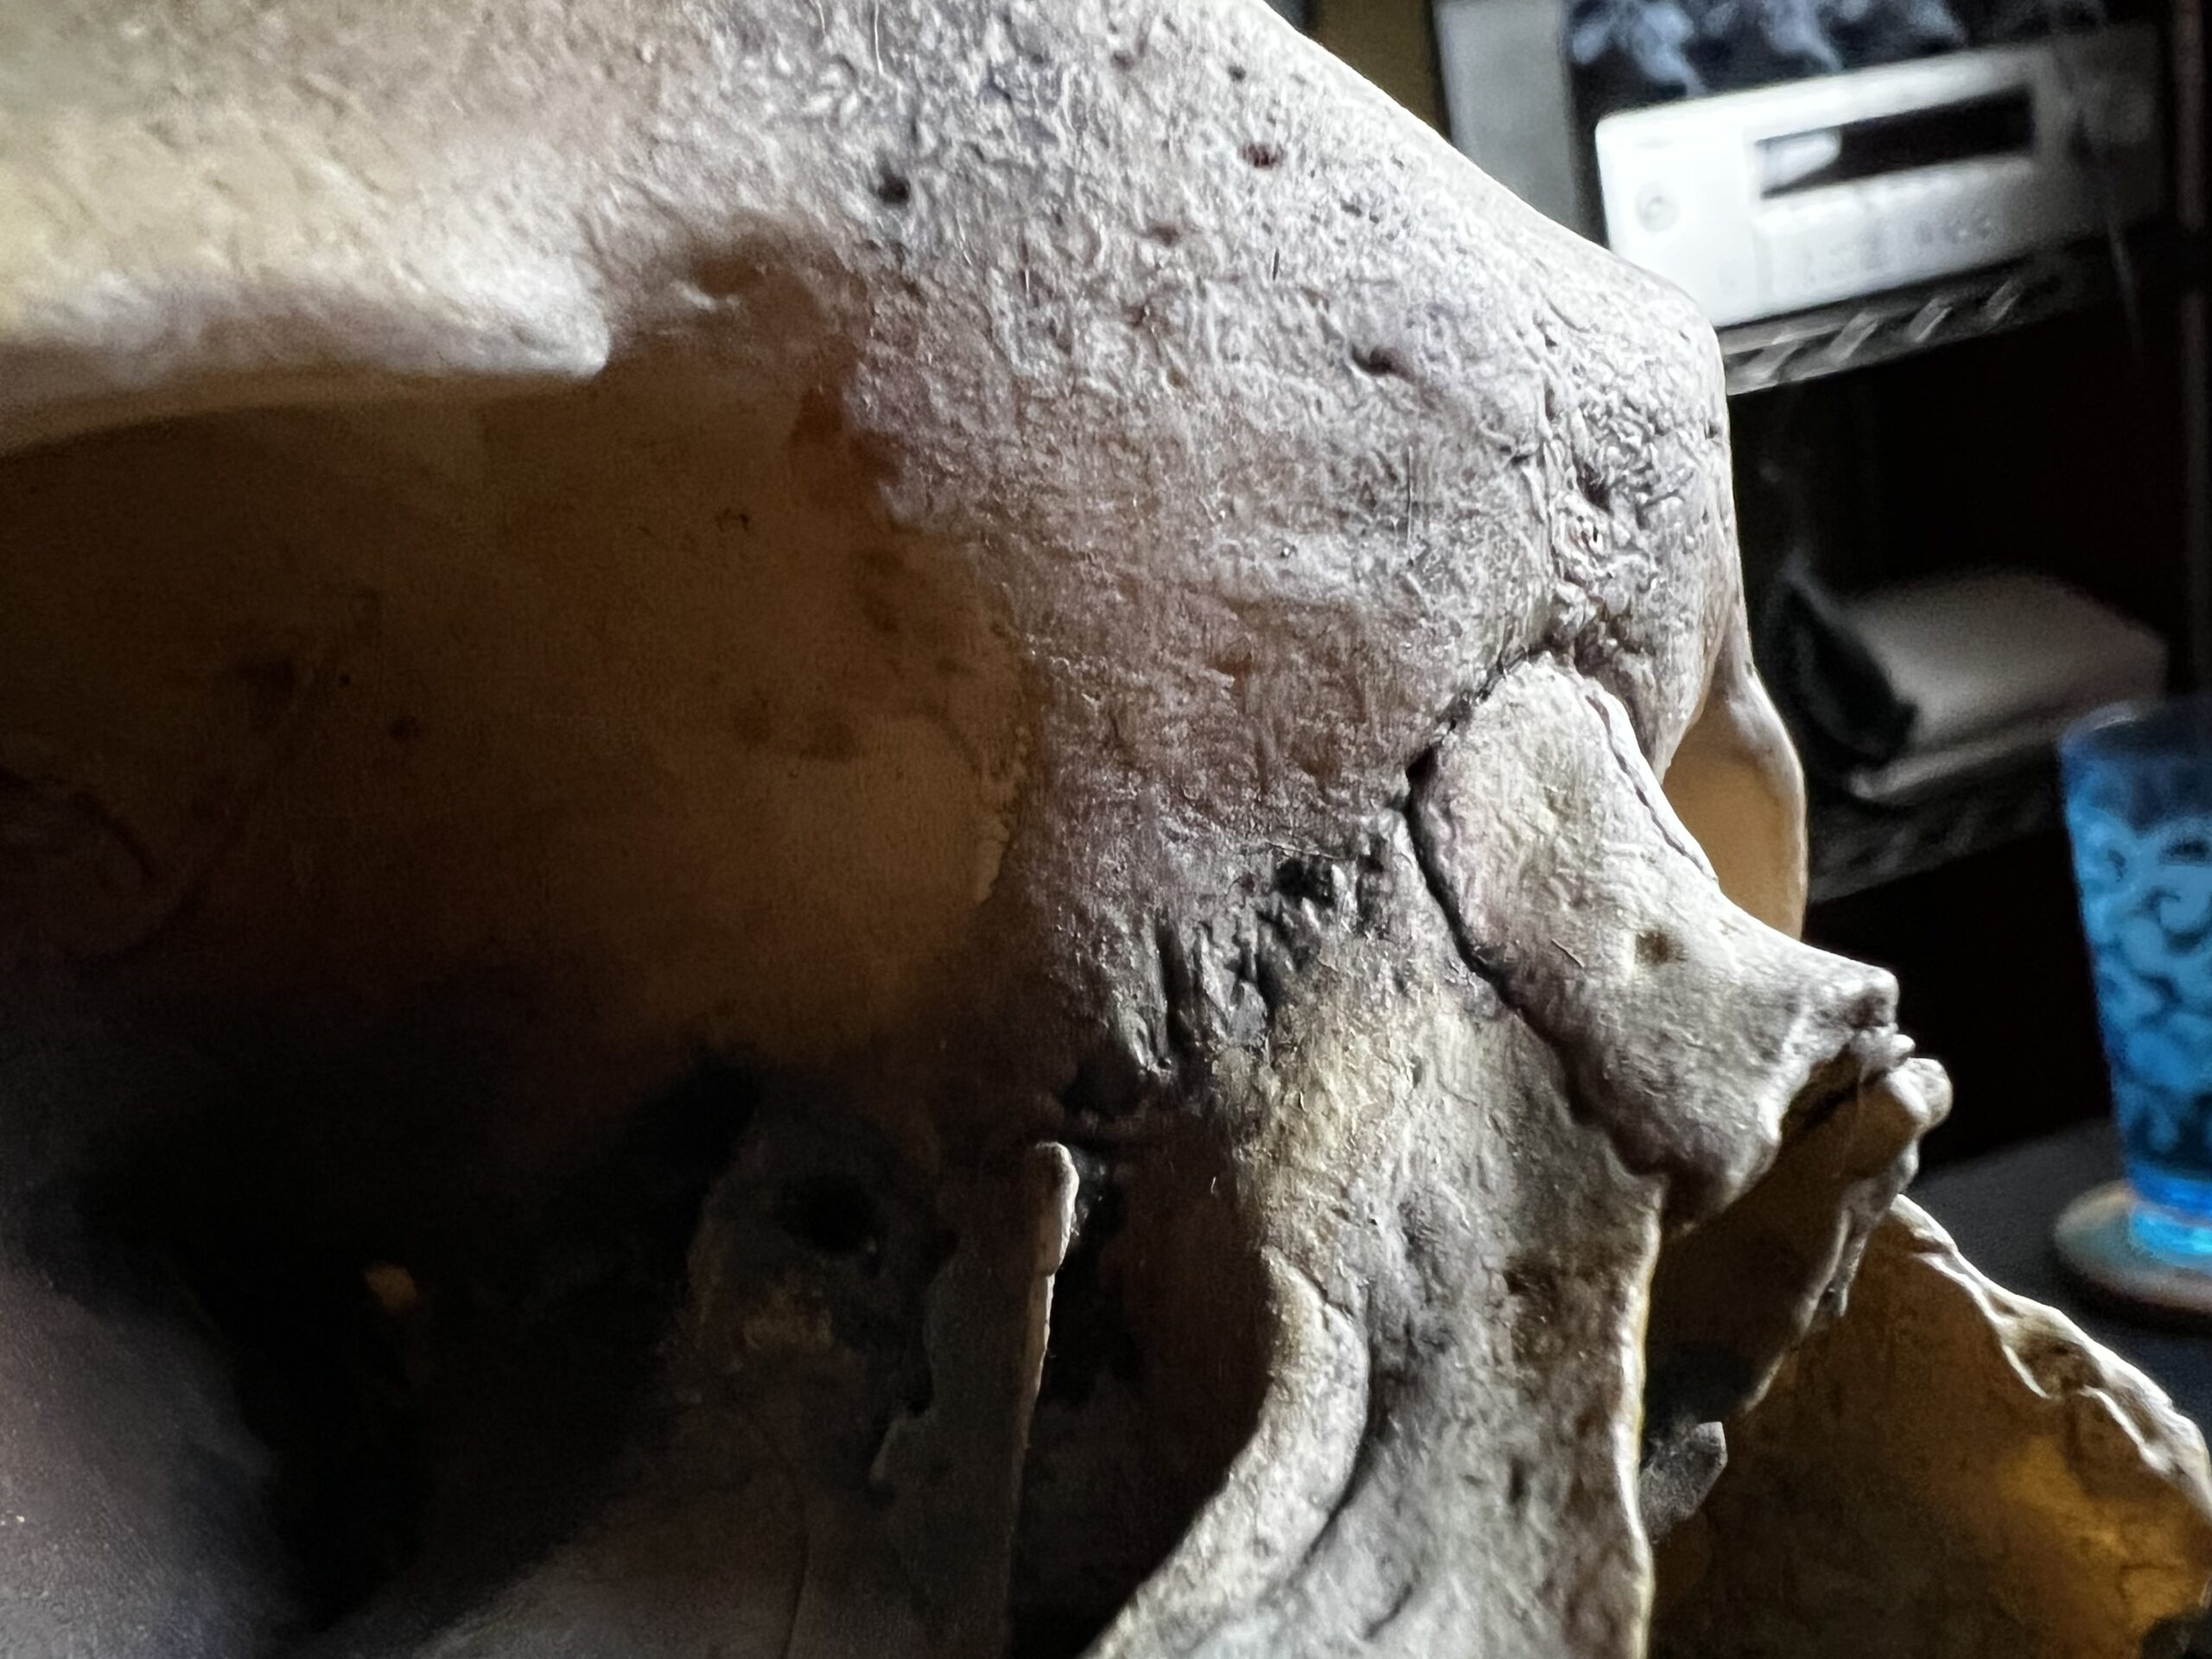
For this project I began with a very detailed 3d scan made available under Creative Commons license by Historika. If you'd like to look at the scan, there is an interactive viewer here.
That model doesn't have as much detail as I wanted however, so the first thing I did was take it into ZBrush and add back in all the detail that only existed in the textures.
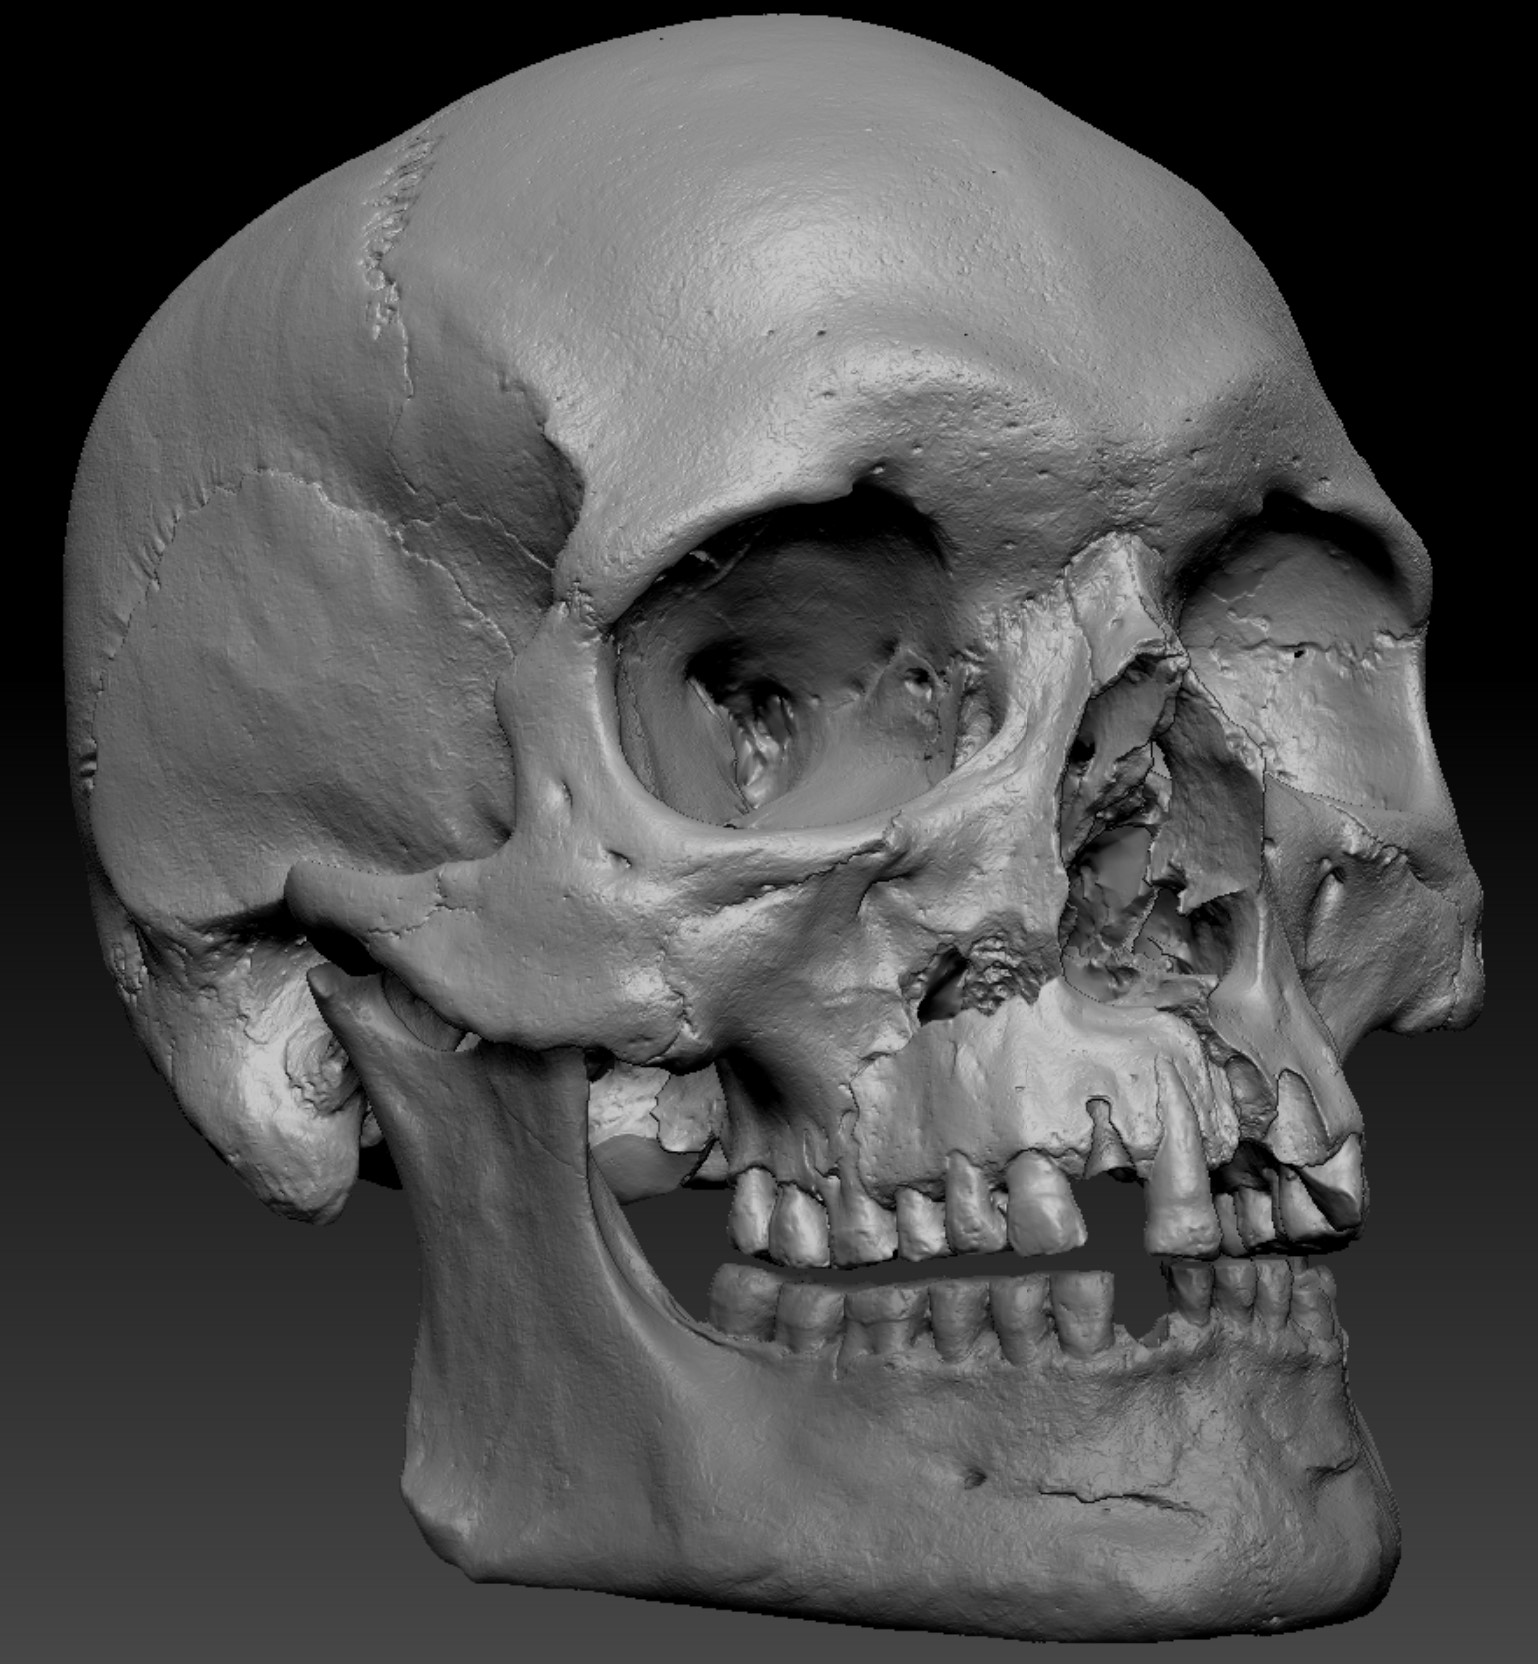
After that I have a model with about 50 million polygons. It has to be that dense a mesh to get details smaller than 0.1mm, but a file like that also will outright crash many of the programs designed to prepare models for printing. ZBrush also has a feature to visually losslessly reduce the polygon count (decimation). The more effecient file still takes up 300 megs of storage space.
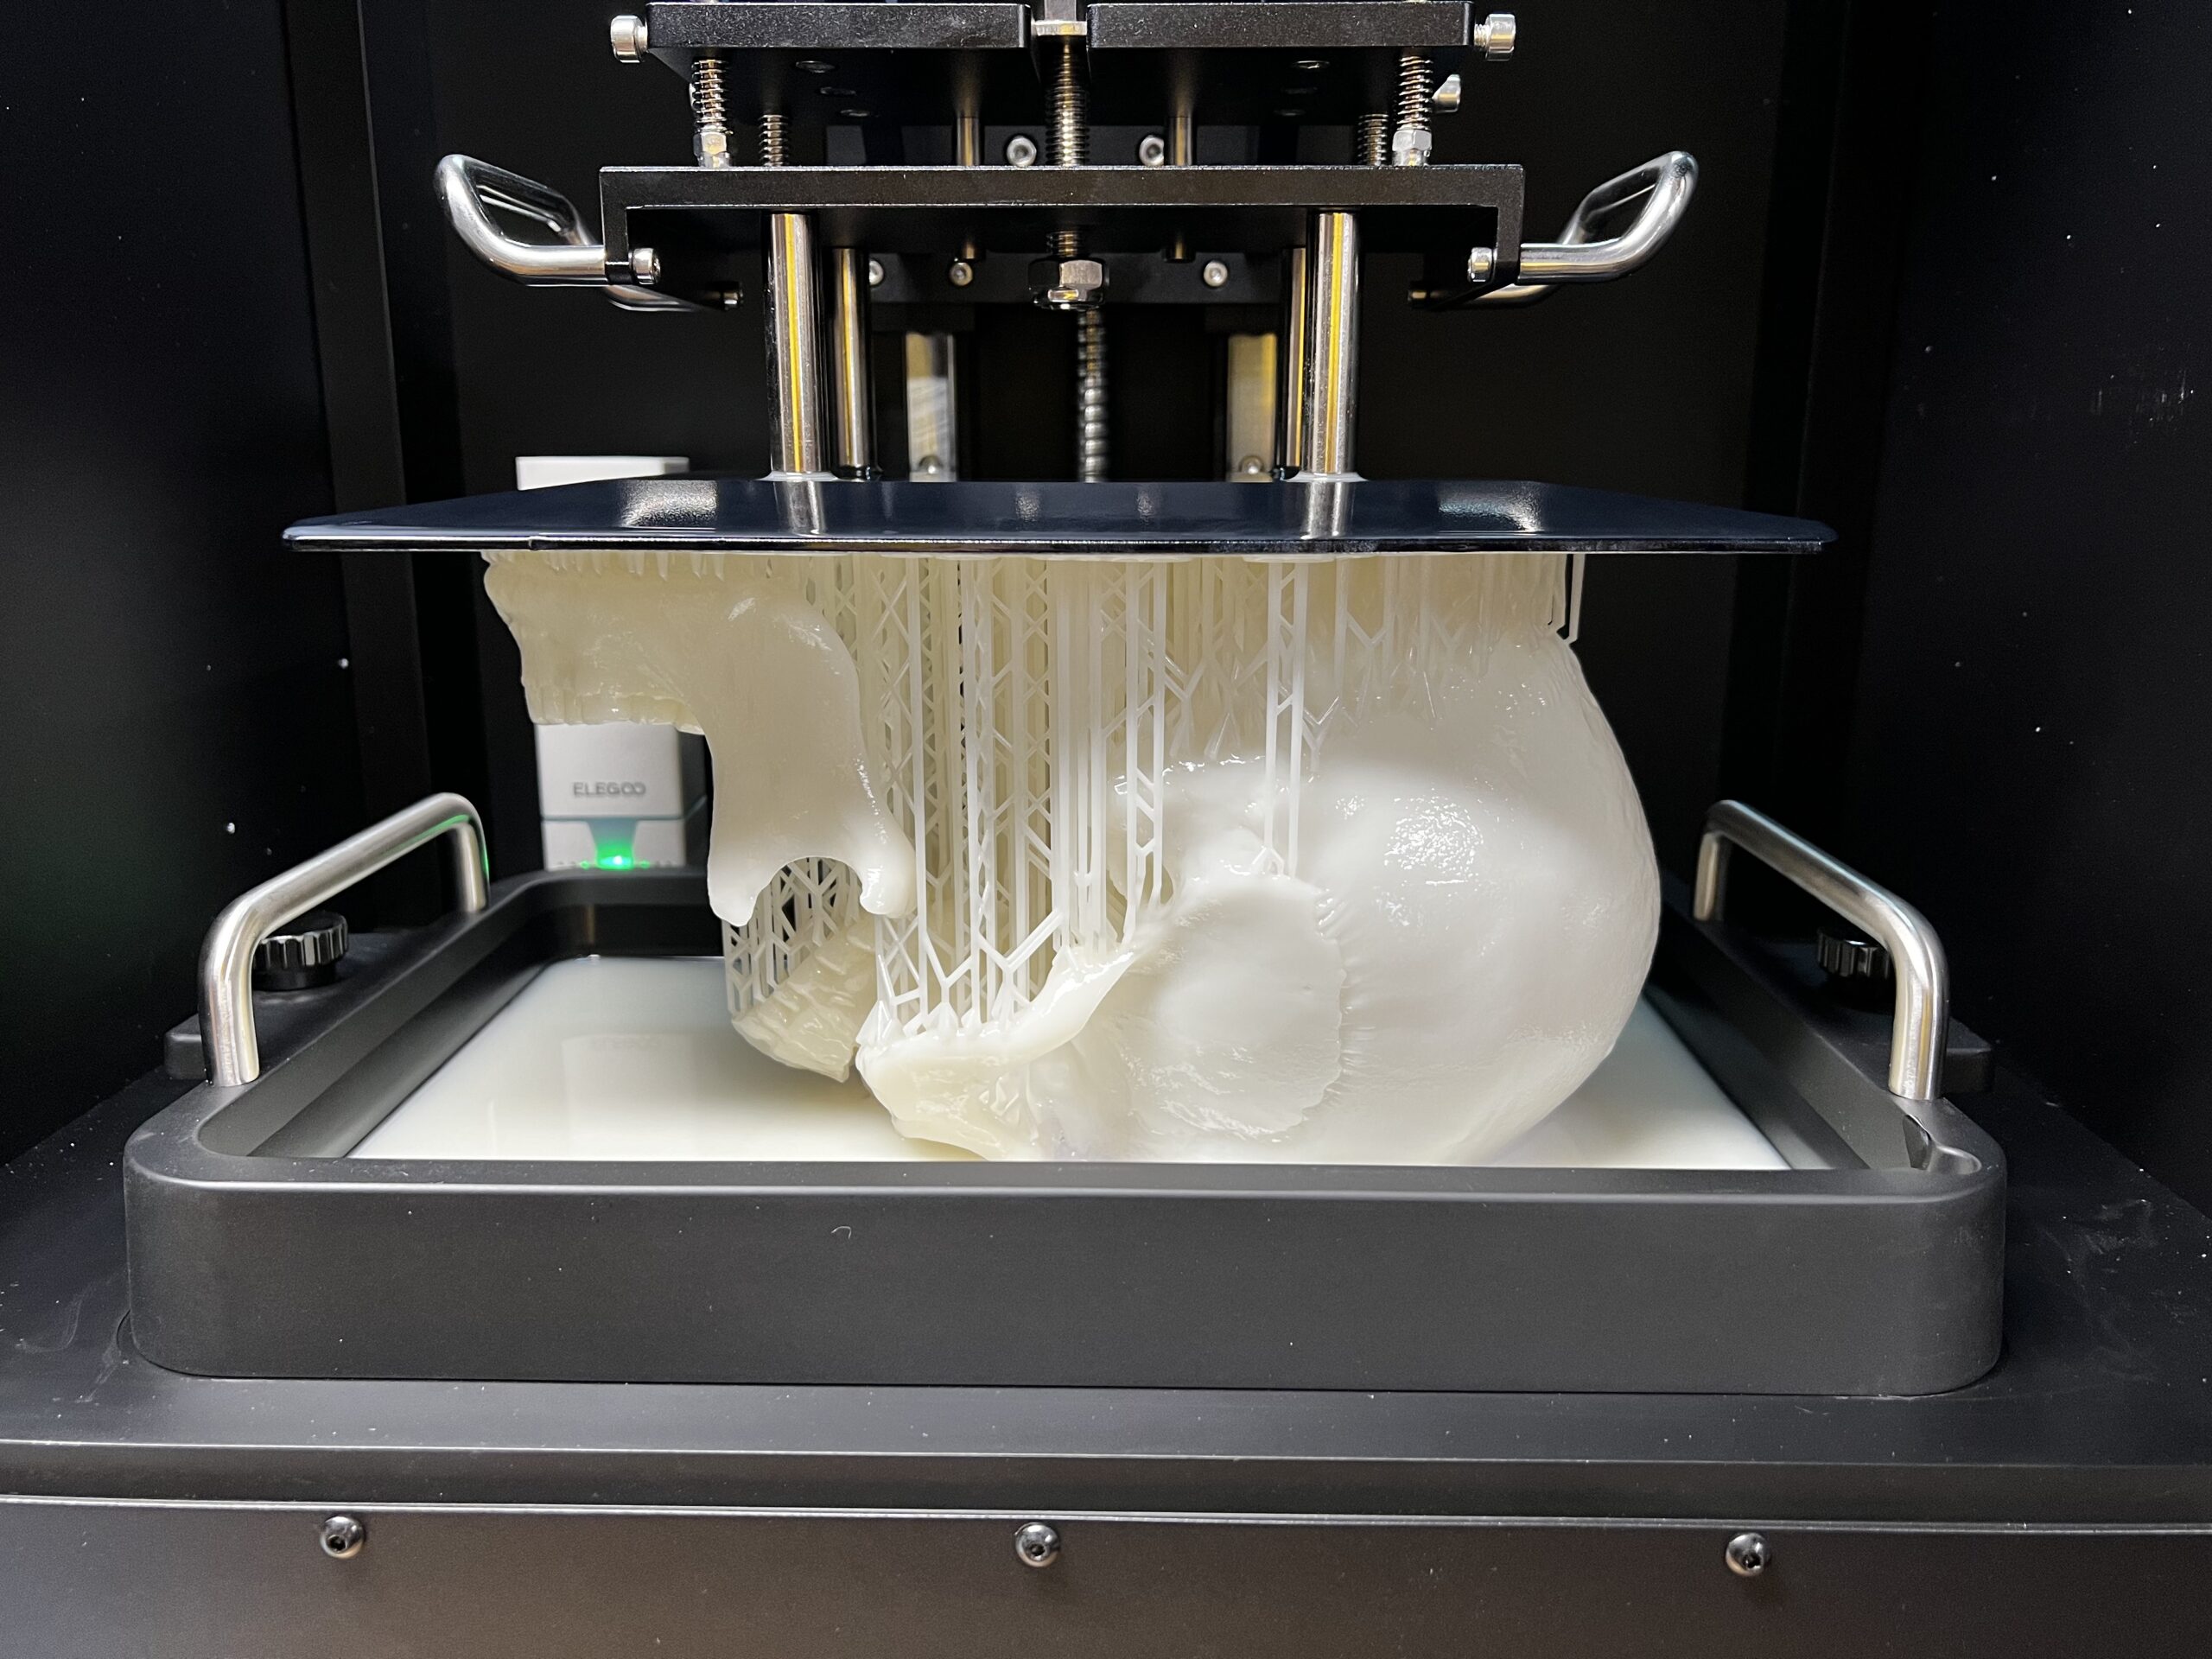
For these prints I exclusively use Siraya Tech Fast resin in white because I like the translucence I can get with it. It does a pretty good job of mimicking actual bone. You'll notice if you see the skull next to a bright light because the orbits of the eyes and much of the structure around the nasal cavity allow a good deal of light through.
The printing process itself is fully hands off and takes about 16 hours per skull.
When it's done, I get this.
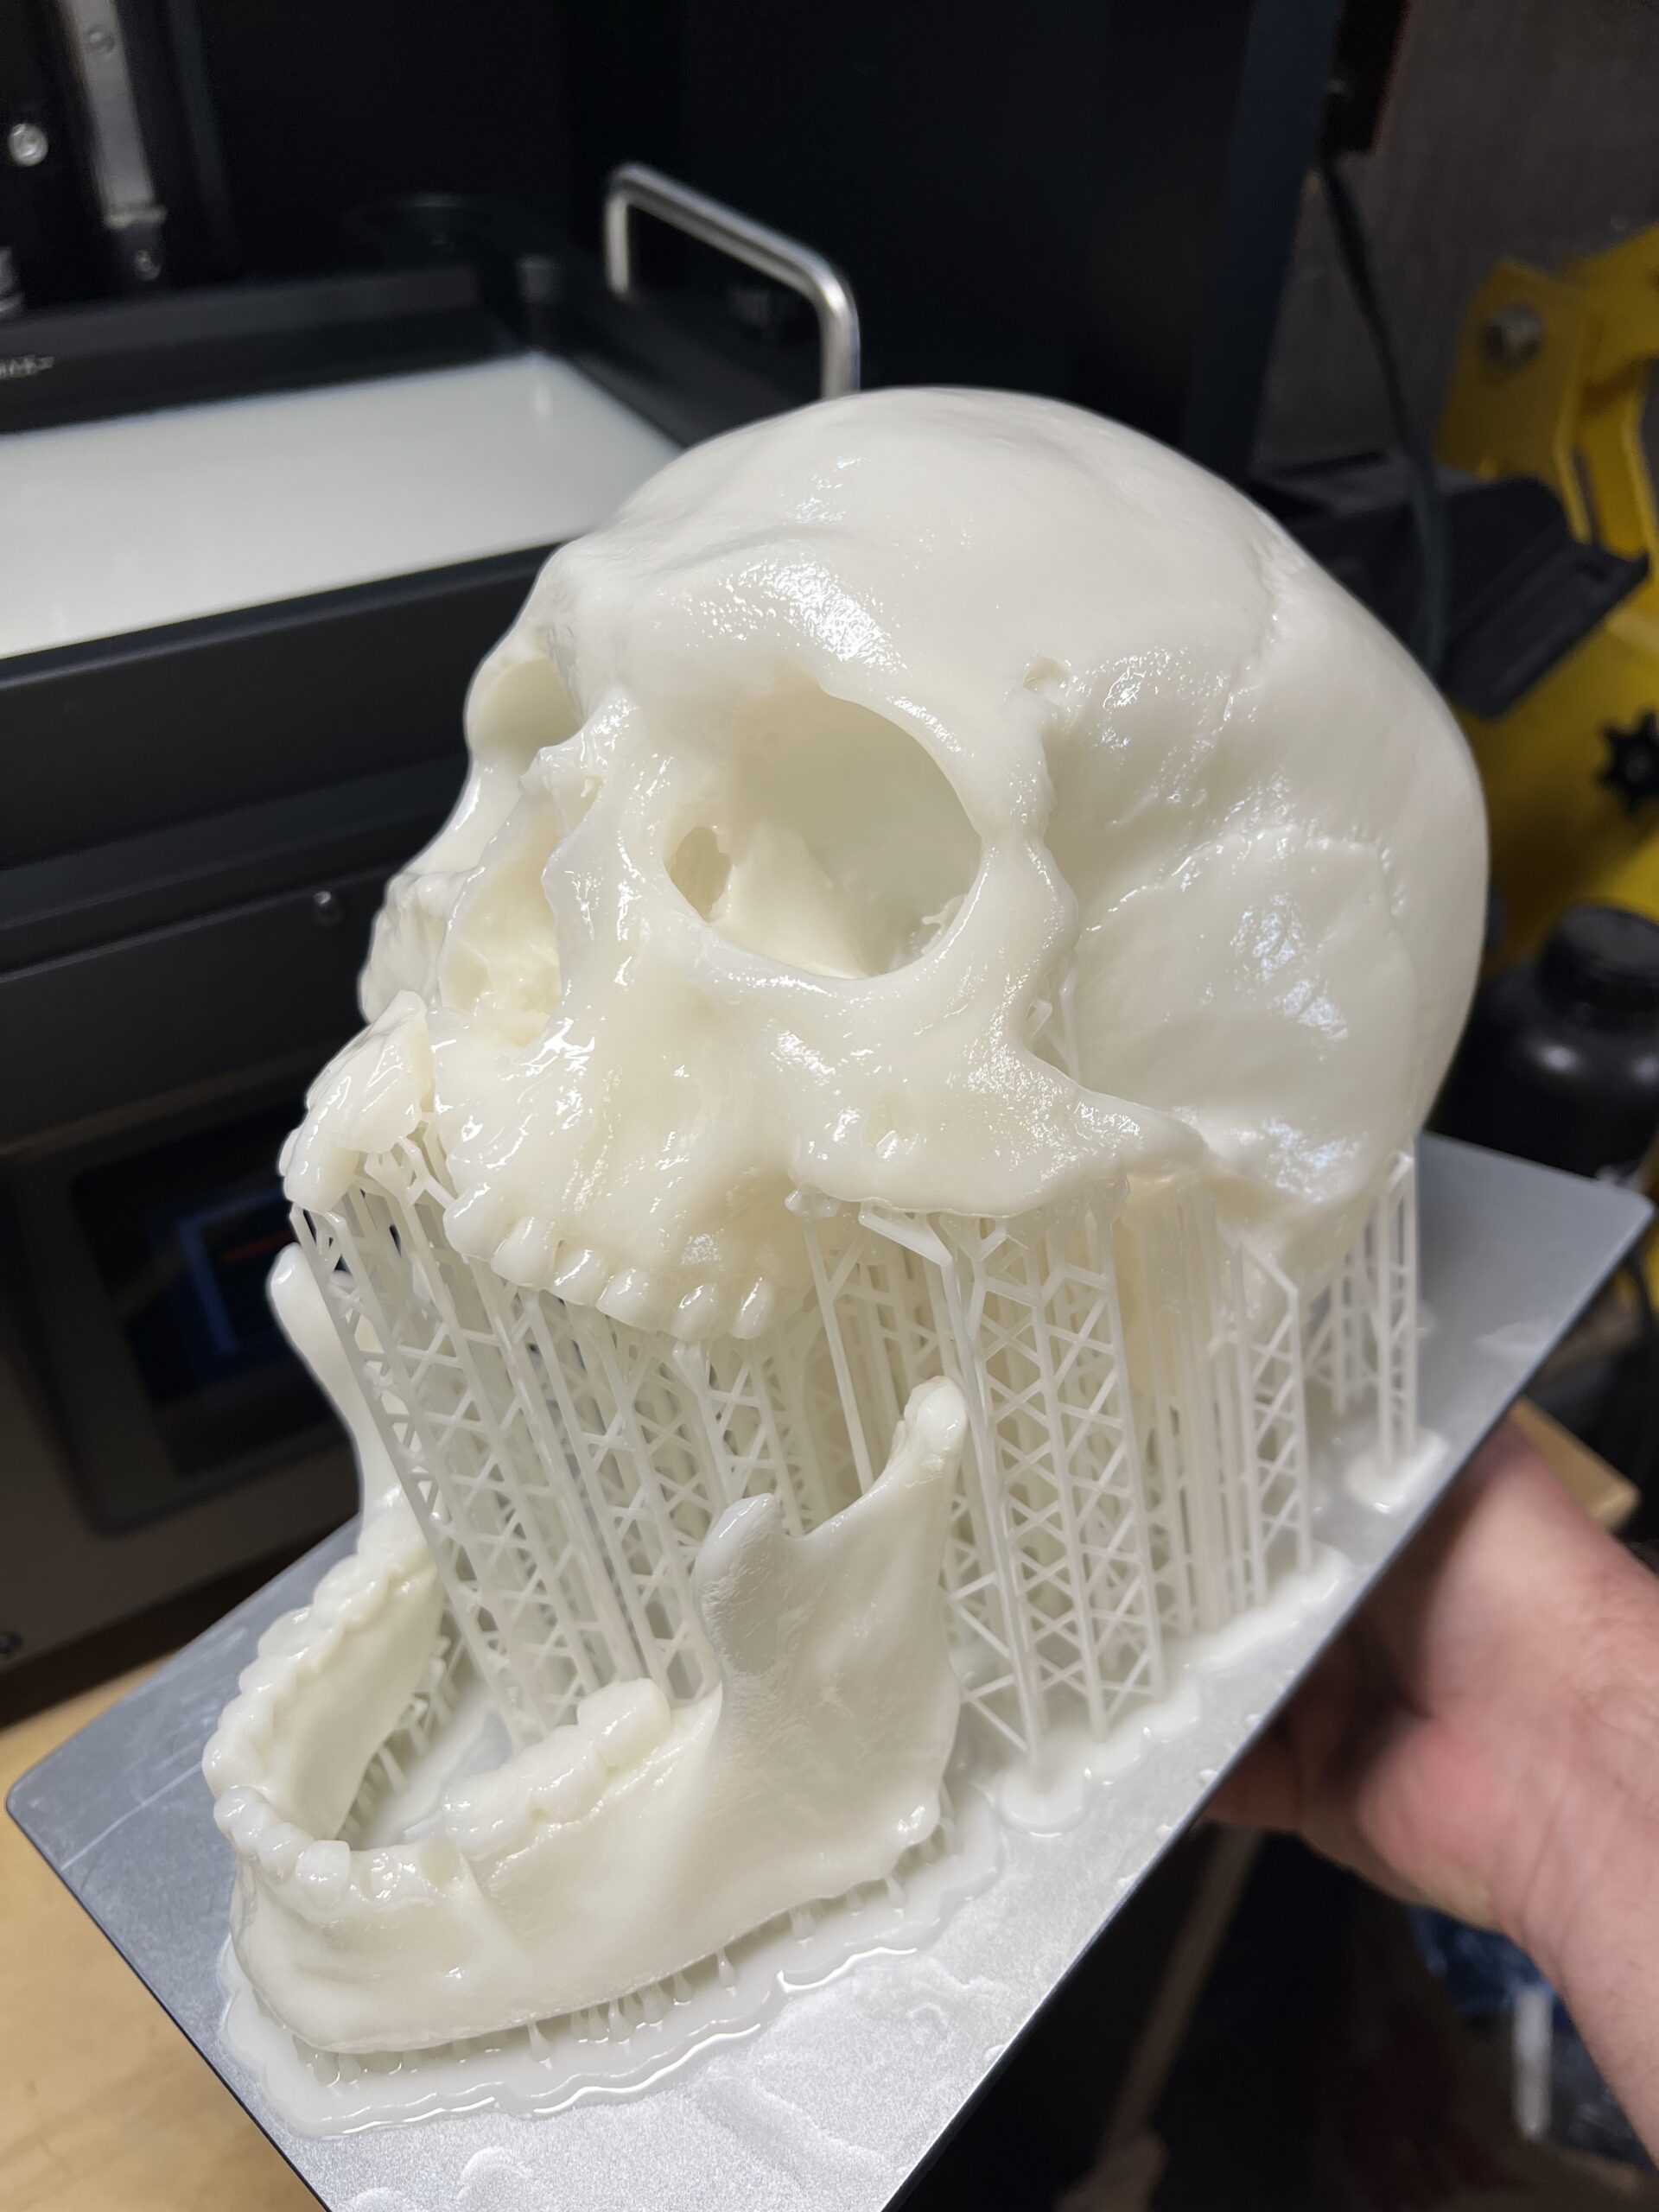
This was the very first one I printed and since then I've gotten a flexible build plate which makes removing the print from the plate much, much easier. All that liquid resin has to be washed off with 99% isopropyl alcohol, which I buy by the gallon.
This was technically a failed print because I printed it too close to the build plate and a large mass of the supports fused to the model. That lattice holds the model up as it's made layer by layer upside down (see above).
There are Wash & Cure machines that largely automate a great deal of the post processing of prints, but I have not found any that work with models this size (I have found one it fits in, the machine just doesn't work due to terrible design). So I had to improvise.
In this case that means a very large tupperware bin, about a gallon of alcohol, a peristaltic pump, and a cheap chipping brush with the handle cut off and a hole drilled through it so I can pump alcohol through it. Say what you will, but it works. Just wear a serious respirator and don't do it in an enclosed place where there's any kind of spark or flame.
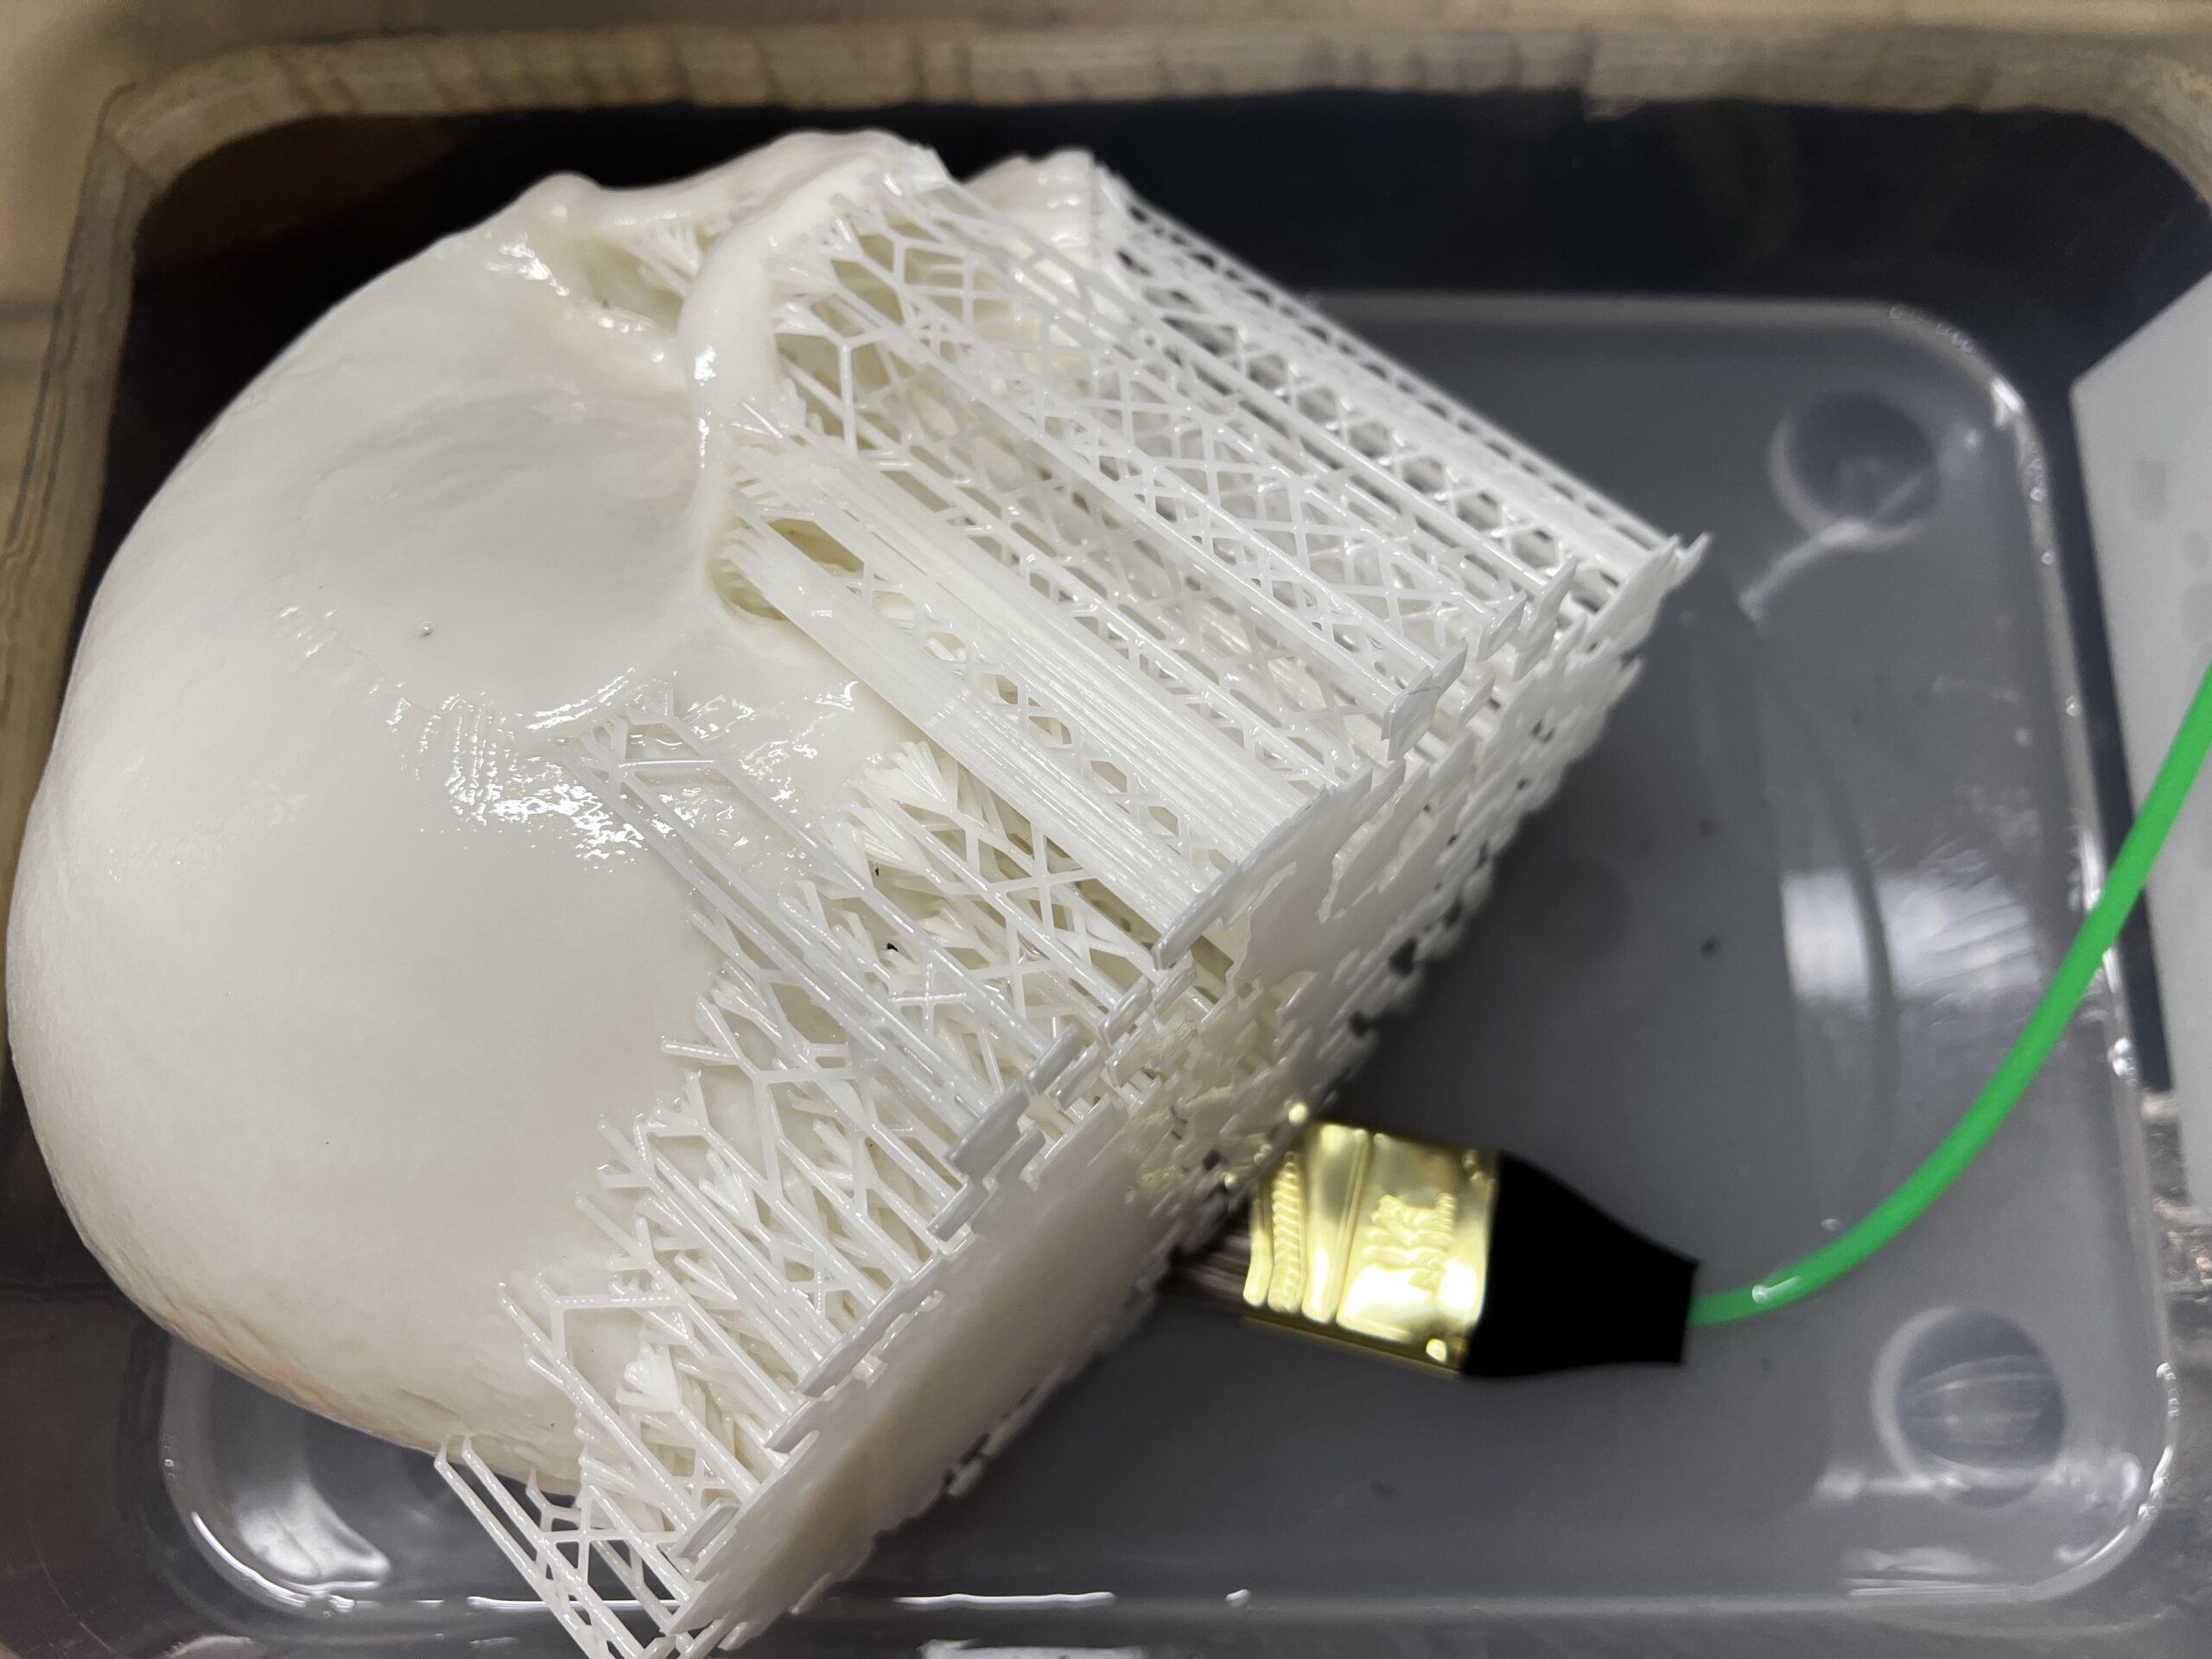
Once all the uncured resin is washed off, I remove those supports.
Getting supports right with resin prints is vital to good quality, successful prints, and experience teaches how balance support for the print versus minimal marring of the model where the supports attach.
On a print this big, the challenges are magnified considerably. See above about my first print. The strategy I ended up with on this particular print was printing the jaw and cranium separately and making heavy use of very dense, very small tree supports. Smaller contact points translates pretty directly to smaller marks on the print.
Directly from the printer, the resin is not fully cured, which is the reason the support machines for these printers are called wash & cure machines.
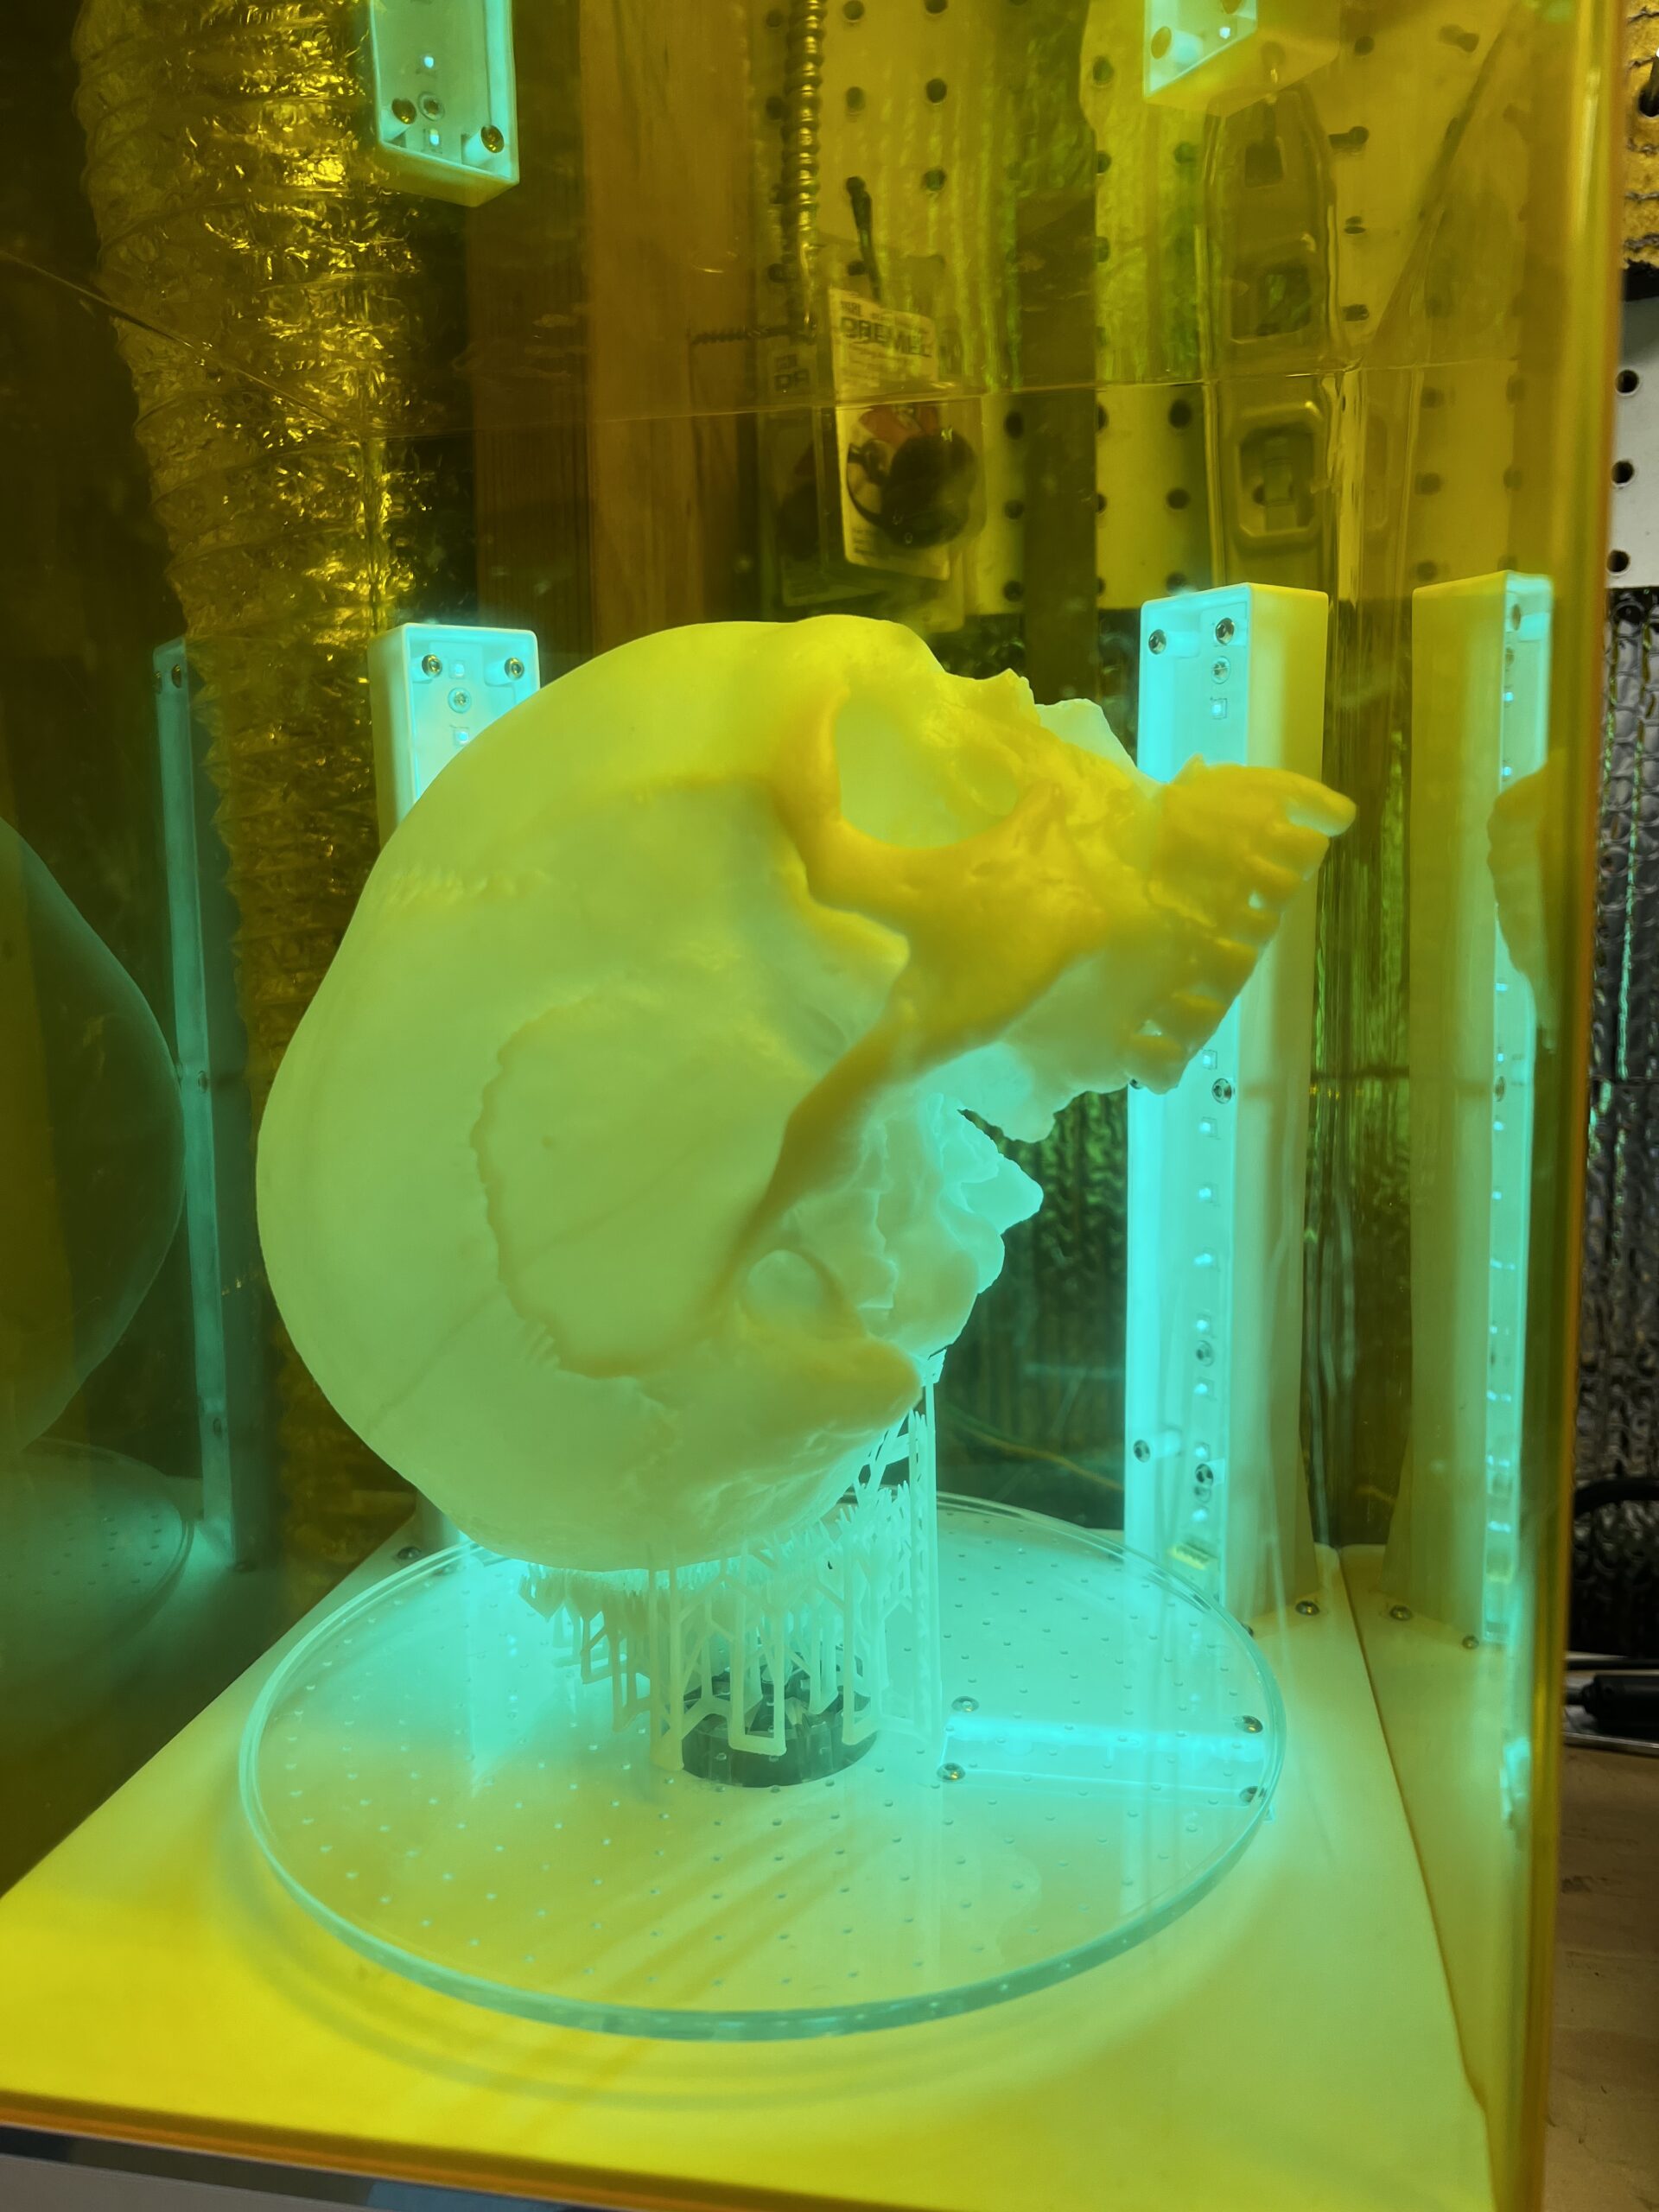
Luckily, my large-format Elegoo Wash & Cure machine has a curing chamber large enough -- just barely! -- for these skulls.
In that picture, the supports you see aren't attached to the model. Instead, they're just there to hold the skull at that angle so it can slowly rotate around in the UV (which is only those two pillars in the back).
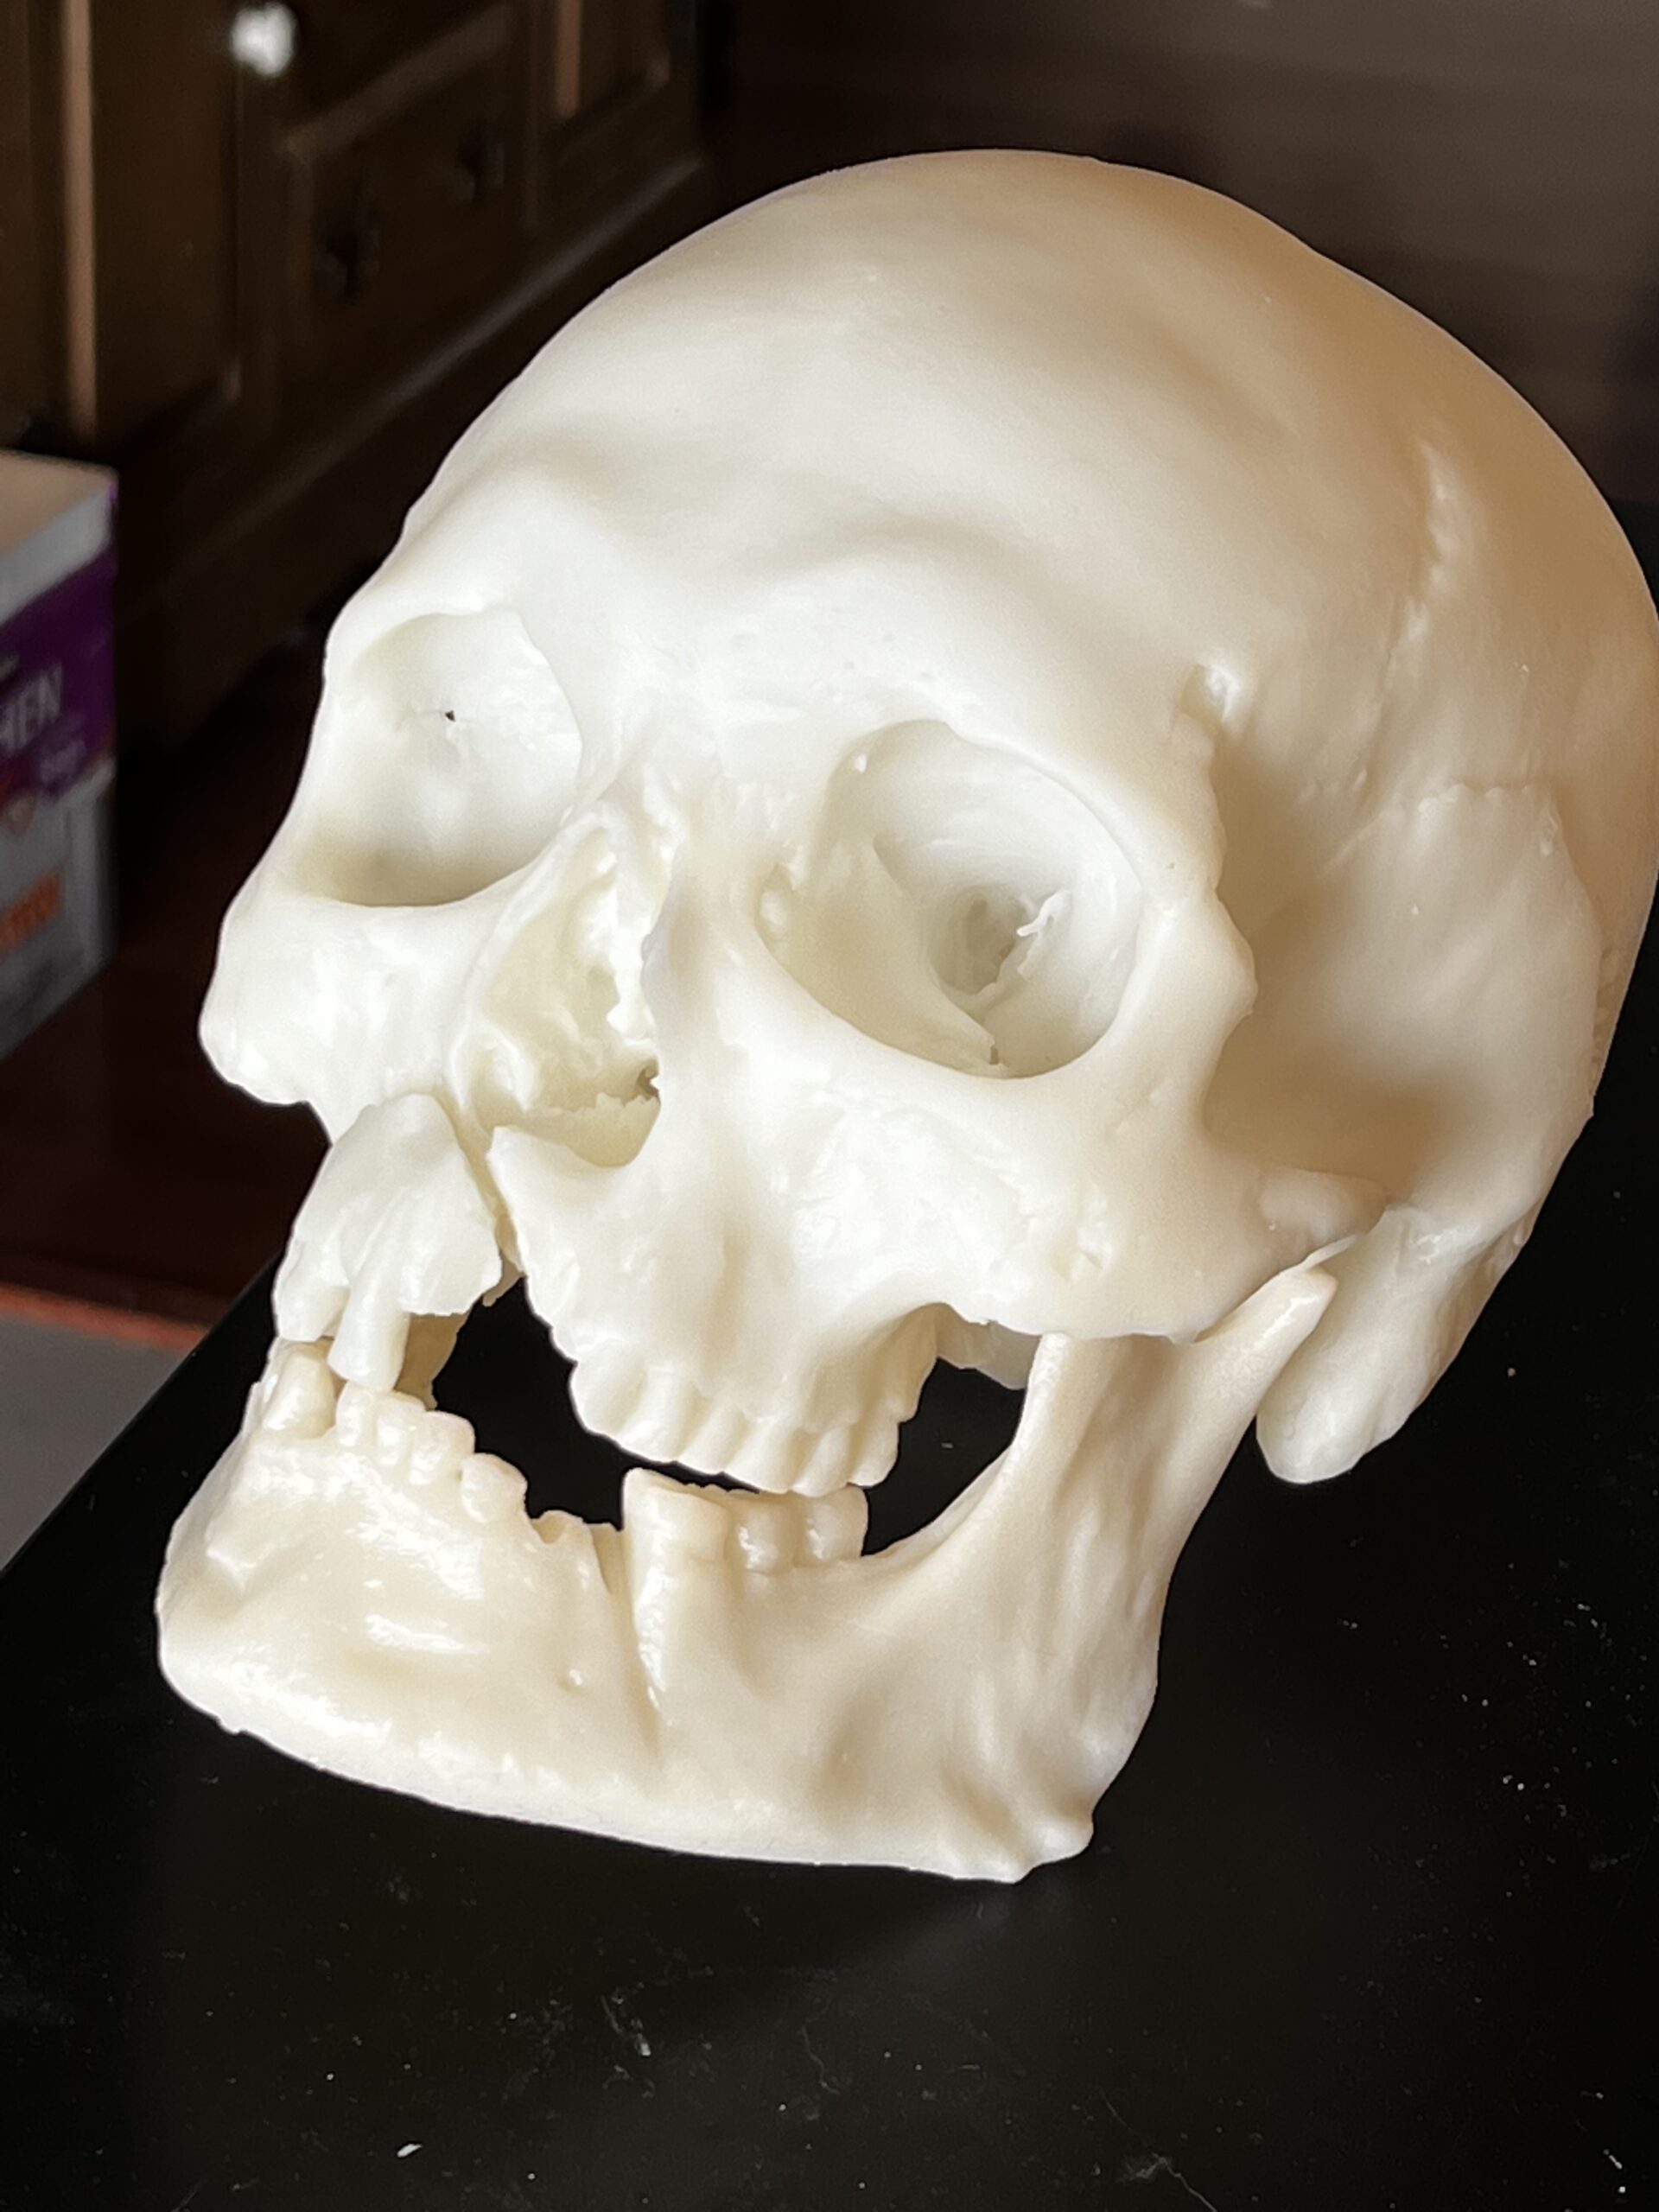
Sometimes I clean up the support marks before final curing, sometimes after, but this involves going over the bottom of the skull where they attach with a craft knife and a Dremel. On this model, I've found the best way of disguising this is by dipping a toothpick in liquid resin and flicking it to spatter the surface and give it a very small pebbling effect, then just take it into direct sunlight, and repeat as needed.
I tried diluting resin with alcohol and spraying it on in direct sunlight which works really well, but is also a terrible idea. Uncured resin is quite toxic and will cause contact dermatitis. How quickly? It varies from person to person, but every exposure makes it more likely. It's also carcinogenic and breathing the vaporized mist would be, I expect, very bad indeed. So don't do that, even though it works very well.
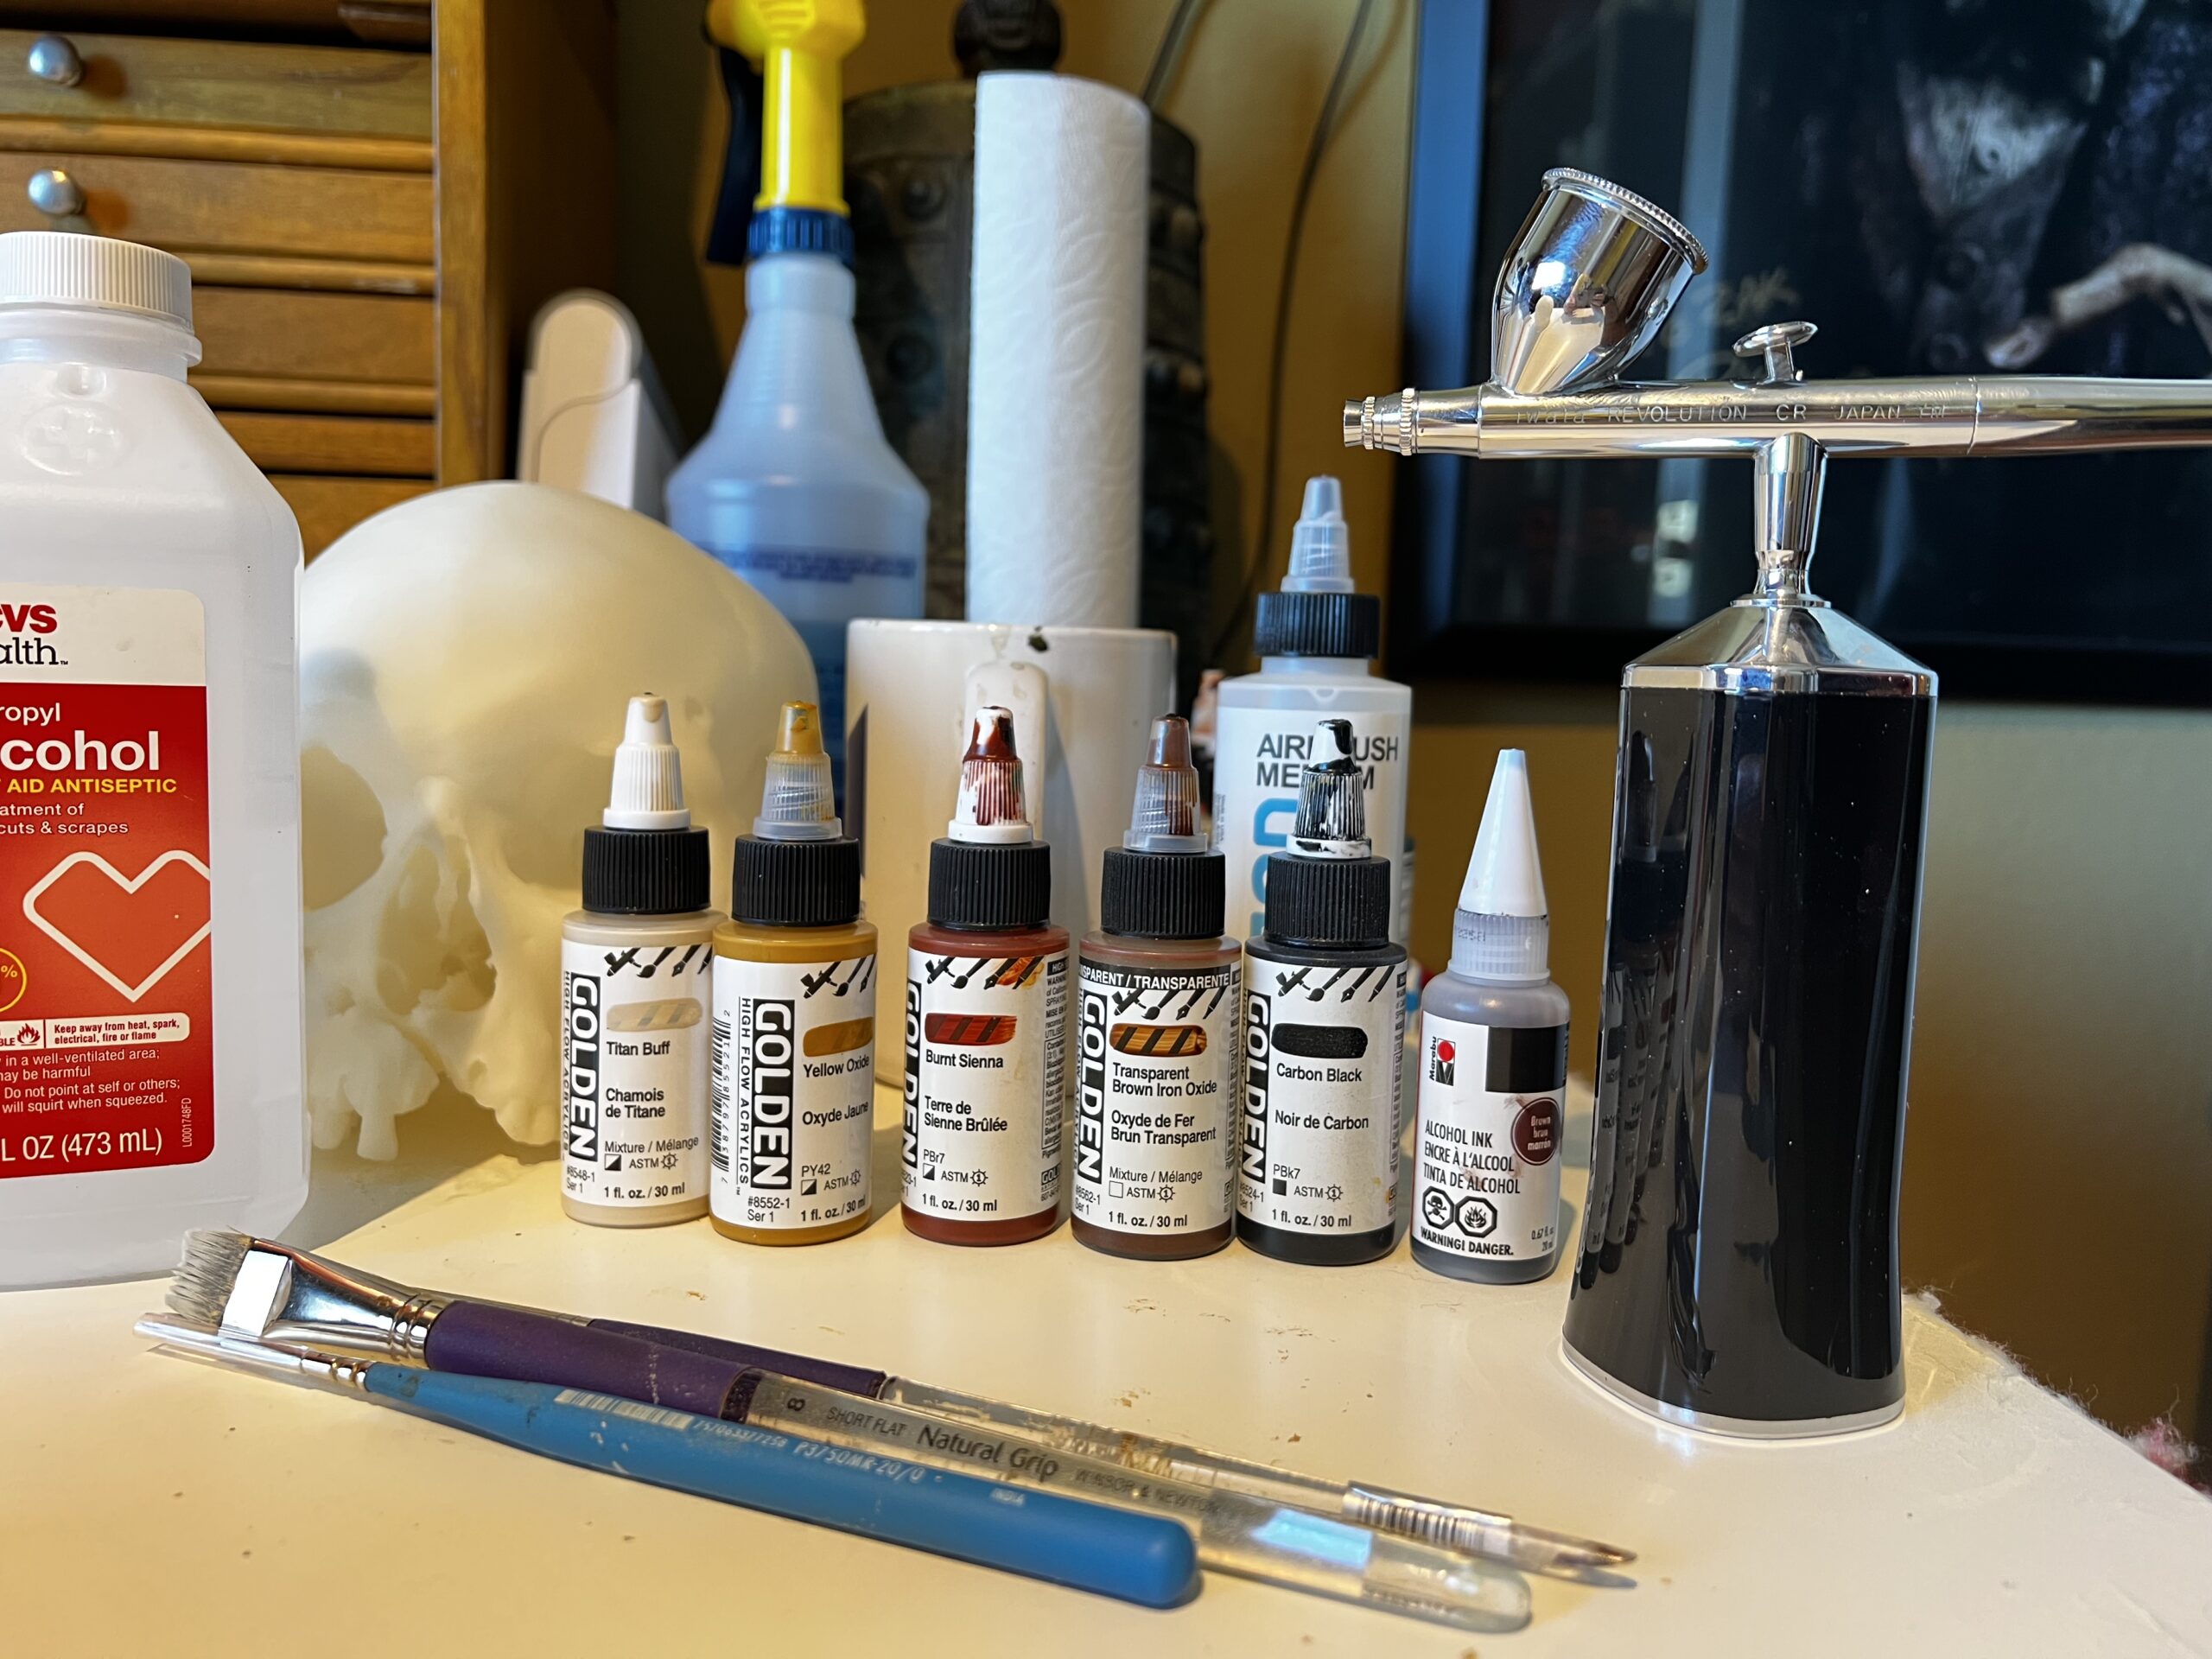
Once the models are fully prepped I move to painting. Using Golden's High Flow acrylics for airbrushing I've found no need to use primer.
In addition to the acrylics, I also use a couple of different alcohol inks and the airbrush medium as a drying retardant.
Once I got the hang of the cheap, rechargable airbrush I got a nice Iwata and a dedicated airbrush pump, having both lets me use both airbrushes at once which opens interesting blending options. Specifically, using just airbrush medium or very dilute paint in one airbrush and a main color in the other, which lets me blend things live. It works very nicely.
There were a lot of different painting techniques I considered. It would make the most sense to just do assembly-line methods and set up a list of steps and colors, but that would be deadly dull to do, so I decided to play it by ear with each individual skull.
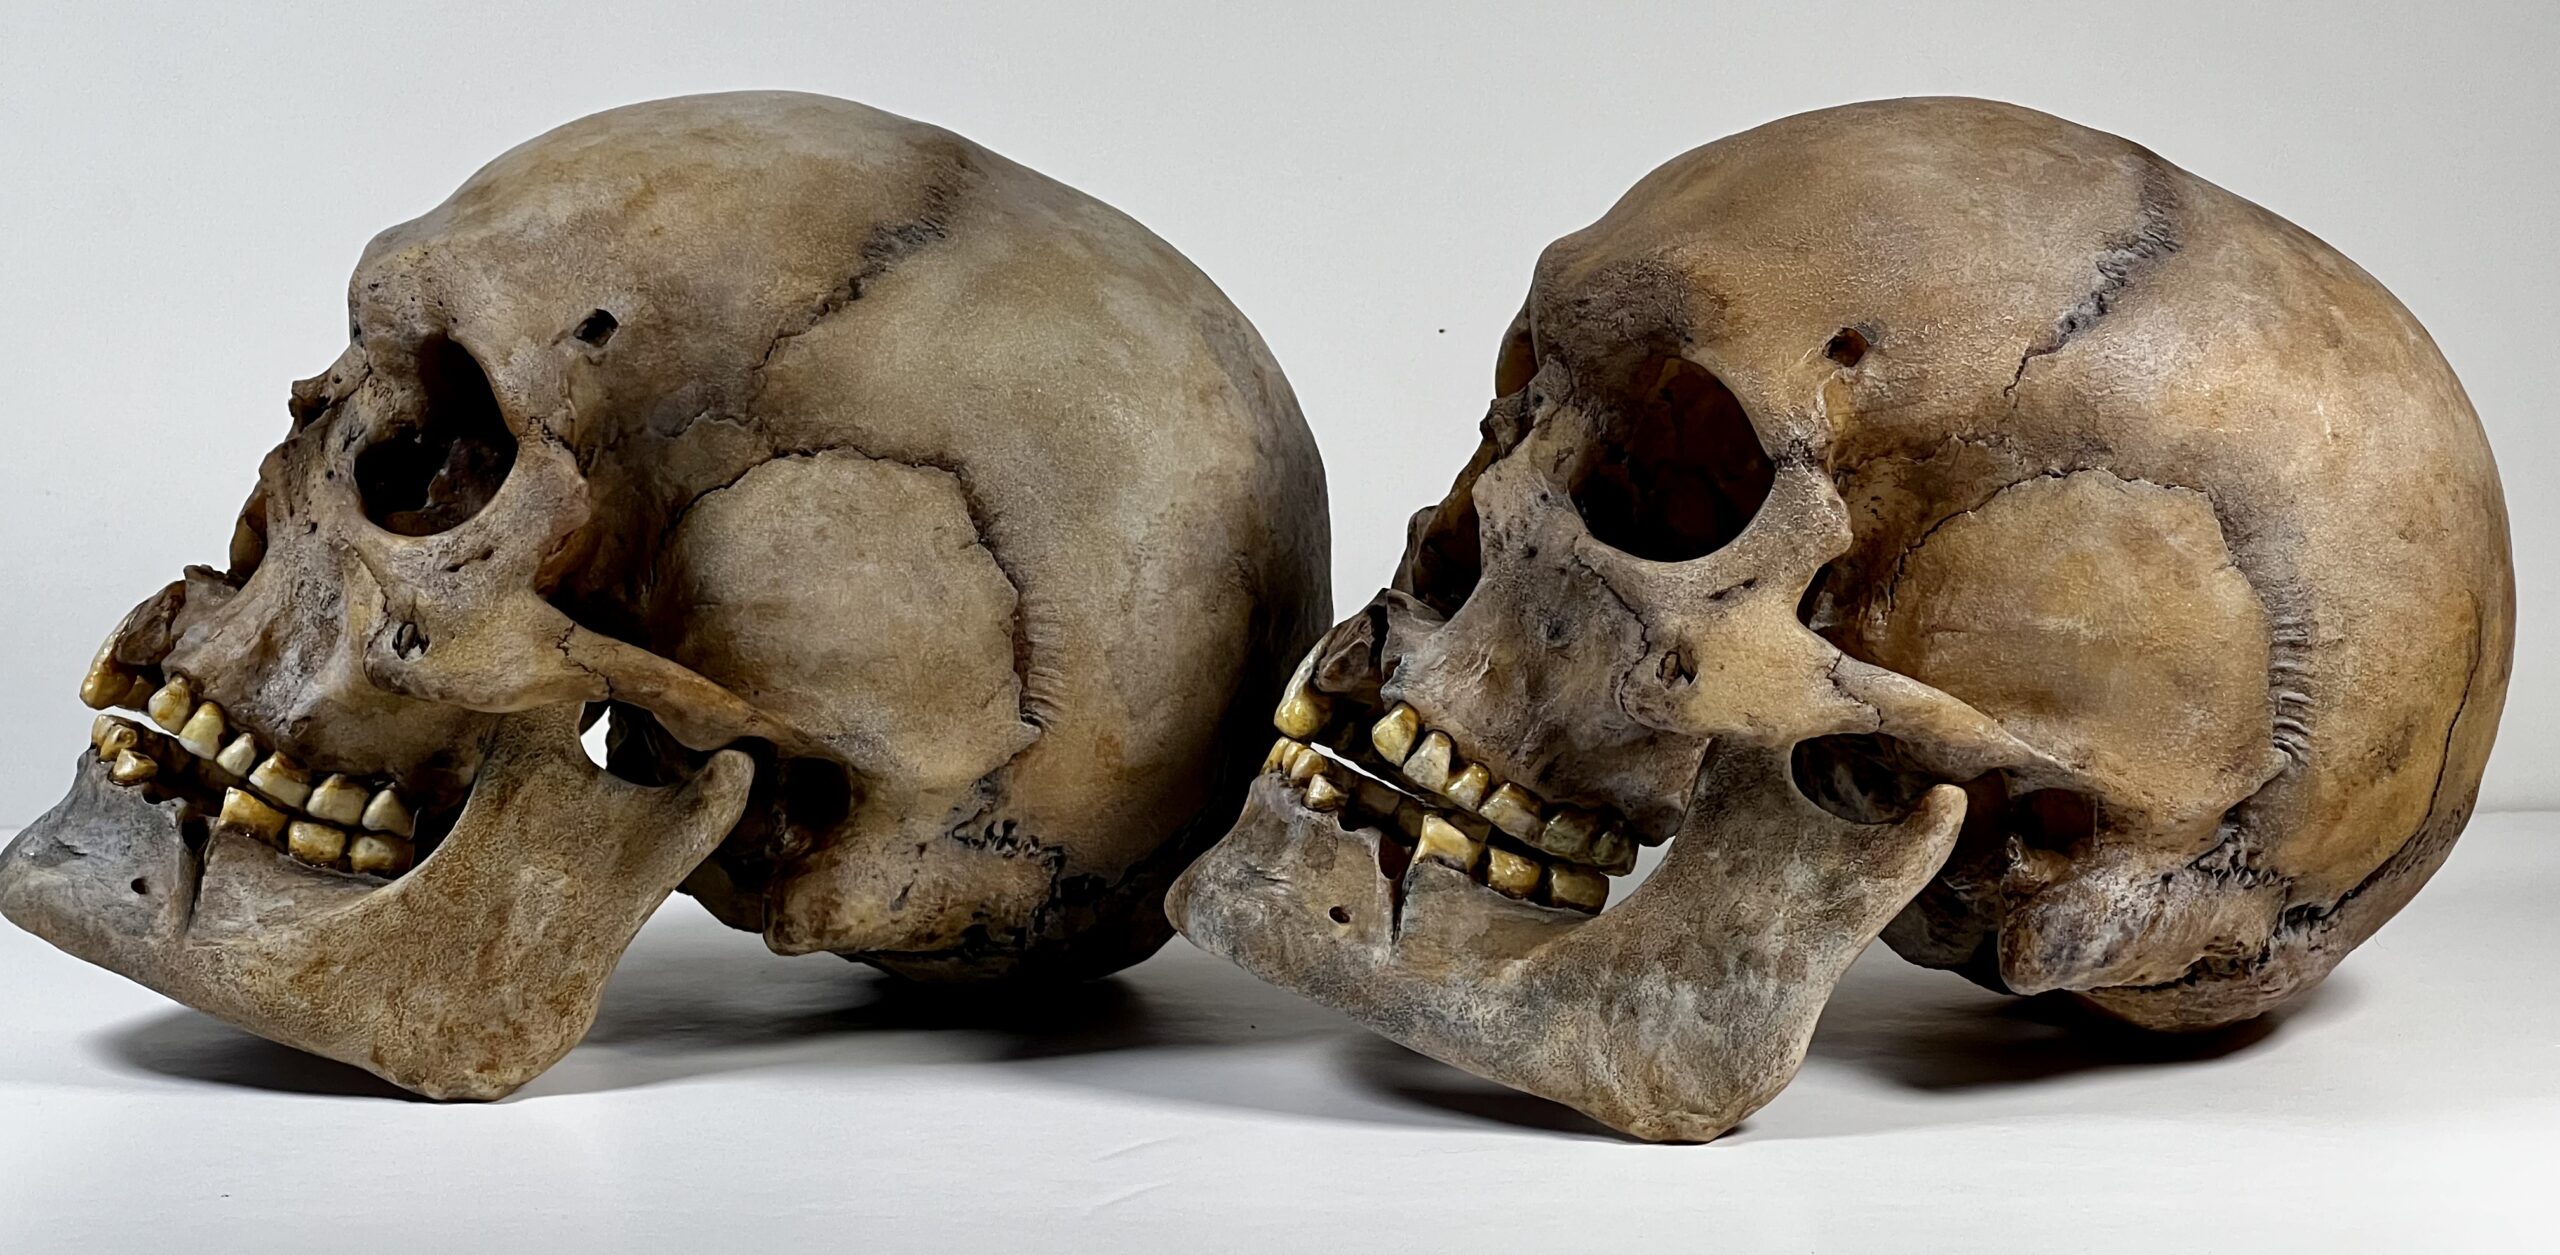
That means each one is completely unique and I get to think about how each skull was weathered. Rain? Dirt? Moss? Mycorrhyza networks?
It makes it all much more fun to do
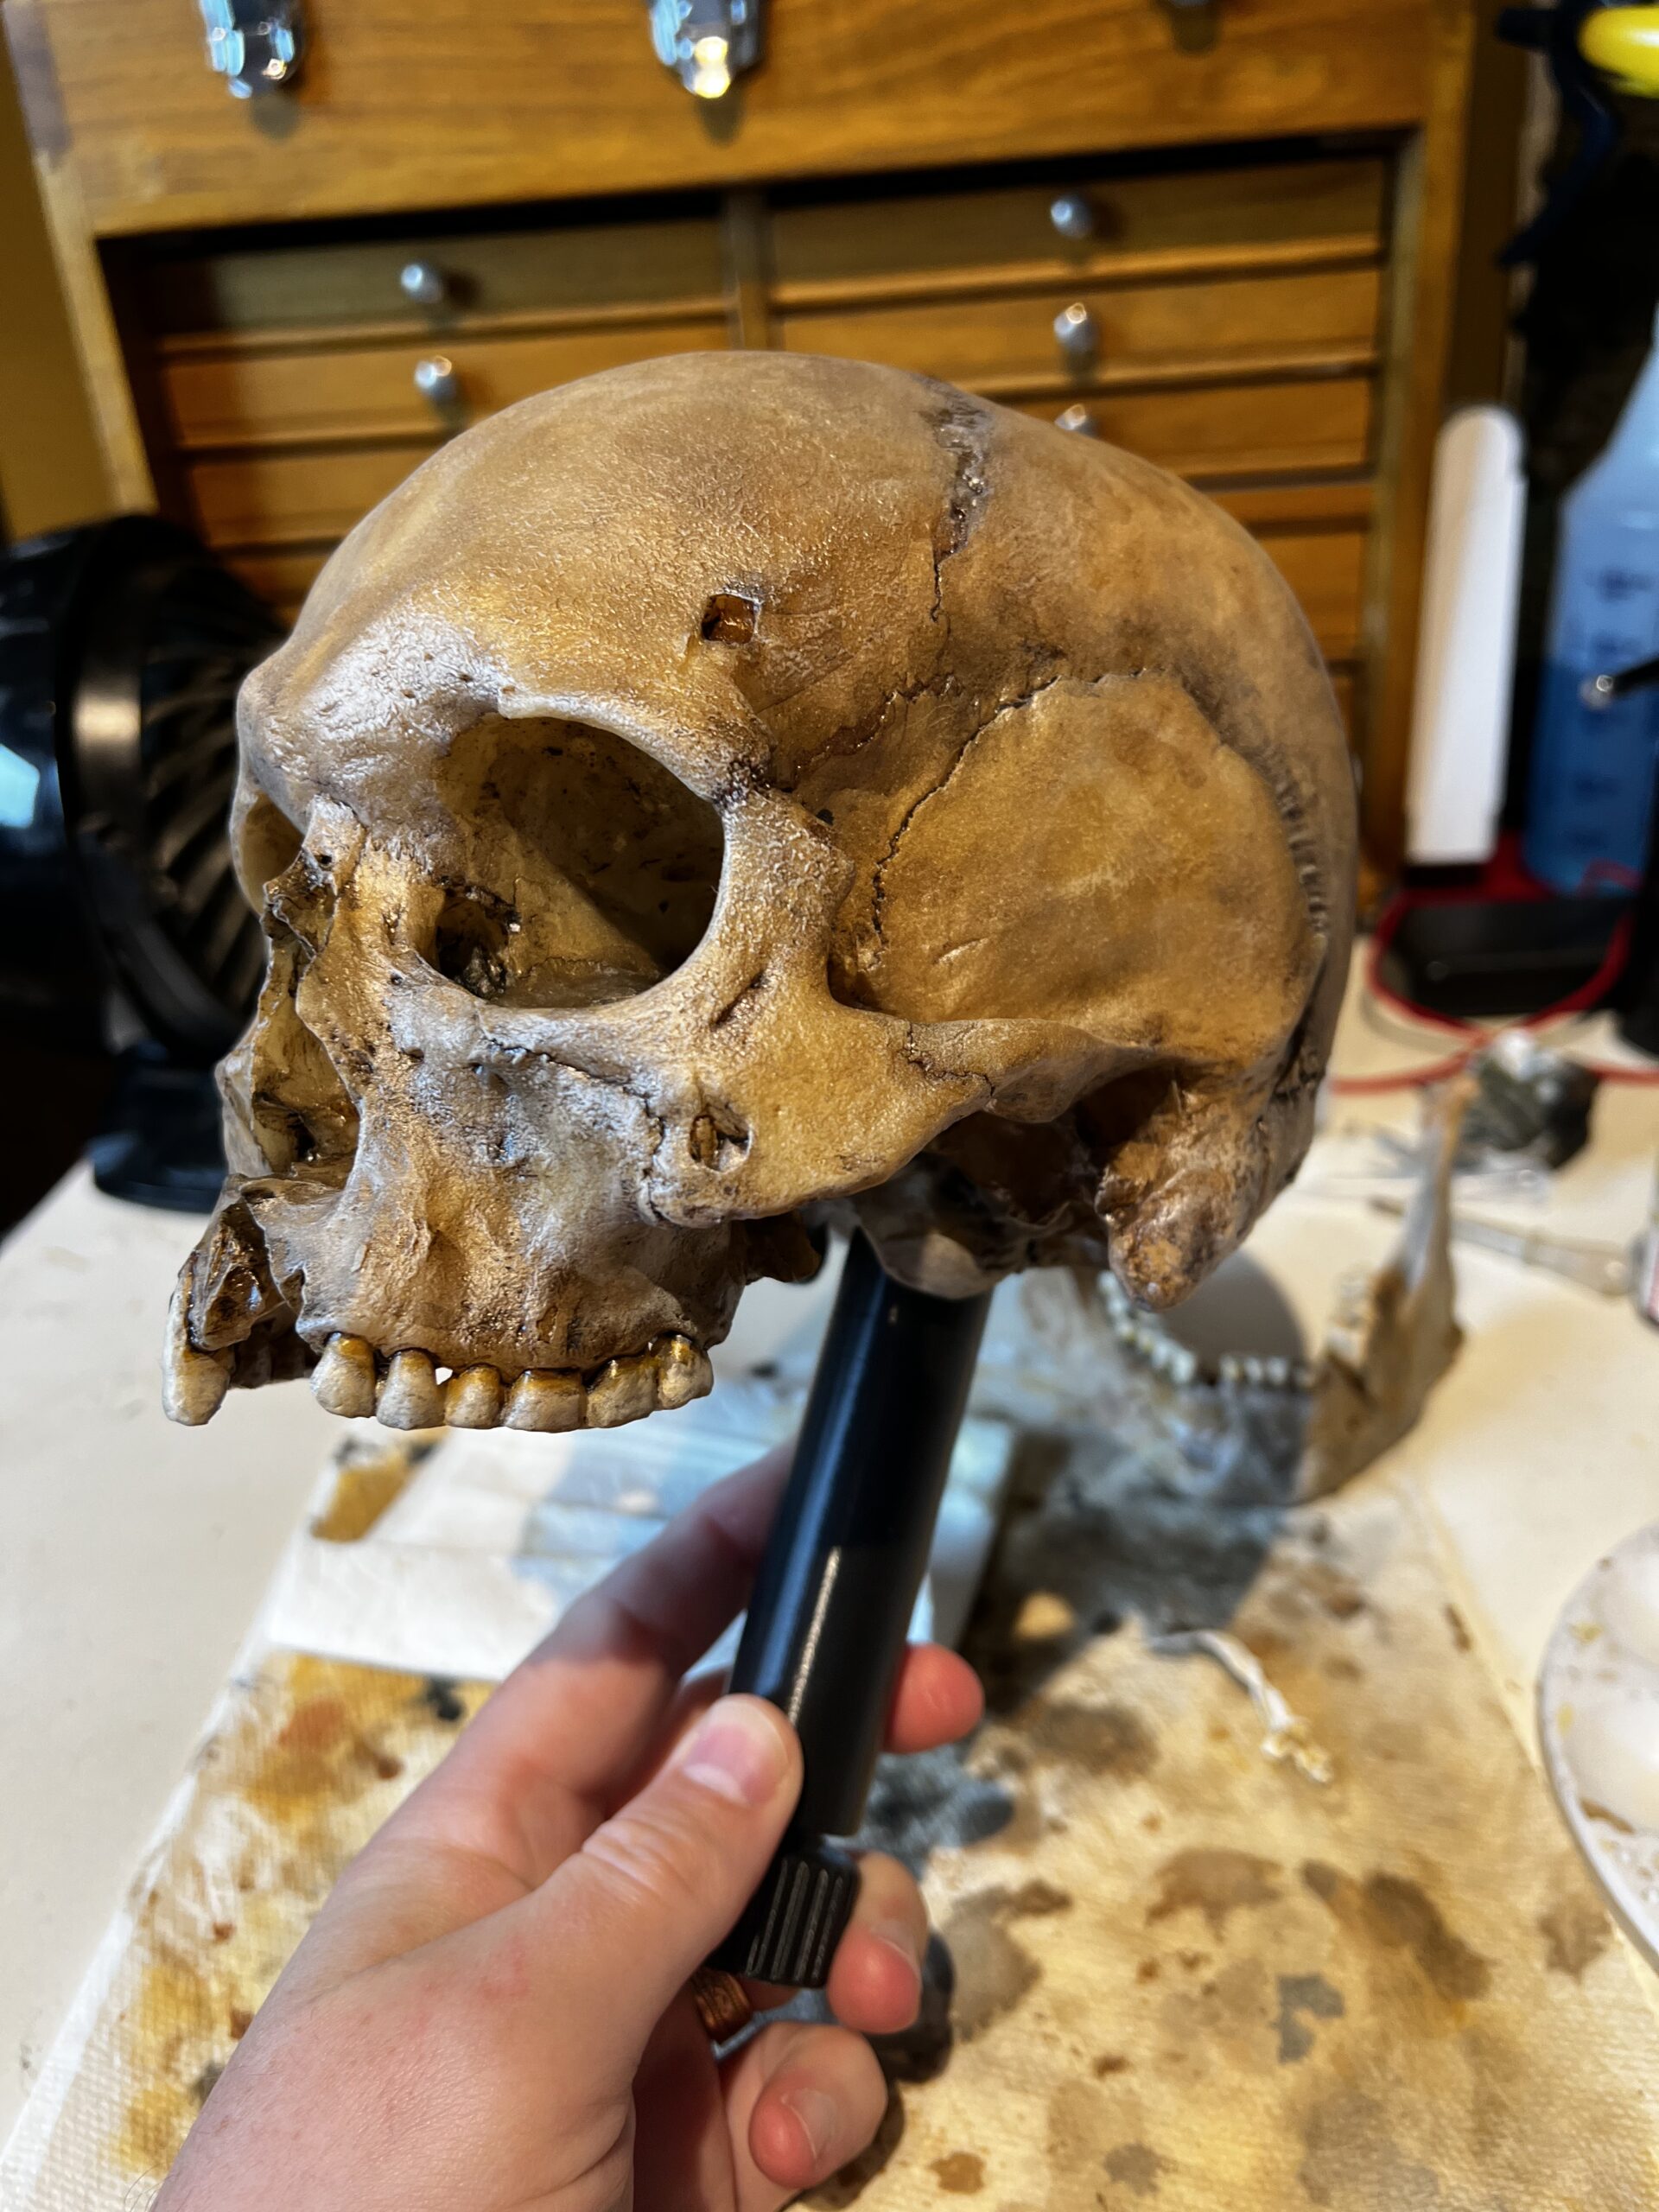
It very quickly became obvious I'd need some sort of a stand that didn't touch any of the paint.
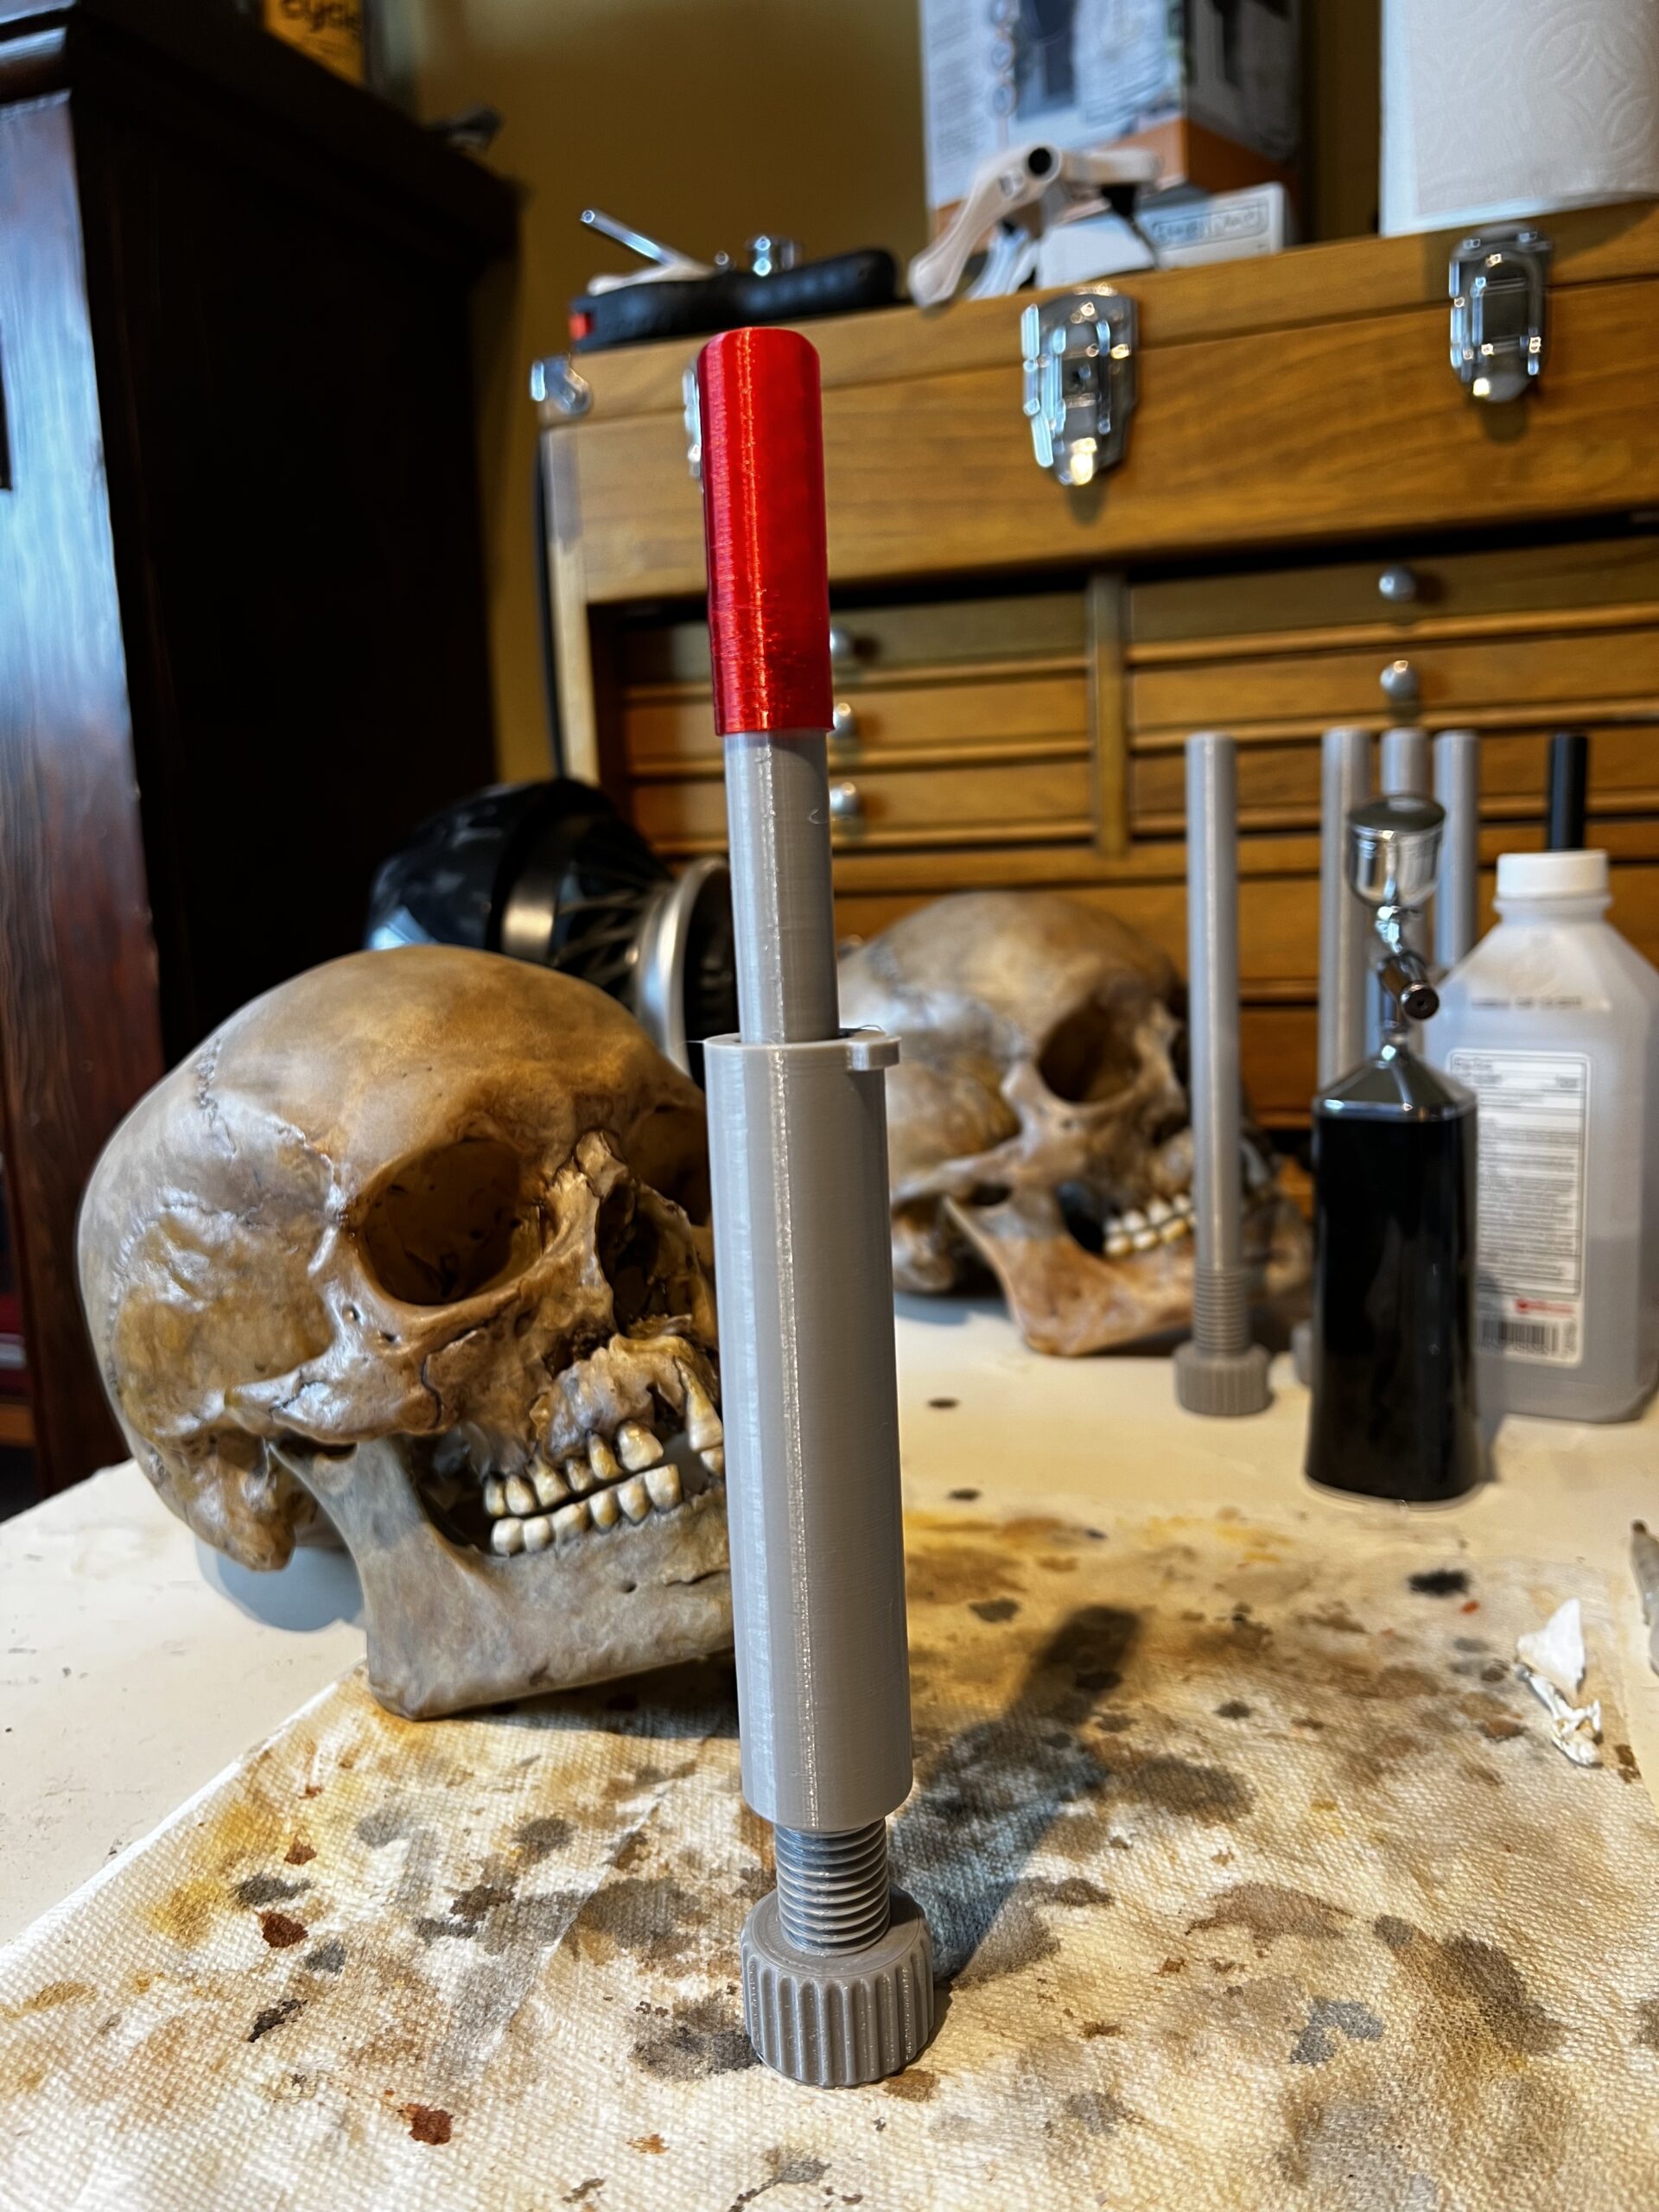
3d printers to the rescue!
The way that works is the red part on the end is flexible and the bottom part consists of an outer shell that has a lip which catches on the lip of the hole inside the vertebral socket, then you turn the knob to tighten it until it's wedged into the skull and then there's a little plate that goes around the screw and makes a foot to hold the skull stable.
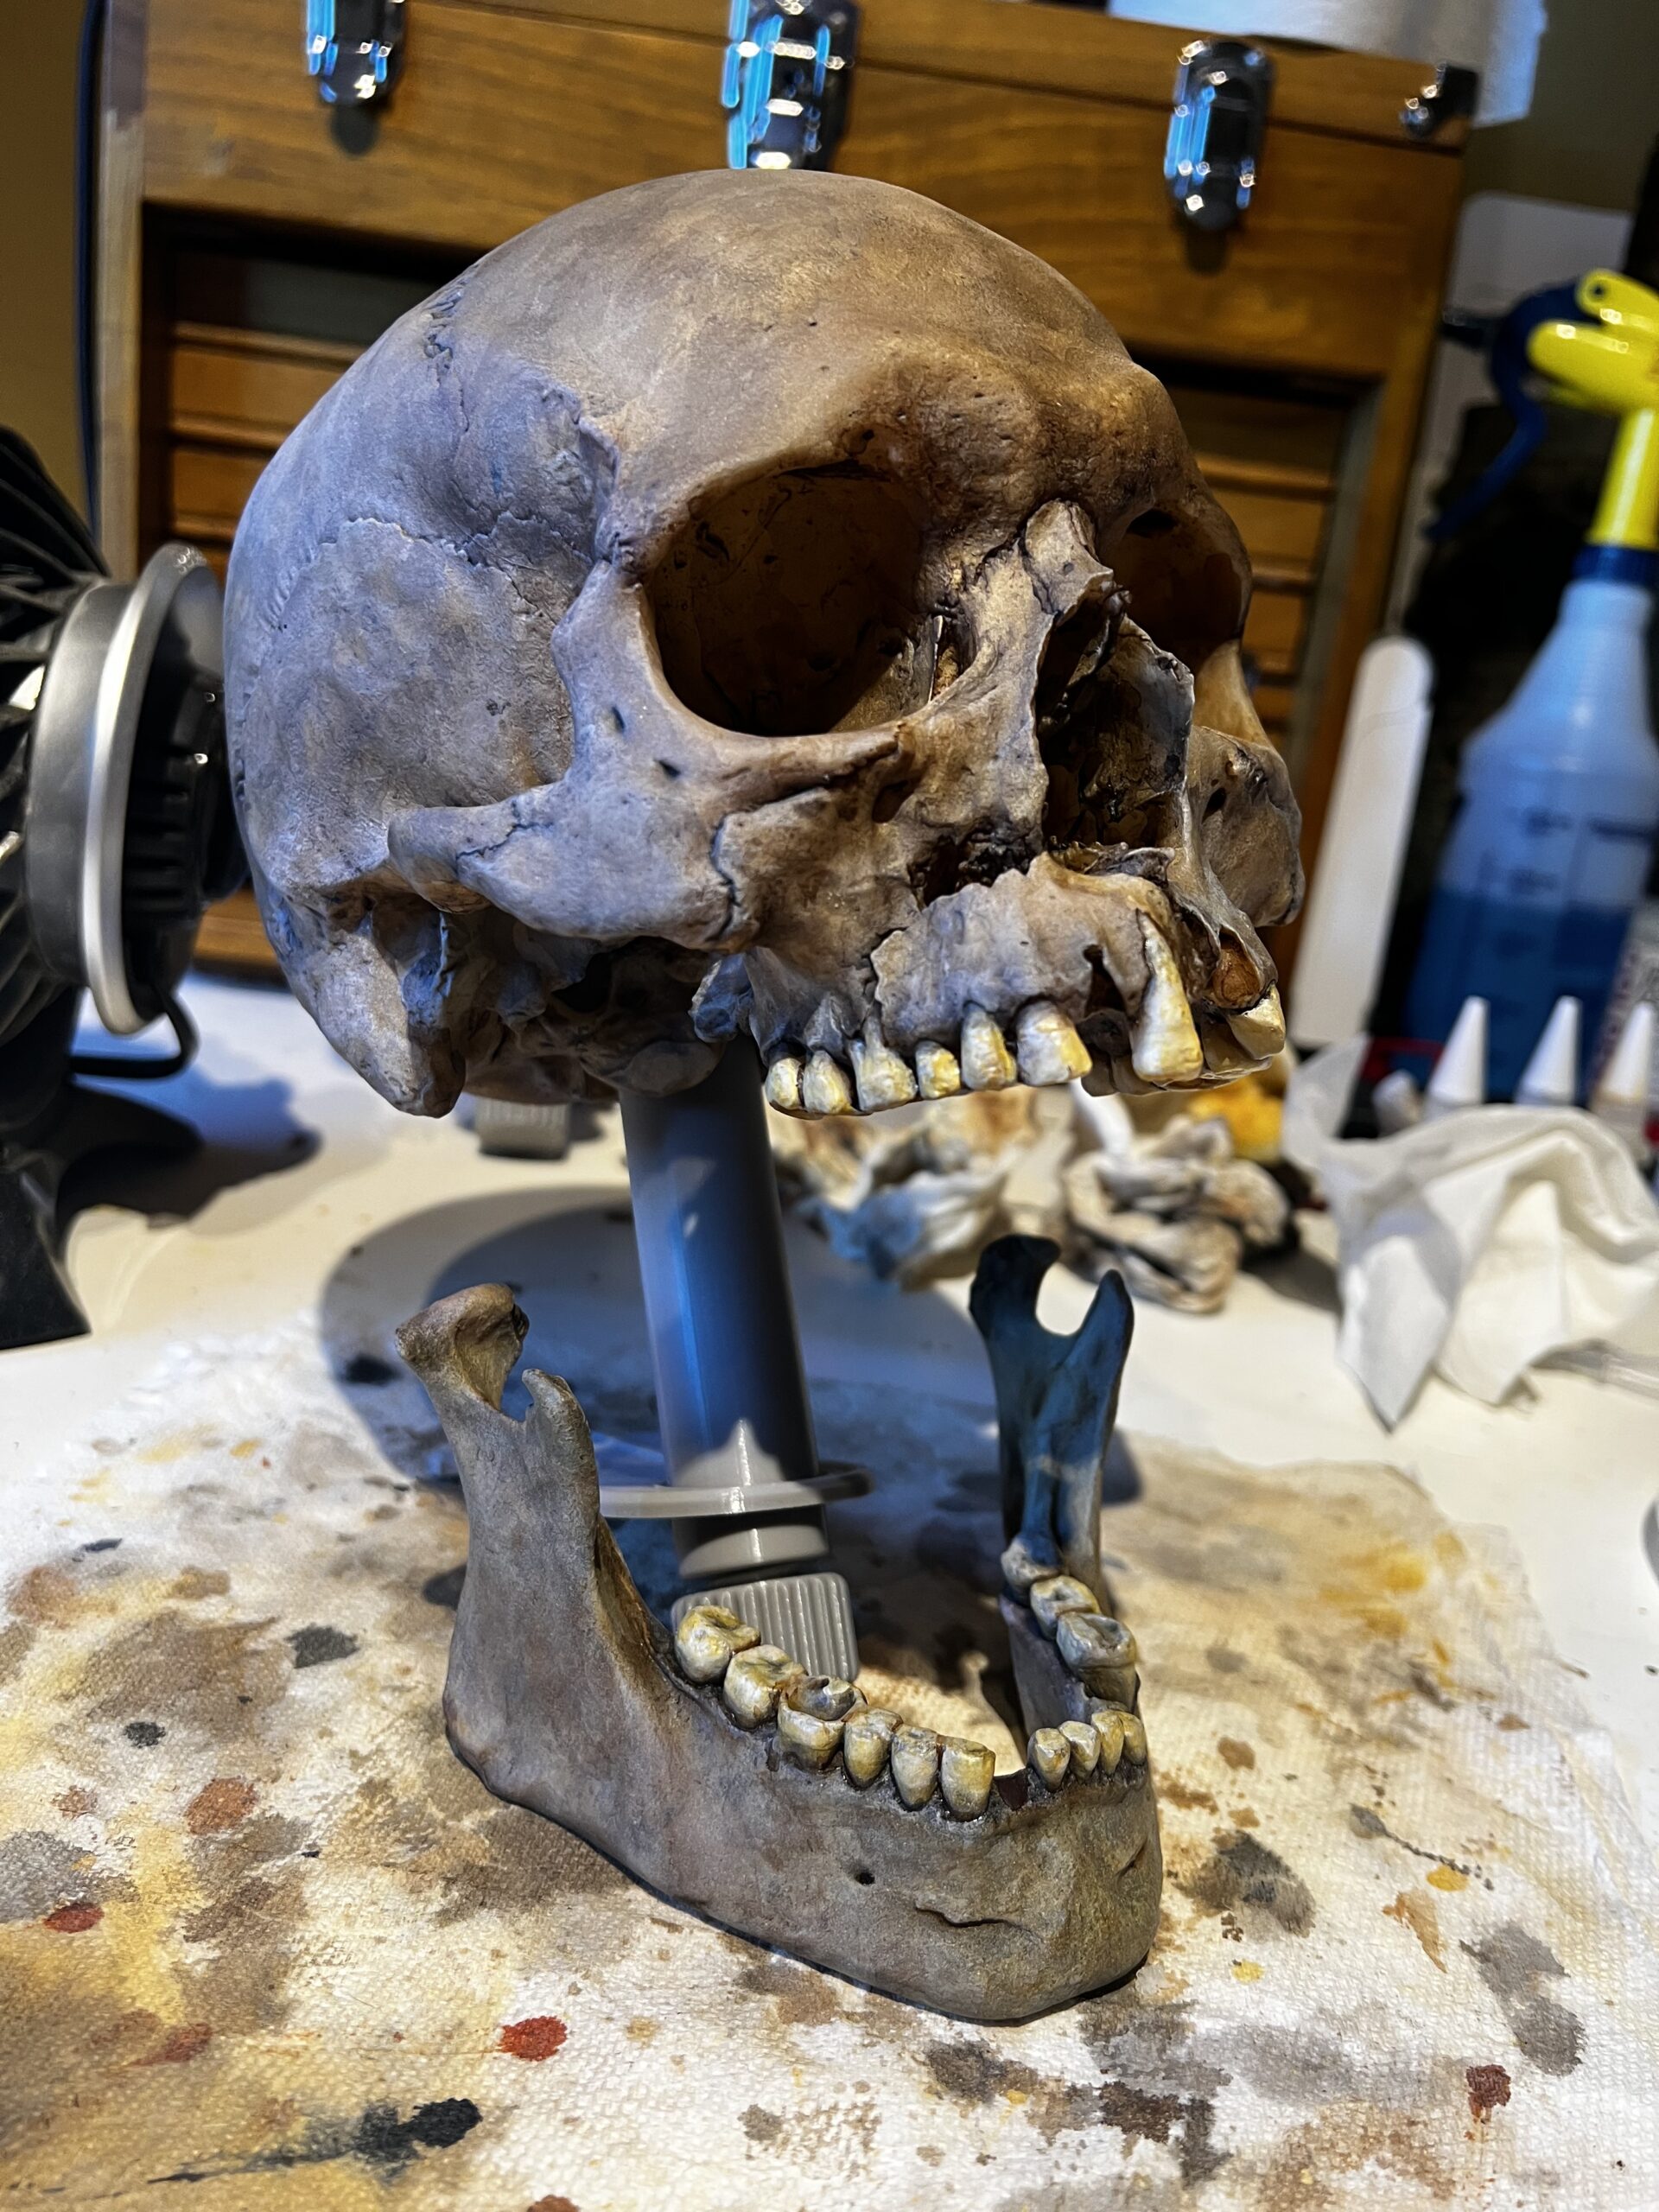
I use a wide variety of techniques that I've picked up from all over the place.
From Adam Savage's painting videos, I learned you can selectively strip off layers of acrylic using a piece of paper towel dampened with alcohol
From Martin at Night Shift I've picked up all sorts of weird little tricks.
My process ends up being an absolutely bizarre mishmash of model and miniature painting techniques, but using a lot more fine-art materials I really, really love these Golden paints. They're really good! Much better than most of the acrylic model paints I've used. Thinner, but still with superb coverage.
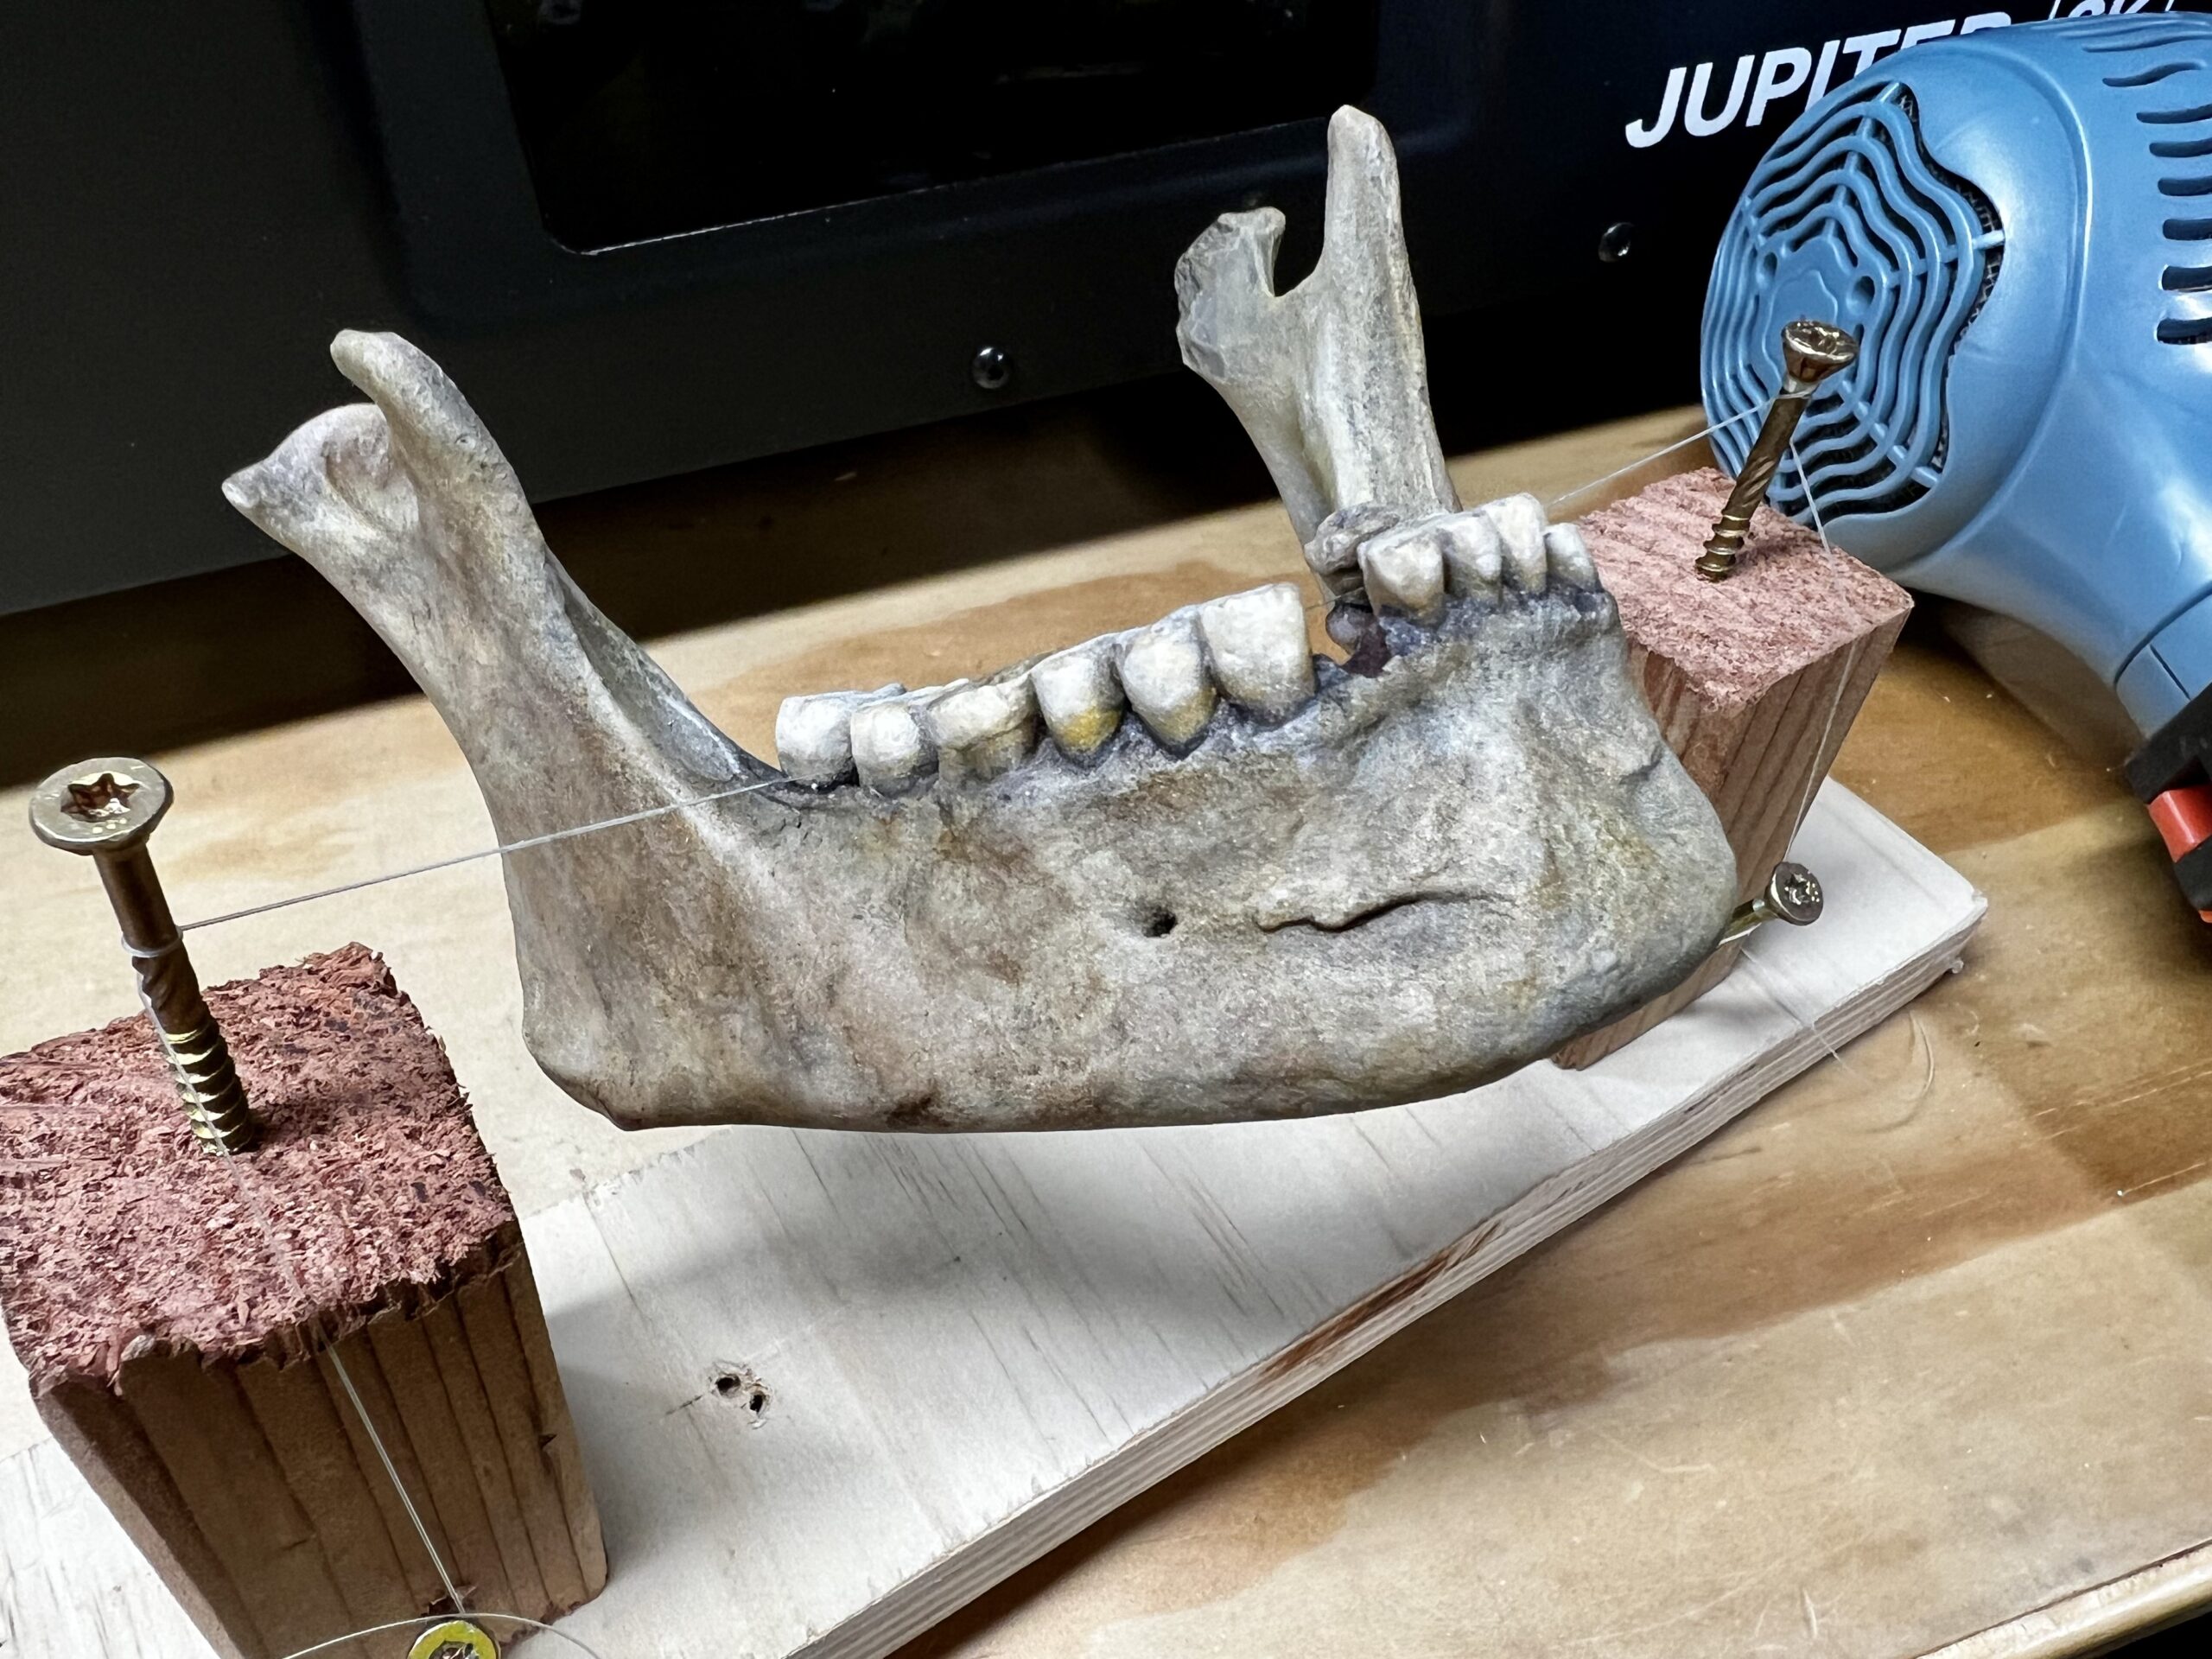
The final step is a good, matte UV sealing varnish to really sell that 'bone' look.
Where I live it is incredibly humid and chilly most of the time, so I had to use another Adam Savage trick and cut a hole in a cardboard box, stick the model in it and jam a hair dryer through the hole to make a 'curing oven'. In the case of the jawbones, I strung them up like the picture above using fishing line and random scraps of wood so it wouldn't touch anything. Similar for the skull.
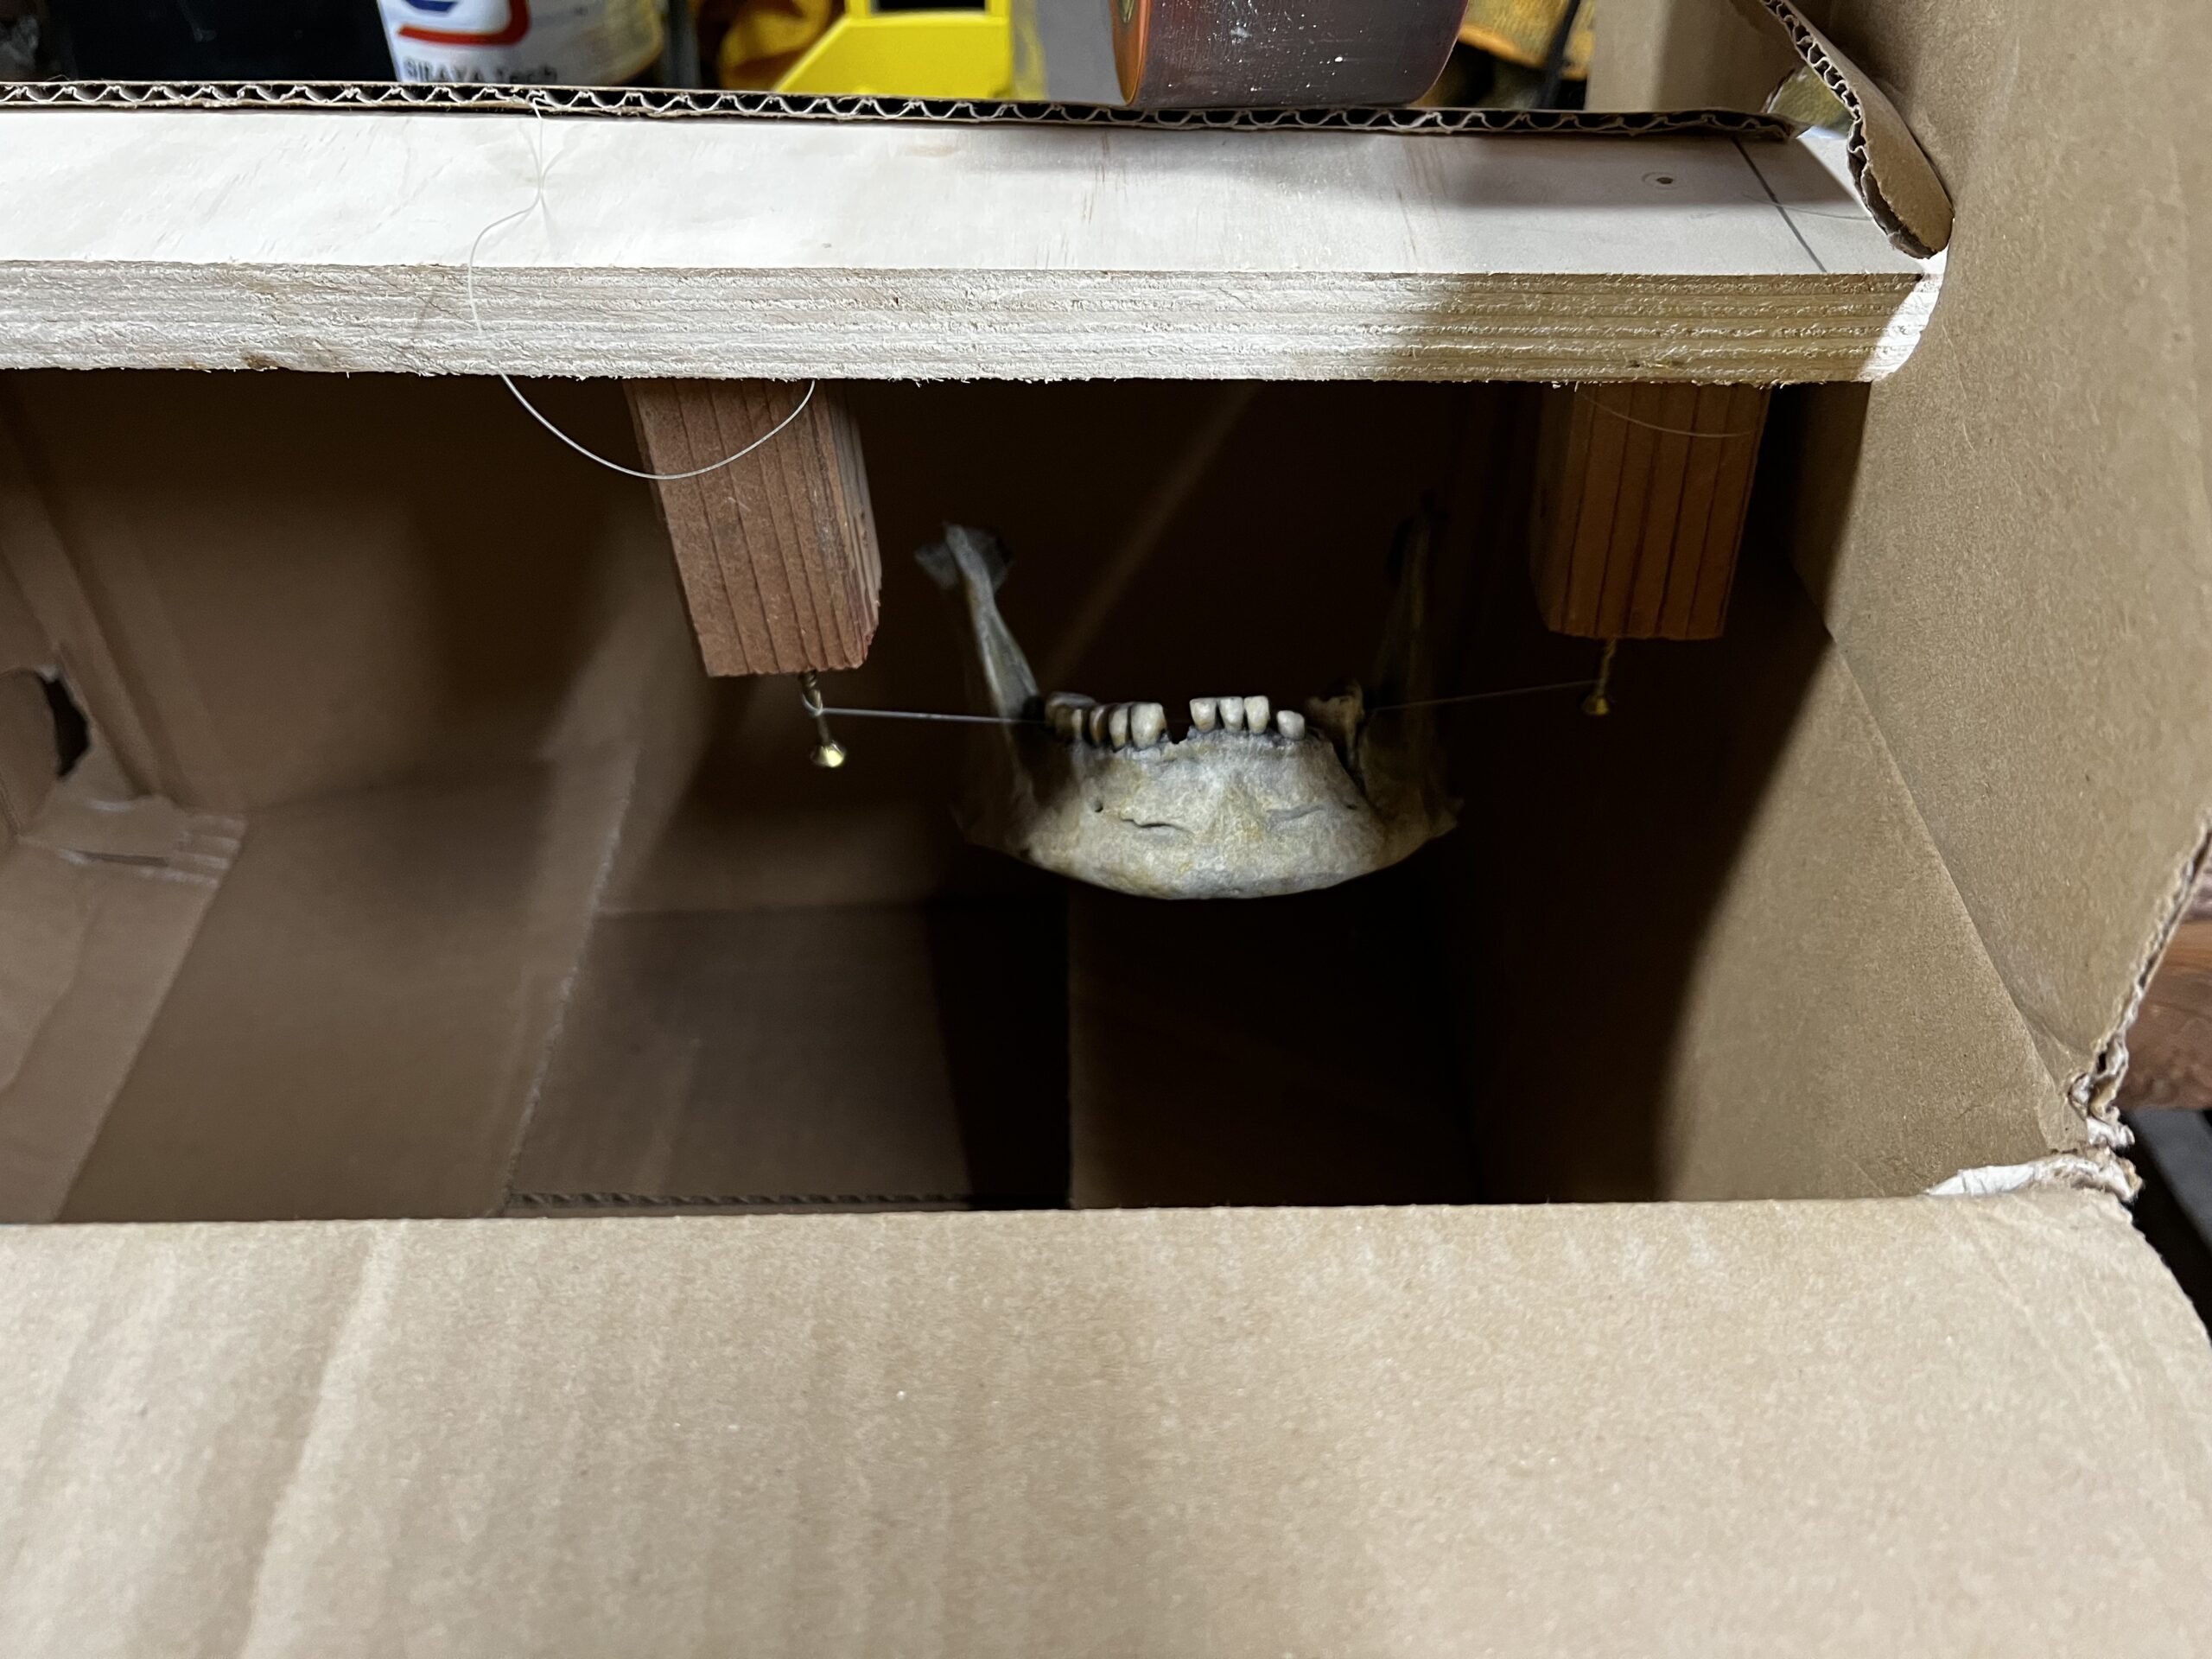
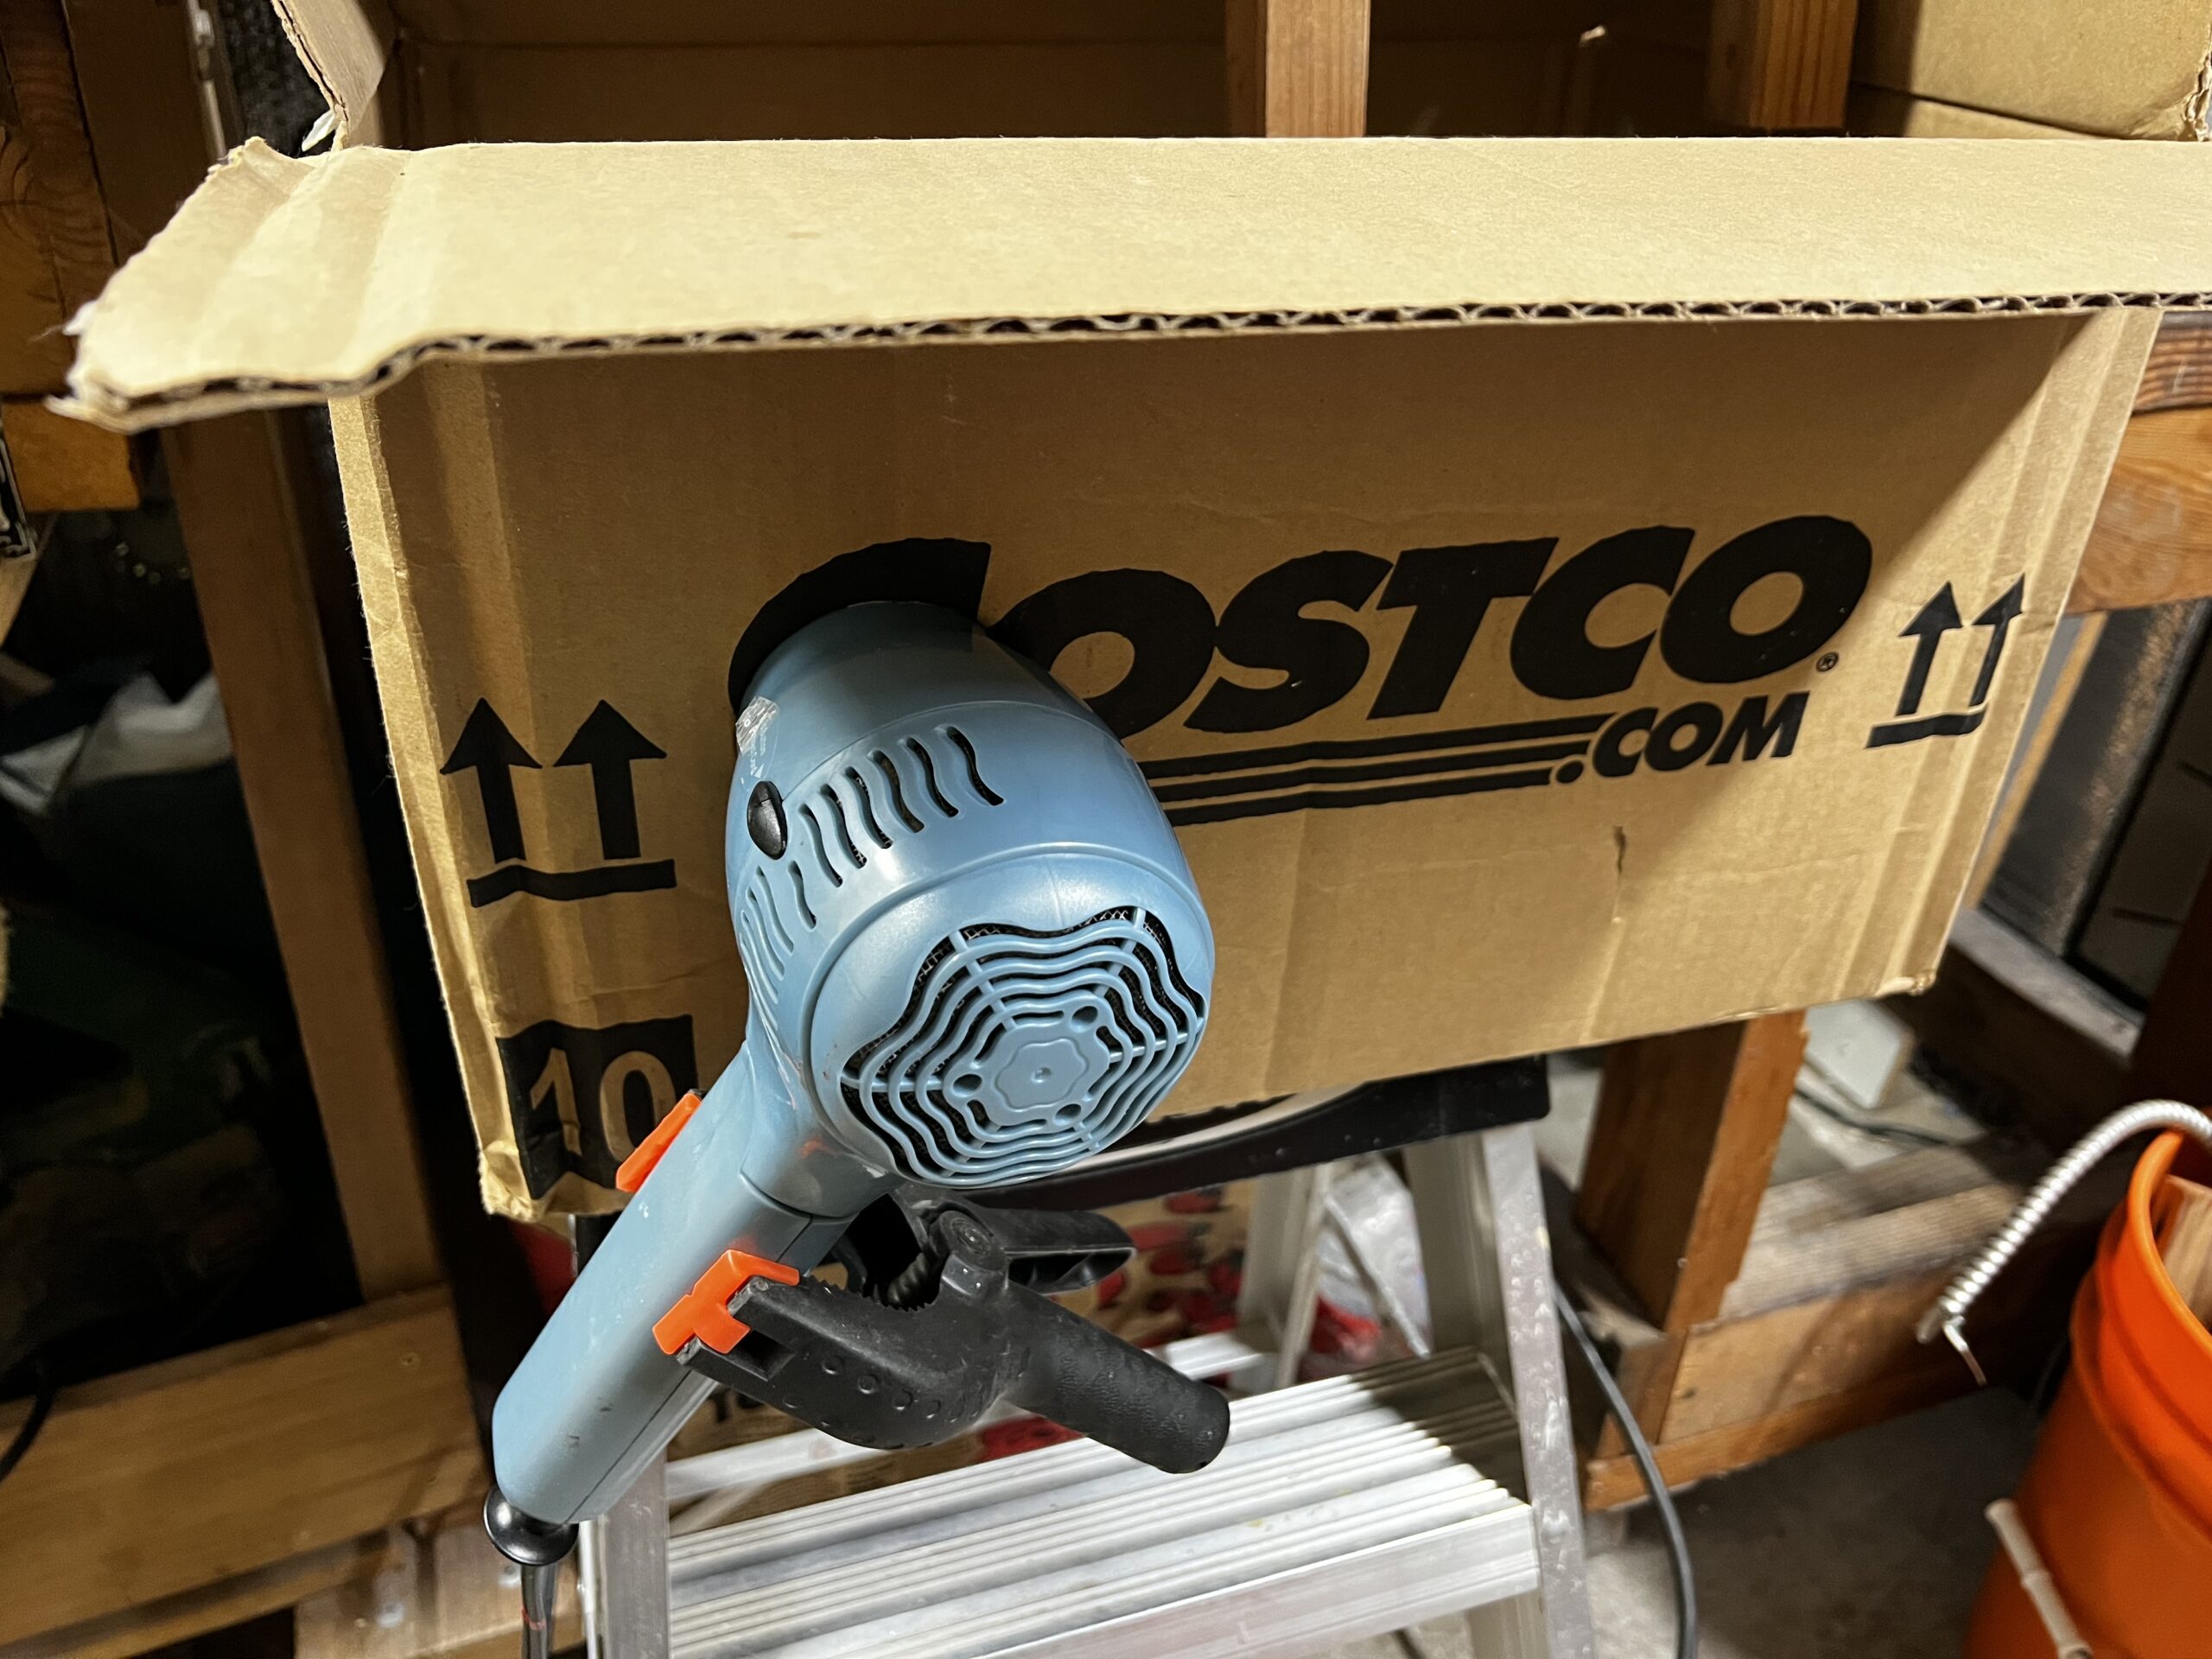
It works, and it's repeatable, so what more do I need?
The final step is using a little brush on gloss varnish for the teeth so they look toothy.
The printing takes 8-10 hours because I can use two printers and have the cranium and jawbone printing simultaneously, and then the painting takes a similar amount of time. The difference of course is that printing is as simple as push a button and wait.